What Are the Steps for Residential Driveway Crack Repair?
Did you know that cracks in driveways can lead to serious damage if left unattended? It's true! Over time, water…
03/25/2024

Did you know that cracks in driveways can lead to serious damage if left unattended? It's true! Over time, water…
Cracks in residential driveways can be a bothersome burden, bringing about potential problems that persist. But fear not, for there…
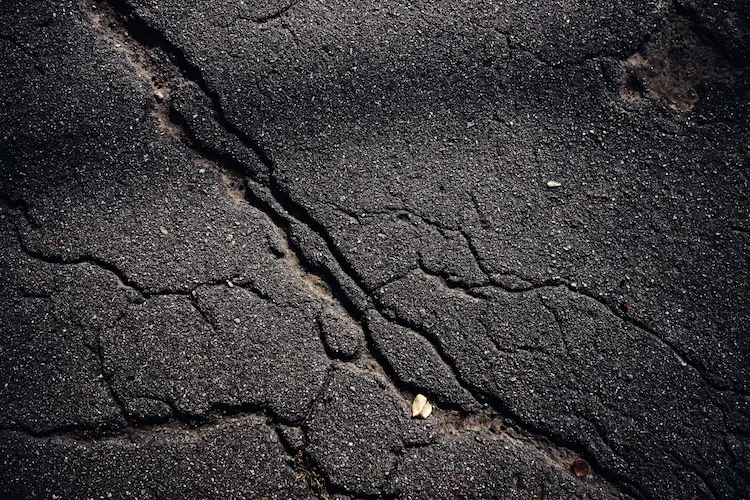
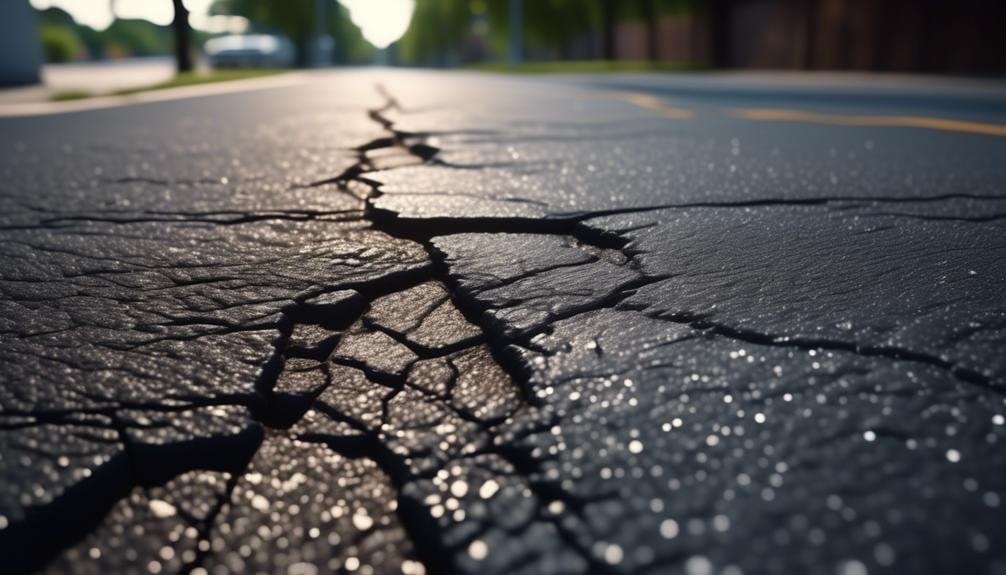
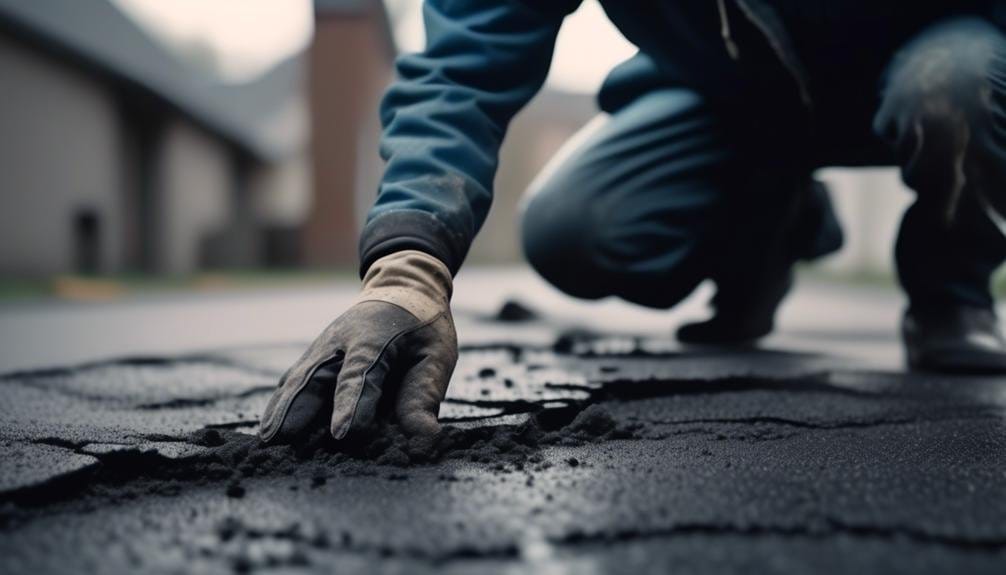
As you step onto your driveway, you can't help but notice the unsightly cracks that mar its smooth surface. It's…
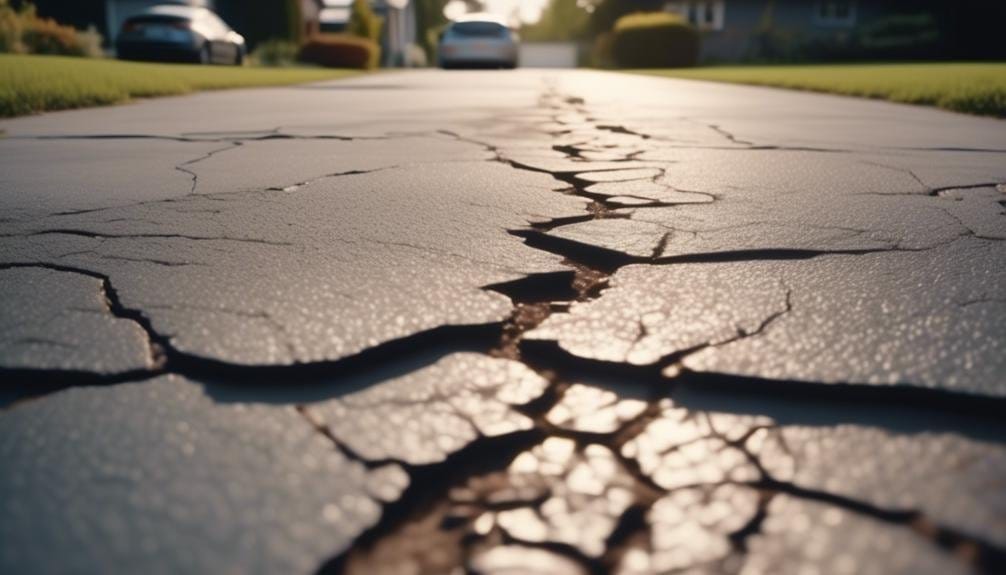
As you stand in front of your weathered driveway, the cracks spread out like jagged fault lines, disrupting the smooth…
They say, 'The early bird catches the worm.' When it comes to finding crack sealing companies near you, being proactive…
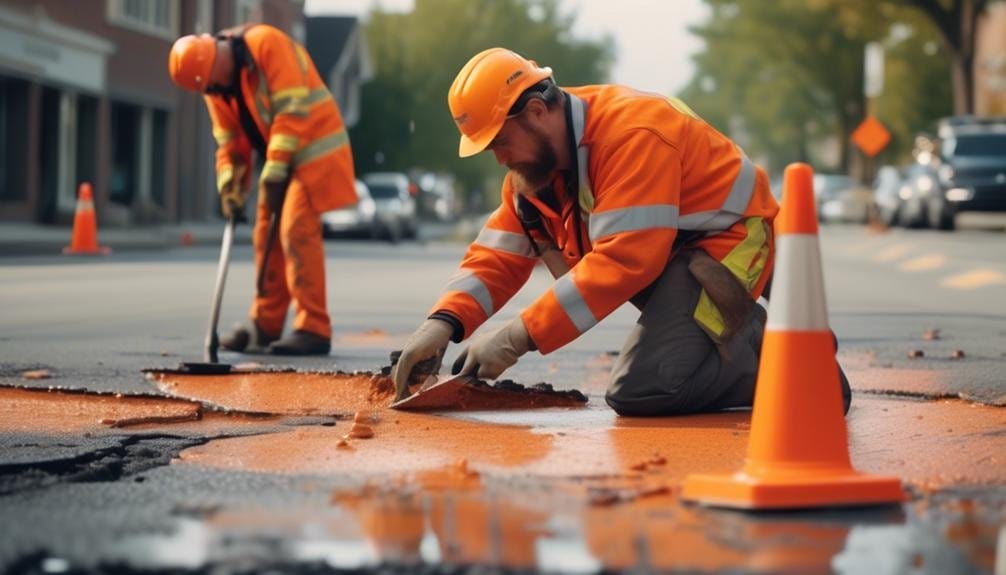
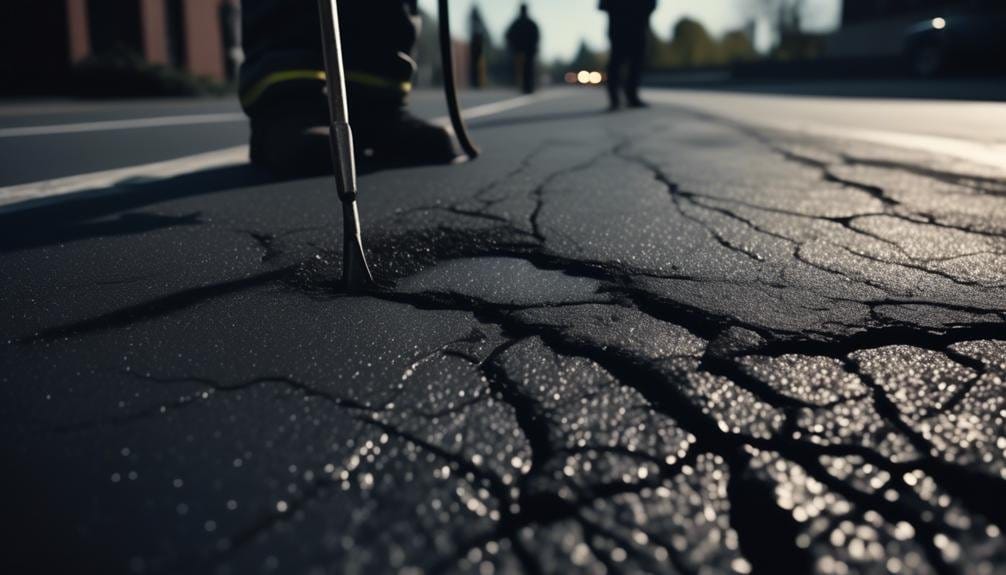
Did you know that cracks in pavement can lead to costly repairs if left untreated? That's where crack filling for…
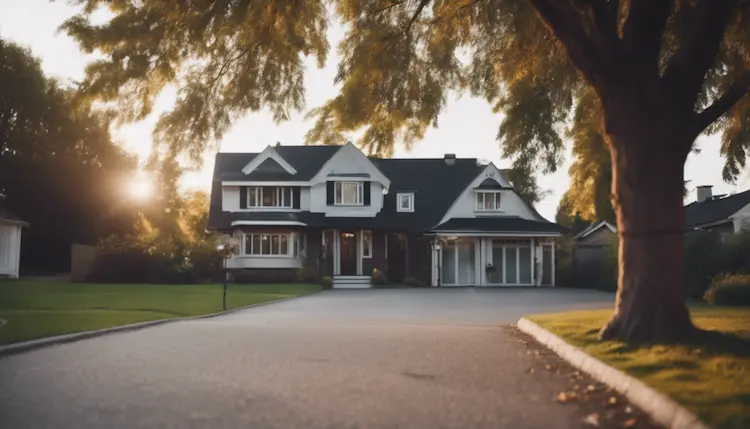
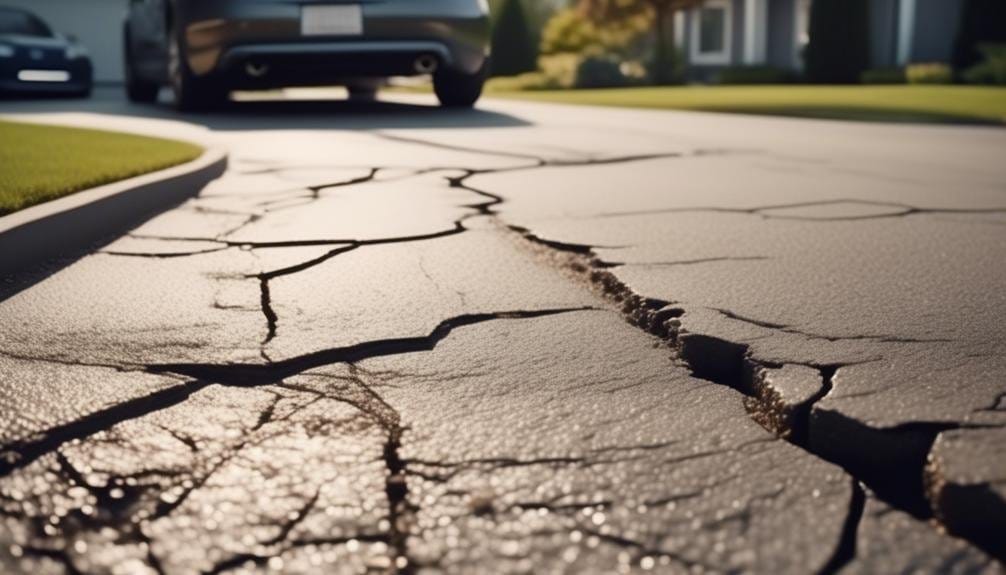
Are cracks in your driveway driving you crazy? Fear not, for we have the ultimate solution to your problem. Picture…
Are unsightly cracks marring the appearance of your driveway? Don't fret - there's a solution within your grasp. Picture a…
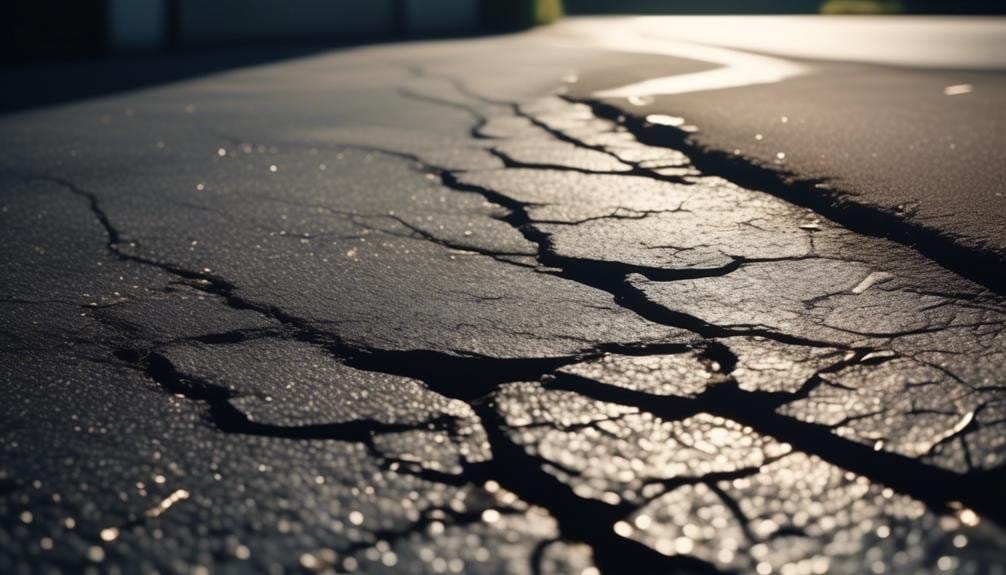
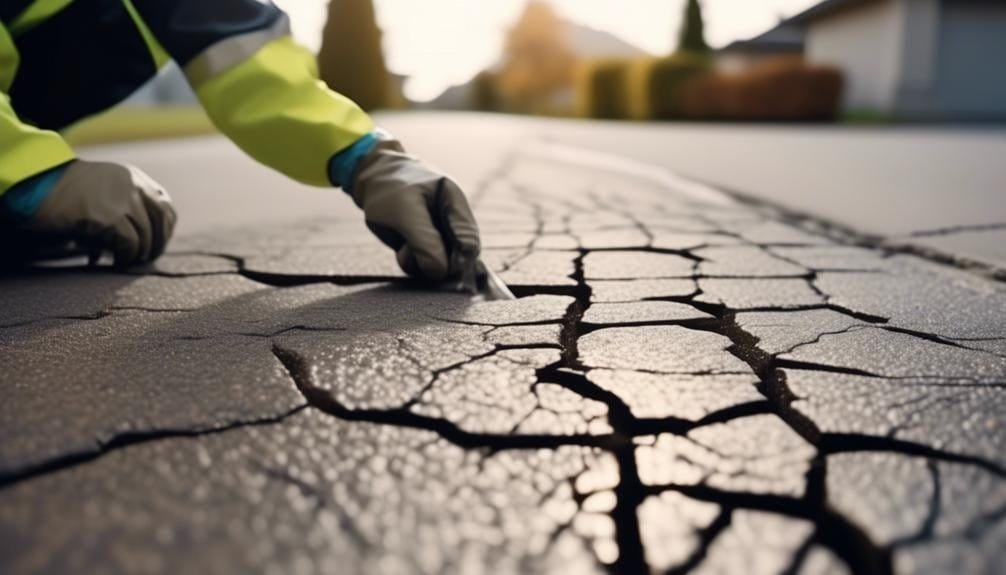
Are you tired of seeing unsightly cracks in your asphalt surfaces? Frustrated with the potential damage they can cause and…
Imagine your driveway as a puzzle, with cracks acting as missing pieces that disrupt the overall picture. Just like a…