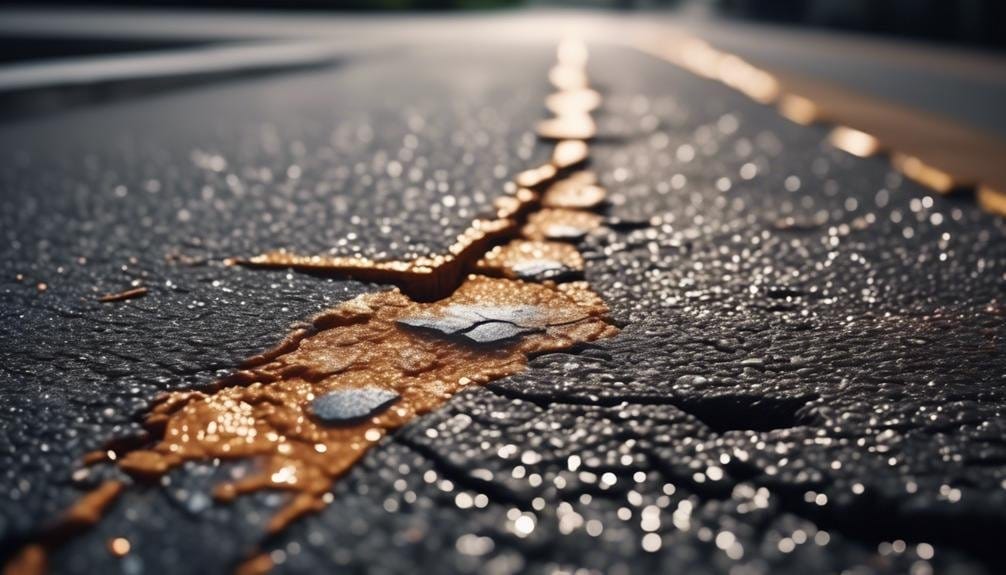
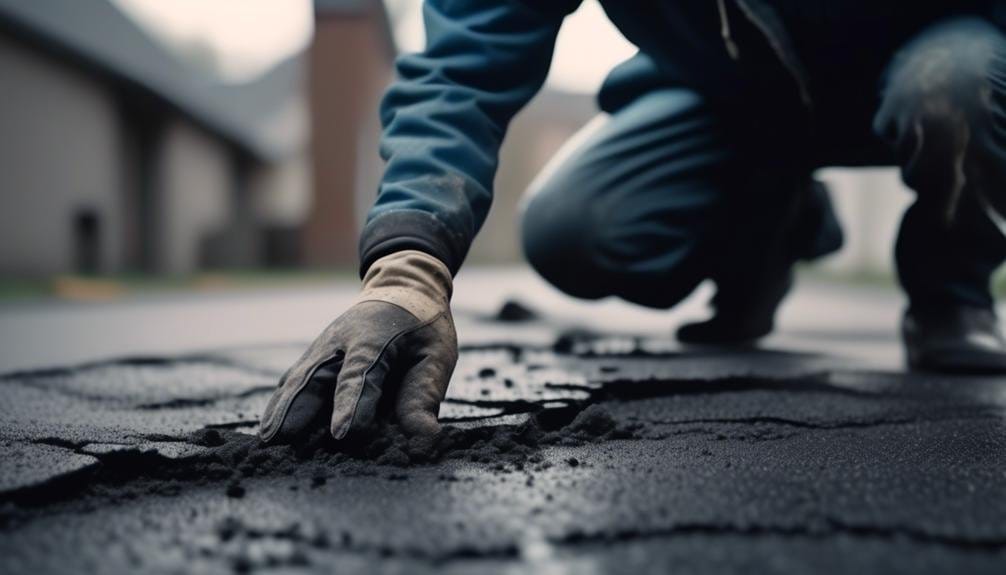
Are unsightly cracks marring the appearance of your driveway? Don’t fret – there’s a solution within your grasp.
Picture a smooth, flawlessly repaired surface that not only enhances the curb appeal of your home but also withstands the test of time.
In this discussion, we will delve into the art of driveway crack repair, sharing with you the expert techniques and tips to restore your driveway’s pristine condition.
So, are you ready to discover the secrets behind a seamless repair job that will leave you in awe? Let’s get started.
Key Takeaways
- Choose the appropriate type of crack filler based on the specific needs of your driveway, such as epoxy or polyurethane sealants for durability.
- Properly prepare the cracks before applying any patching materials, including cleaning the surface and using a concrete bonding adhesive for hairline cracks.
- Apply the crack filler using a trowel, ensuring that the cracks are filled and using multiple thin coats that are allowed to dry between each layer.
- Seal the repaired cracks with a concrete sealer designed for driveway cracks to provide extra protection and regularly maintain the driveway to prevent further damage.
Types of Crack Fillers

When it comes to repairing driveway cracks, there are various types of crack fillers available to choose from. The type of crack filler you use depends on the severity and size of the cracks in your concrete driveway.
Epoxy or polyurethane sealants are suitable for filling cracks with greater durability. These sealants penetrate deep into the cracks and provide a long-lasting solution.
Cementitious or polymer-based materials can be used for patching cracks on the surface of the driveway. These materials adhere well to the concrete surface and help to restore its strength and appearance.
If you have larger cracks that require structural reinforcement, specialized resins can be used for injecting the cracks. These resins can effectively strengthen the concrete and prevent further cracking.
In cases where the cracks are extensive, overlaying the cracked areas with new concrete or mortar can be a viable solution.
Before applying any crack filler, it’s important to clean the surface thoroughly. Use a pressure washer to remove any dirt, debris, or loose concrete particles. Make sure the surface is completely dry before applying any crack fillers or patching materials.
Concrete patching compound and concrete backer rod are commonly used along with crack fillers to provide additional support and ensure a smooth finish.
Preparation for Crack Repair
To properly prepare for repairing driveway cracks, thoroughly clean the surface of the driveway from dirt, debris, and vegetation. This step is crucial for ensuring a strong and durable patching job.
Here are four important steps to follow when preparing your driveway for crack repair:
- Clean the driveway: Remove any loose dirt, debris, or vegetation using a stiff wire brush, power washer, or air compressor. This will create a clean surface for the patching material to adhere to.
- Prepare the patching material: Mix one part cement with three parts sand to create a patching mixture. This will help fill in the cracks and provide stability to the repair.
- Use a putty knife: Apply the patching material to the cracks using a putty knife. Make sure to fill the cracks completely and smooth out the surface for a seamless finish.
- Apply concrete bonding adhesive: For hairline cracks, consider using a concrete bonding adhesive or primer/additive. This will enhance the adhesion and durability of the repair, ensuring a long-lasting fix.
Applying Crack Filler
To properly apply crack filler, ensure that the cracks in your driveways are clean and free of debris, weeds, and grass. Start by using a broom to sweep away any loose materials and vegetation. For deeper cracks, consider using a foam backer rod to provide additional support. Choose a concrete crack filler that’s specifically designed for cracks up to 1/4-inch wide. Before applying the filler, break up any old concrete patch materials to ensure better adhesion.
To begin the application process, use a trowel to press the wet crack filler into the cracks. Make sure to blend it with the existing material for a seamless repair. Apply the filler in thin coats, allowing each layer to dry before adding another. This will help achieve a smoother surface texture.
If the crack is particularly small, you can also mix sand with the crack filler to create a sand-cement mixture. Apply this mixture to the crack and allow it to dry. Once dry, use a brush to remove any excess material and ensure a uniform finish.
Sealing the Repaired Cracks
To ensure the long-term durability and protection of your repaired driveway, sealing the previously filled cracks is essential. Sealing the repaired cracks not only helps to prevent further damage but also adds an extra layer of protection to the concrete surface. Here are some steps to follow when sealing the repaired cracks:
- Apply a concrete sealer: Once the cracks have been filled and repaired with the appropriate patching material or filler, it’s time to apply a concrete sealer. Choose a sealer that’s specifically designed for driveway cracks and follow the manufacturer’s instructions for application.
- Ensure even coverage: Use a long-handled squeegee to spread the sealer evenly over the repaired areas. Working in small sections will ensure thorough coverage and prevent any missed spots.
- Allow for drying time: It’s important to let the sealer dry completely before allowing any foot or vehicle traffic on the driveway. This drying time can vary depending on the specific sealer used, so be sure to check the instructions for the recommended drying time.
- Regular maintenance: To extend the life of your driveway, it’s important to regularly reapply the sealer. This ongoing maintenance will help to protect the repaired cracks and the existing concrete surface from future damage.
Maintenance Tips for Long-lasting Results
For long-lasting results, it’s important to implement regular maintenance strategies that will help preserve the integrity and durability of your driveway.
One crucial step is to regularly inspect and fix any cracks that may appear. Small cracks can quickly turn into larger ones if left untreated, causing further damage to the concrete surface. To fix cracks, use a stiff wire brush to clean the area and remove any loose debris.
For small cracks, you can use a non-porous foam backer rod to fill the gap before applying a small amount of cement or a thinner cement mixture. For larger cracks, it may be necessary to patch thin cracks with a thicker cement mixture. When determining the amount of filler needed, consider that it typically takes about ¼ to ½ pound of filler per square foot of cracked concrete.
In addition to crack repairs, it’s important to keep the driveway clean and free from weeds or grass growing through the cracks. Regularly clean the area and mist the driveway with water to discourage weed growth.
Conclusion
In conclusion, repairing driveway cracks is a simple and effective way to maintain the overall appearance and longevity of your driveway. By using the appropriate crack fillers, preparing the cracks properly, and sealing the repaired cracks, you can ensure long-lasting results.
Remember to regularly inspect and maintain your driveway to prevent further damage. As the saying goes, a stitch in time saves nine, so don’t delay in addressing those cracks and keeping your driveway in top shape.
