Cracks in residential driveways can be a bothersome burden, bringing about potential problems that persist. But fear not, for there are ways to mend these menacing cracks and restore your driveway to its former glory. Whether caused by shifting soil or the unforgiving freeze-thaw cycle, addressing these cracks promptly is pivotal.
So, let’s explore the various repair methods available, ensuring your driveway stays strong, sturdy, and smooth.
Key Takeaways
- Evaluate the size, width, and depth of cracks to assess the damage.
- Choose the appropriate repair method based on the characteristics of the cracks.
- Prepare the driveway surface by removing debris and using the right fillers.
- Apply the crack repair solution carefully, using the right materials and techniques.
Assessing the Damage
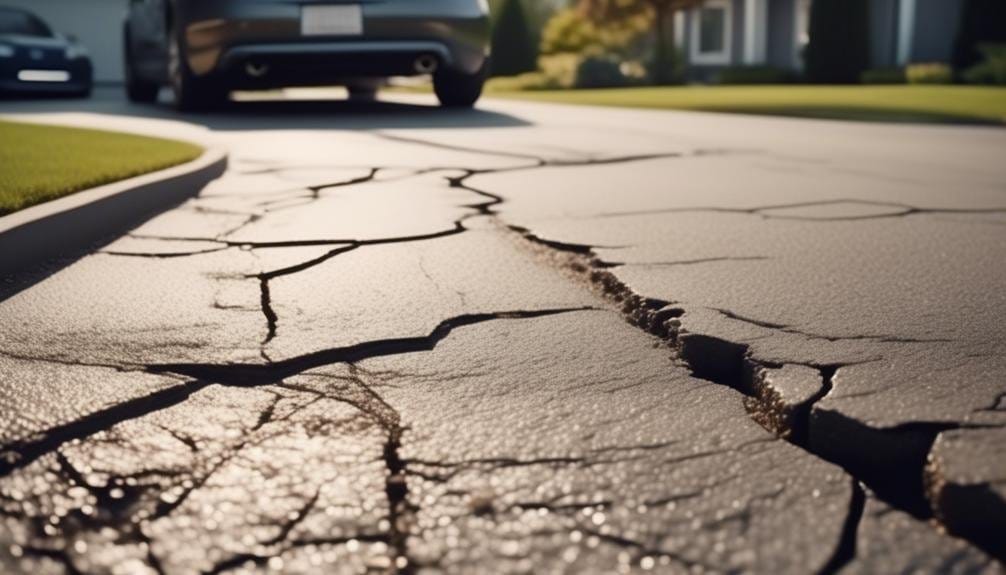
To properly assess the damage to your residential driveway, it’s crucial to carefully evaluate the size, width, location, pattern, depth, and direction of the concrete cracks. By examining these factors, you can gain a better understanding of the extent of the damage and determine the most effective repair approach.
Start by inspecting the cracks in your driveway. Measure their size and width to determine the severity of the damage. Pay attention to the location of the cracks as well, as this can provide valuable information about the underlying cause.
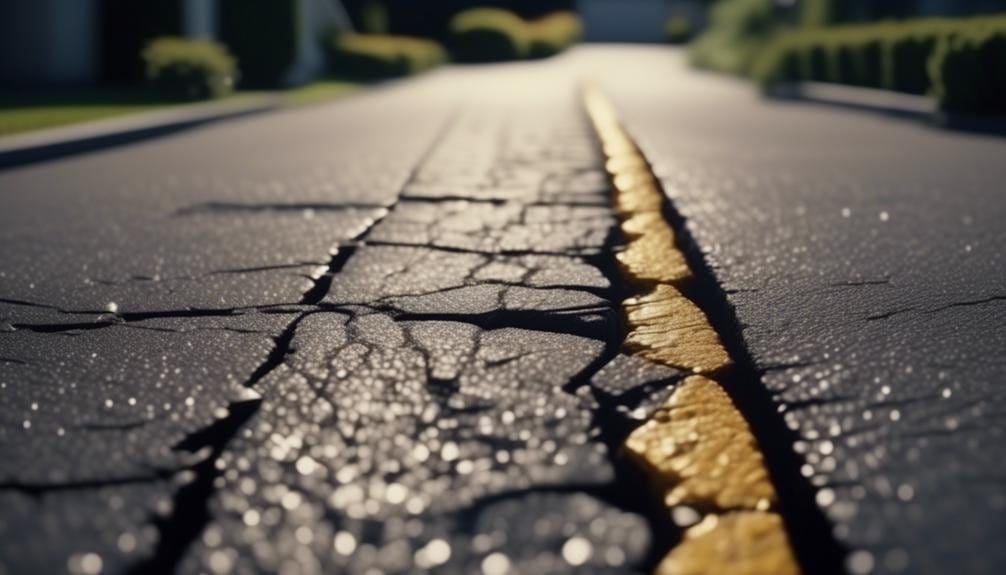
Next, assess the pattern of the cracks. Are they straight or do they form a spiderweb-like pattern? This can help you identify the type of stress that caused the cracks, such as settling soil or freezing and thawing cycles.
Evaluate the depth of the cracks by using a ruler or a depth gauge. This will help you determine if the damage is superficial or if it extends deeper into the concrete. Additionally, observe the direction of the cracks, as this can indicate the forces that caused them.
To ensure accurate assessment, clean the cracks thoroughly with a pressure washer and a cleaning solution. This will remove any debris or loose particles that could interfere with the repair process.
Once you have assessed the cracks, you can proceed with the necessary repairs. Depending on the size and severity of the damage, you may need to apply a concrete patching compound or use a concrete backer rod to fill larger cracks. Remember to follow the manufacturer’s instructions when applying these materials.
Choosing the Right Repair Method
After carefully assessing the damage to your residential driveway, it’s important to choose the right repair method based on the type, size, location, and depth of the crack. Here are some options to consider:
- Fill cracks with epoxy or polyurethane sealants: These sealants provide a strong and flexible barrier, preventing water from seeping into the cracks and causing further damage.
- Patch with cementitious or polymer-based materials: These materials are ideal for larger cracks and can be applied using a trowel or putty knife. They provide a durable and long-lasting repair.
- Overlay with new concrete or mortar: This method involves applying a new layer of concrete or mortar over the existing surface, effectively covering the cracks and giving your driveway a fresh look.
When choosing a repair method, it’s essential to use the right materials. Select crack fillers designed for specific crack widths and consider using a concrete backer rod for deeper cracks. Additionally, choose a concrete filler or patching compound that matches the size and type of crack. Rapid or fast-set crack fillers can be beneficial if you need to use your driveway quickly.
Remember to thoroughly clean the surface before beginning any repairs and consider using a concrete bonding adhesive to ensure a strong bond between the existing concrete and the repair material. By choosing the right repair method, you can effectively fill cracks and restore the integrity of your residential driveway.
Preparing the Driveway Surface
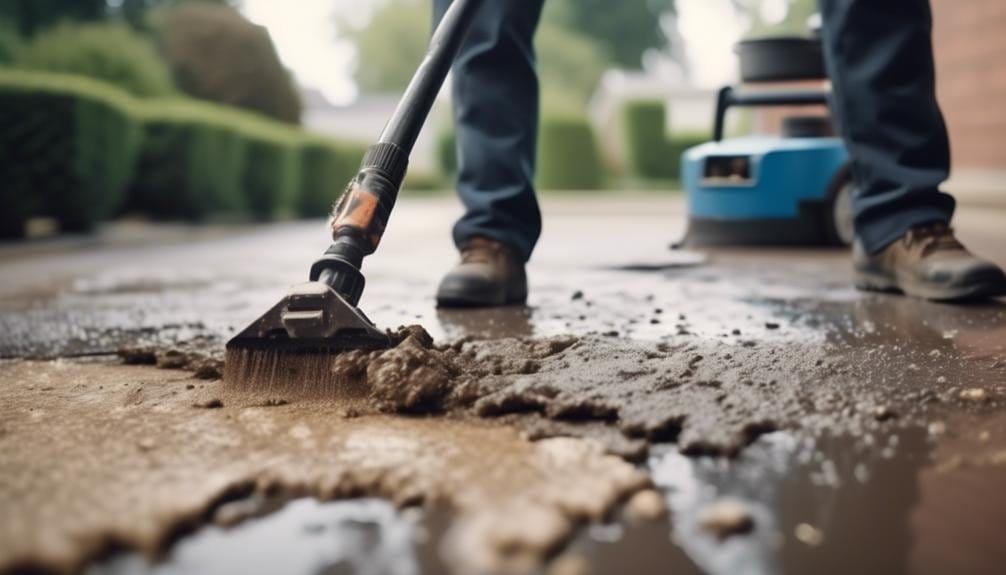
Start by thoroughly inspecting the driveway for any cracks wider than hairline and remove any debris from the area using a stiff wire brush or power washer. It’s important to prepare the driveway surface properly before repairing any cracks.
For smaller cracks, you can use a concrete filler or masonry crack elastomeric filler. Before applying the filler, make sure to apply a layer of primer or concrete bonding adhesive to ensure proper adhesion. Follow the instructions on the filler’s label to mix it with water and use a putty knife to apply the mixture into the cracks.
Deeper cracks may require a different approach. Consider using a concrete backer rod to fill the crack partially, then fill the remaining space with pre-mixed concrete. Water-based acrylic filler along with a non-porous foam backer rod can be used for larger cracks.
Once you have filled the cracks, it’s time to mix the resurfacing concrete. Follow the instructions on the package and mix the dry concrete mix with water. The consistency should be similar to pancake batter. Use a trowel to press the wet mix into the cracks and blend it with the existing material.
After repairing the cracks, pour a thin coat of the resurfacing concrete onto the driveway surface. Use a rubber squeegee to spread it evenly. Let the driveway dry for at least six hours before using it.
Applying the Crack Repair Solution
Inspecting and preparing the driveway surface is essential before applying the crack repair solution to ensure a successful and long-lasting repair. Once you have cleaned the crack thoroughly and allowed it to dry completely, it’s time to move on to the next step: applying the crack repair solution.
Here’s what you need to know:
- Use a concrete filler or masonry crack elastomeric filler for small cracks. Before filling the crack, apply a layer of primer or concrete bonding adhesive to promote better adhesion.
- For medium cracks, a vinyl concrete patching compound or pre-mixed mortar is recommended. Make sure to follow the manufacturer’s instructions for application.
- Large cracks may require additional steps. Consider using a concrete backer rod to fill the gap before applying pre-mixed concrete.
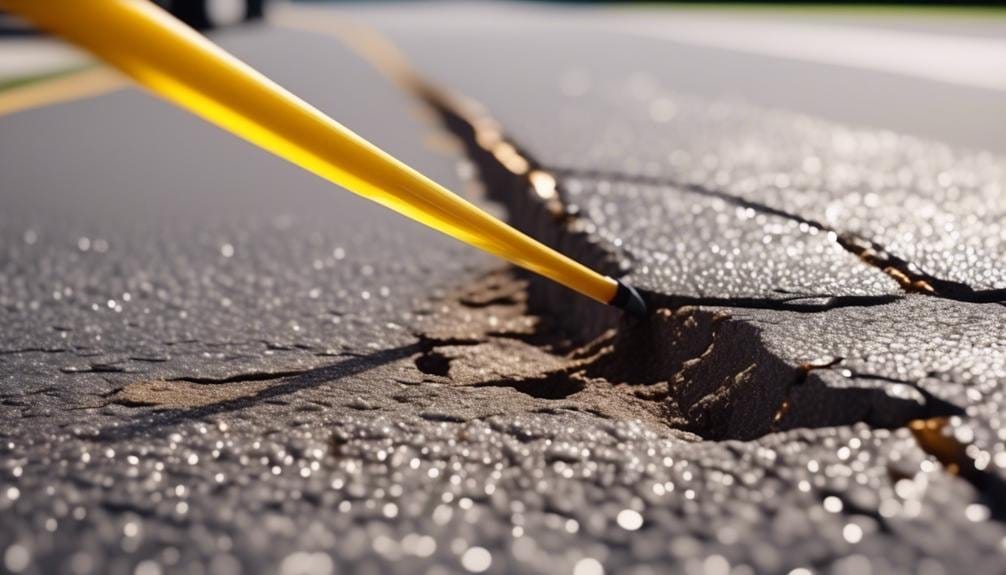
- Mist the driveway with water to dampen the surface before applying the crack repair solution. This will help the sealant adhere better.
- Use a squeegee or paint roller to apply the sealant, and make sure to apply two thin coats. Allow each coat to dry before applying the next.
Sealing and Protecting the Repaired Cracks
To effectively seal and protect the repaired cracks in your residential driveway, it’s recommended to apply a layer of primer or concrete bonding adhesive before filling the crack. This step enhances adhesion and durability, ensuring a long-lasting repair. Whether you have concrete or asphalt driveways, this process applies to both.
After applying the primer or adhesive, it’s time to fill the crack. For thin cracks, a cement mixture is suitable. Make sure to blend it with the surrounding surface to achieve a seamless repair. Medium cracks may require a vinyl concrete patching compound or pre-mixed mortar for added strength.
To seal and protect the repaired cracks, mist the driveway with water and use a squeegee or paint roller to apply the sealant. It’s important to apply two thin coats of sealant, allowing each coat to dry before applying the next. This effectively prevents water and environmental damage, ensuring the longevity of the repair.
If you want to enhance the appearance of your driveway while providing an additional layer of protection, consider resurfacing it. Mix resurfacing concrete to a thin pancake-batter consistency, wet the surface, and spread a thin coat of resurfacer using a rubber squeegee. Use a broom with an extended handle to create texture on the concrete surface.
Remember to allow sufficient drying time before walking or driving on the driveway. Waiting at least six hours before walking, 24 hours before driving, and 48 hours before putting any heavy pressure on the driveway ensures the repair settles properly and maintains its effectiveness.
Conclusion
In conclusion, repairing cracks in residential driveways is crucial for maintaining their integrity and appearance.
By assessing the damage, choosing the right repair method, preparing the surface, and applying the appropriate crack repair solution, homeowners can effectively address cracks and prevent further damage.
So why wait? Take action now and ensure your driveway remains safe and attractive for years to come.