Did you know that cracks in driveways can lead to serious damage if left unattended? It’s true! Over time, water can seep into these cracks and cause them to expand, leading to costly repairs.
But fear not, because there are steps you can take to repair those cracks and keep your driveway in top shape. In this discussion, we will explore the essential steps for residential driveway crack repair, from inspecting and cleaning the driveway to filling and sealing the cracks.
So, if you want to ensure the longevity of your driveway and prevent further damage, keep reading to discover the key steps for residential driveway crack repair.
Key Takeaways
- Thoroughly inspect the driveway for signs of damage and measure cracks wider than a hairline.
- Clean the surface of the driveway to remove dirt, debris, and vegetation.
- Use appropriate tools like a hammer, mason’s chisel, and a weed-removing tool to chip away soft or crumbled concrete and clear grass and weeds from cracks.
- Clean the edges of small holes and large cracks with a stiff wire brush and hose down the entire driveway with high pressure to remove dirt and dust.
Inspect Driveway

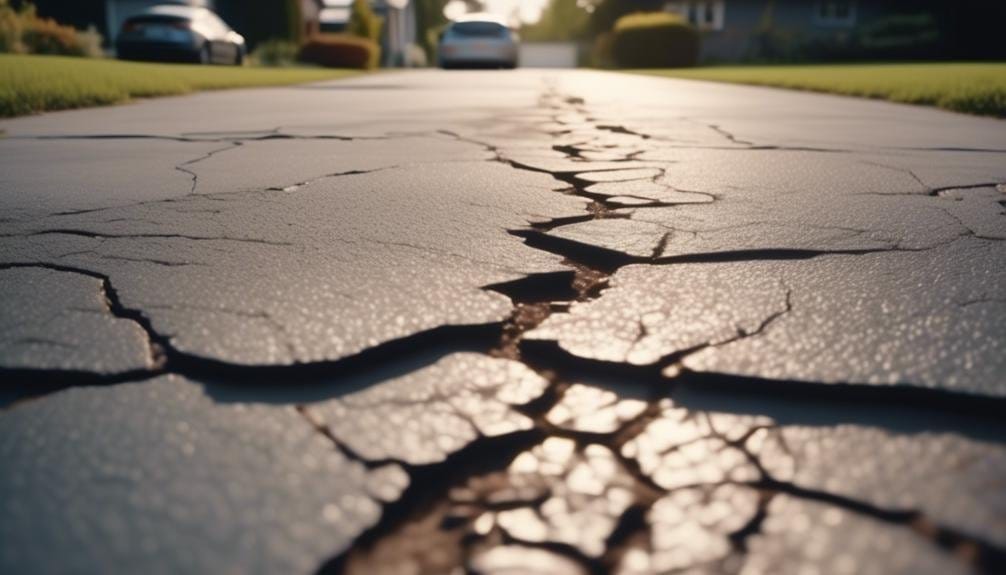
Inspect your driveway thoroughly, checking for any signs of damage and measuring any cracks that are wider than a hairline.
Start by cleaning the surface of your driveway, removing any dirt, debris, or vegetation that may be present. Use a weed-removing tool or spade to remove grass and weeds from the cracks.
Next, examine the cracks closely to identify their size and depth. If you notice any soft or crumbled concrete, chip it away with a hammer and masons chisel. For small holes and large cracks, clean the edges with a stiff wire brush to remove loose material.
Once the surface is clean and free of loose debris, you can proceed with the repair process. To fill the cracks, use a backer rod to create a gap between the crack and the patching material. This will allow for proper adhesion and prevent the patch from sinking.
Apply a concrete patching compound onto the crack, making sure to fill it completely. Smooth the surface with a trowel and let it dry according to the manufacturer’s instructions.
Regularly inspecting your driveway and promptly repairing any cracks will help maintain its longevity and appearance.
Clean Driveway
To effectively clean your driveway, begin by using a weed-removing tool or spade to clear any grass or weeds from the cracks. Once the cracks are free of vegetation, clean the edges of small holes and large cracks with a stiff wire brush. This will help remove any loose debris and create a clean surface for the repair materials to adhere to.
Next, hose down the entire driveway with high pressure, working from the center outwards. This will help remove dirt, dust, and other particles that may have accumulated over time. Take the time to inspect the driveway for any damage and measure cracks wider than a hairline.
To ensure proper adhesion, scrub the entire driveway with a diluted driveway cleaner and a stiff brush. This will remove any remaining dirt or grease that could interfere with the repair process. Once the driveway is clean, allow it to completely dry before proceeding with the repair.
Remove Debris

After thoroughly cleaning your driveway and ensuring it’s free of any vegetation or loose debris, the next step in the crack repair process is to remove any remaining debris from the cracks.
This is an important step to ensure a proper and long-lasting repair. To remove debris, you can use a shop vacuum. The strong suction power of a shop vacuum makes it effective in removing dirt and other small particles from the cracks.
Simply place the vacuum nozzle over the cracks and run it along the length of each crack. Make sure to clean both the surface and the bottom of the cracks to ensure a thorough removal of debris. It’s crucial to have the cracks clean and dry before filling them to ensure proper adhesion of the repair material.
Avoid using compressed air to clean the cracks, as it may blow dirt onto the driveway surface and cause contamination.
Fill Cracks
To properly fill the cracks in your residential driveway, you need to select the appropriate filler material based on the width of the cracks. Here are the steps to fill cracks in your driveway:
- For cracks up to 1/8 inch wide, use a rubberized asphalt emulsion crack filler. These fillers come in pourable squeeze bottles, making application easy and efficient. Simply pour the filler directly into the crack, ensuring it completely fills the space.
- For cracks that are 1/2 to 2 inches wide, use a non-porous foam backer rod material. This material acts as a filler and prevents the filler material from sinking into the crack. Insert the backer rod into the crack, ensuring it sits about 1/4 inch below the surface. Then, apply the filler material on top.
When filling cracks in your driveway, it’s important to prepare the surface properly. Start by cleaning the cracks with a pressure washer and removing any debris or loose material. Use a stiff wire brush to remove any weeds or grass growing in the cracks. Vacuum the cracks with a shop vacuum to remove any remaining dust or debris.
Next, apply a small amount of cement to the crack using a putty knife. This helps create a stable base for the filler material. Then, apply the filler material in two thin coats, allowing each coat to dry before applying the next. For best results, mix the filler material with three parts sand and concrete bonding adhesive to increase its strength and durability.
Seal Driveway

Now that you have filled the cracks in your residential driveway, it’s time to seal it to protect it from further damage. Sealing your driveway is an important step in the crack repair process as it helps to prevent water penetration and prolong the life of your driveway surface. By using a sealant, you create a protective barrier that keeps water from seeping into the cracks and causing them to expand.
To seal your driveway effectively, follow these steps:
- Clean the driveway surface: Remove any debris, dirt, or loose materials from the surface using a broom or blower. It’s important to have a clean and dry surface before applying the sealant.
- Use a backer rod: For larger cracks, consider using a backer rod before sealing. This foam strip is inserted into the crack to create a uniform depth and prevent the sealant from sinking too far.
- Apply the sealant: Choose a high-quality concrete crack sealant and carefully follow the manufacturer’s instructions. Use a caulking gun to apply the sealant into the cracks, making sure to fill them completely.
- Smooth the sealant: Use a putty knife or trowel to smooth the sealant and ensure it’s evenly distributed across the surface. This will help to create a seamless finish.
- Allow time to dry: Give the sealant enough time to dry completely before allowing any traffic on the driveway. This usually takes around 24 to 48 hours, but it’s best to check the product instructions for specific drying times.
Conclusion
In conclusion, by following the steps of inspecting, cleaning, removing debris, filling cracks, and sealing the driveway, homeowners can effectively repair residential driveway cracks.
With regular maintenance and care, future cracks can be prevented. Remember that a well-maintained driveway not only enhances the aesthetic appeal of the property but also ensures the durability and longevity of the driveway.
So, take the necessary steps to address any cracks promptly and protect your investment.