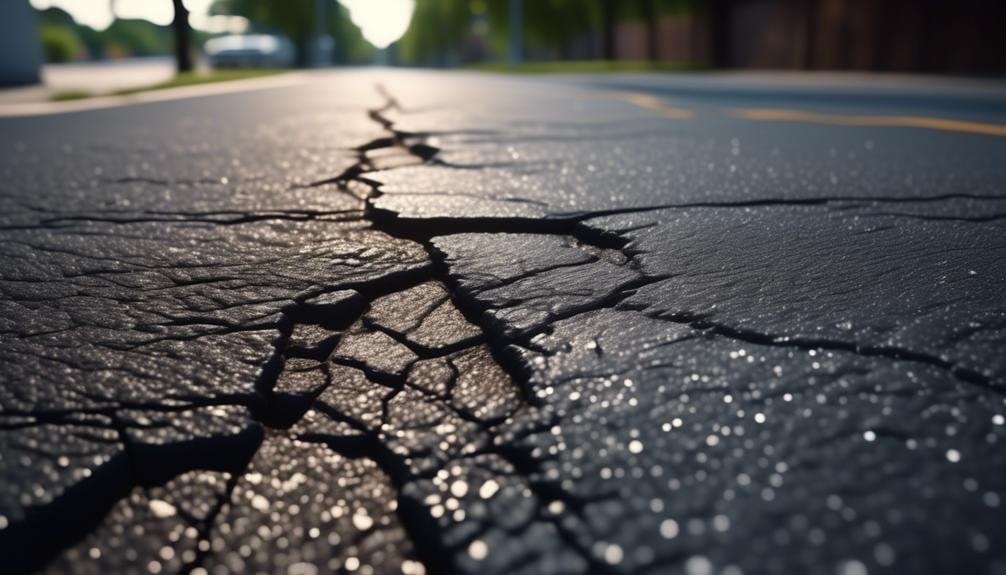
As you stand in front of your weathered driveway, the cracks spread out like jagged fault lines, disrupting the smooth surface.
But fear not, for there is a way to restore its former glory.
By following a few simple steps, you can repair those unsightly cracks before sealcoating, creating a durable and impeccable finish.
So, grab your tools and let’s embark on this journey towards a flawless driveway.
Key Takeaways
- Assess the severity of cracks by evaluating their width, depth, and potential causes.
- Clean and prepare the crack by removing moss, dirt, and debris, and applying bleach to remove mold or mildew.
- Choose the right crack filler based on the size of the crack and its compatibility with sealant.
- Apply the crack filler by thoroughly cleaning the crack and using a caulking gun or hot pour filler for better adhesion. Allow for proper drying time before applying sealant.
Assess the Crack Severity
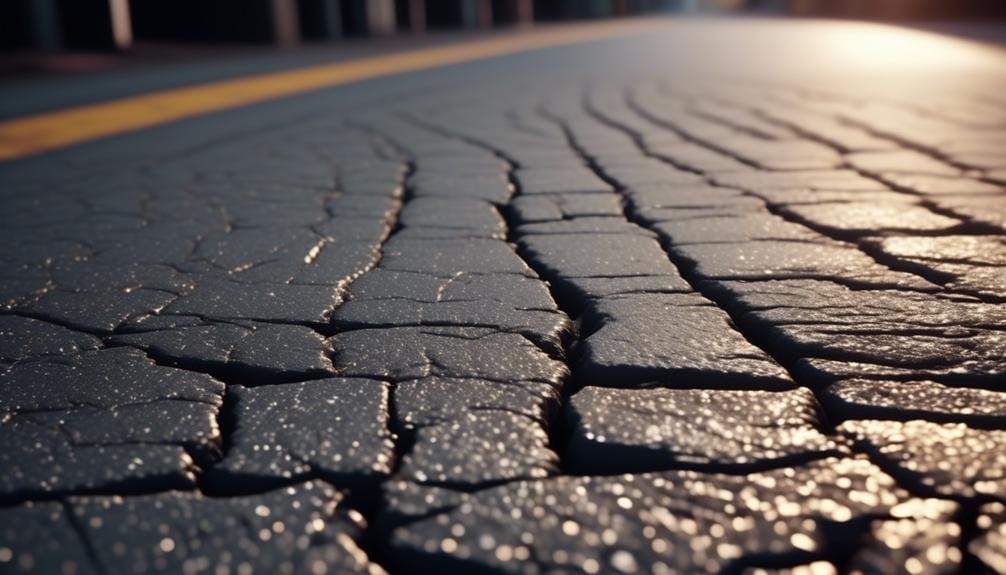
To properly assess the severity of cracks on your asphalt surface, begin by evaluating their width, depth, and potential causes. By carefully examining the cracks in your driveway, you can determine the most appropriate repair method.
Start by measuring the width of the cracks. If they’re less than a quarter-inch wide, they can be easily repaired with crack filler. However, if the cracks are wider than a quarter-inch, they may require crack filling or even a more extensive repair process.
Next, assess the depth of the cracks. Shallow cracks that don’t penetrate the full thickness of the asphalt can be repaired with simple crack filling. However, if the cracks are deeper and have led to soft spots or potholes, more extensive repair work may be necessary.
It’s also important to consider the types of cracks present. Straight cracks may indicate surface shrinkage, while zigzagging cracks could be a sign of underlying earth movement. By understanding the types of cracks and their potential causes, you can gauge the severity of the damage and determine the proper maintenance and repair needed for your driveway.
Clean and Prepare the Crack
Once you have assessed the severity of the cracks on your Asphalt Driveway, the next step in the repair process is to thoroughly clean and prepare the crack before applying any crack filler. This step is crucial to ensure the best results and help maintain a sealed surface on your driveway.
To clean the crack, start by using a pressure washer to remove any moss, dirt, or debris that may be present. This will help to expose the full extent of the crack and ensure proper adhesion of the filler. Additionally, if you notice any mold or mildew in the crack, it’s important to clean it with bleach to prevent further growth.
After cleaning, allow the crack to dry completely before proceeding. This may take some time, especially if the crack is deep or if the weather is humid. It’s important to ensure that the crack is completely dry to ensure proper adhesion of the crack filler.
Once the crack is dry, use a wire brush or scraper to remove any loose materials from the crack. This will create a clean and smooth surface for the filler to adhere to.
Now, it’s time to apply the crack filler. Using a caulking gun, carefully fill the crack completely with the filler. Make sure to apply enough filler to slightly overfill the crack to compensate for any settling that may occur.
Choose the Right Crack Filler
When selecting the appropriate crack filler for your asphalt driveway, it’s important to consider factors such as the size of the cracks, adhesion and flexibility of the filler, and compatibility with the sealant for optimal protection against re-cracking. Using the right crack filler is an important part of the repair process and can significantly extend the life of your driveway.
For cracks less than 1/2 inch, it’s recommended to use a crack filler specifically designed for this purpose. These fillers are formulated to provide excellent adhesion to the asphalt surface and ensure a tight seal. They’re typically available in a ready-to-use form that can be applied directly to the cracks.
In cases where you have larger holes or cracks, a driveway patch may be more suitable. These products are designed to fill and repair larger areas of damage, providing a more durable and long-lasting solution. It’s important to follow the manufacturer’s instructions when using these products to ensure proper application and optimal results.
When filling the cracks, it’s important to avoid overfilling, as this can lead to visible patches on the surface. Allow the filler to dry completely before applying the sealant to ensure proper adhesion and a smooth finish.
Choosing a high-quality crack filler is crucial for achieving the desired results. Look for products that offer good flexibility, as this will allow the filler to expand and contract with the temperature changes, reducing the risk of cracking. Additionally, consider using hot pour crack fillers if you need a faster drying time.
Lastly, ensure that the crack filler you choose is compatible with the sealant you plan to use. This is important for ensuring optimal protection against re-cracking and maintaining the integrity of the repair.
Apply the Crack Filler
Make sure to properly apply the crack filler to effectively repair the cracks in your asphalt driveway and prevent further damage. To ensure a successful application, follow these steps:
- Clean the crack: Before applying the crack filler, make sure to remove any loose debris from the crack. You can use a wire brush or a high-pressure air blower to clean the crack thoroughly. This step is crucial to ensure proper adhesion of the filler to the pavement surface.
- Fill the cracks first: Start by applying the crack filler to the cracks that are less than 1/2 inch wide. These are the most common and easily repairable cracks. Using a hot pour crack filler is recommended as it provides better adhesion and durability compared to cold pour fillers.
- Apply the crack filler: Use a squeegee or a trowel to spread the crack filler evenly over the crack. Make sure the filler covers the entire crack to effectively seal and protect it from moisture penetration. Avoid overfilling the crack, as this can lead to visible patches and an uneven surface after sealcoating.
- Allow drying time: Allow the crack filler to dry completely before proceeding with the sealant application. This ensures proper adhesion and a durable repair. Follow the manufacturer’s instructions for the recommended drying time.
Allow for Proper Drying Time
To ensure a successful sealcoating application, it is essential to allow the crack filler to fully dry before proceeding. Proper drying time is crucial as it allows the crack filler to cure and create a strong bond with the surface, ensuring long-lasting repairs. The drying time for crack fillers can vary depending on factors such as temperature, humidity, and the type of crack filler used. It is important to check the manufacturer’s recommendations for the specific crack filler being used.
Taking into account the drying time is especially important for larger cracks. These cracks tend to have more depth and require more time to dry completely. Failing to allow sufficient drying time can result in the crack filler not fully adhering to the surface, leading to adhesion issues and an uneven sealcoating coverage.
To help you understand the importance of drying time, here is a table that provides a general guideline for the drying times of different types of crack fillers:
| Crack Filler Type | Drying Time |
|---|---|
| Asphalt-based | 24-48 hours |
| Rubberized | 12-24 hours |
| Epoxy | 4-8 hours |
| Acrylic | 2-4 hours |
| Polyurethane | 4-6 hours |
Conclusion
In conclusion, repairing cracks before sealcoating your driveway is crucial for a smooth and durable surface. By assessing the severity of the cracks, cleaning and preparing them properly, choosing the right filler, and allowing for proper drying time, you can ensure a successful repair.
Did you know that according to a study, driveways that are properly repaired and sealed can last up to 10 years longer? So, investing time in crack repair can significantly extend the lifespan of your driveway.