Spring is a great time to sealcoat your driveway. You’ll get favorable curing conditions with mild temperatures between 55-85°F and stable weather patterns. Schedule your project when forecasts show three consecutive rain-free days with overnight temperatures above 50°F. Early spring applications protect your pavement before summer’s intense UV rays hit. Wait until moisture levels drop below 8% for best results. Let’s investigate how to maximize your springtime sealcoating success.
Key Takeaways
- Spring provides ideal temperatures between 55-85°F for proper sealcoat curing and strong adhesion to pavement surfaces.
- Mild spring weather allows thorough post-winter damage assessment and necessary repairs before applying sealcoat.
- Early spring maintenance helps avoid scheduling conflicts with summer activities while ensuring protection before intense UV exposure.
- Spring requires careful monitoring of ground moisture levels and weather forecasts to ensure optimal application conditions.
- Late spring offers more stable temperatures and longer daylight hours, making it easier to schedule three consecutive dry days.
Understanding Spring Weather Patterns and Sealcoating Success
Spring weather can make or break your sealcoating project’s success!
Weather forecasting is your best friend when planning spring maintenance for your driveway. You’ll need 3 consecutive days of temperatures above 50°F (10°C) and zero chance of rain.
Early spring mornings often bring heavy dew. That’s your enemy! Wait until mid-morning when surfaces are completely dry.
Watch These Weather Signs:
- Rising overnight temperatures
- Clear skies in the 5-day forecast
- Low humidity levels (below 60%)
- Minimal wind conditions
Pro Tip: Track weather patterns for 2 weeks before scheduling. The sweet spot? Late spring when temperatures stabilize. You’ll get better results if you’re patient!
Timing Is Everything:
- Schedule between 10am and 3pm
- Avoid pollen-heavy days
- Check local frost warnings
- Monitor ground temperature
Additionally, it’s crucial to remember that seal coating your driveway can significantly extend the lifespan of asphalt surfaces, making it a worthwhile investment.
Temperature Requirements for Optimal Sealcoat Application
Now let’s zero in on those temperature sweet spots for your sealcoating success!
Getting the temperature right is absolutely essential for your sealcoat materials to bond properly. You’ll want to time your application techniques perfectly with the weather conditions.
- Surface Temperature: Your driveway needs to be at least 50°F (10°C) for proper application. Check this with an infrared thermometer for best results!
- Air Temperature: The sweet spot is between 55-85°F (13-29°C). Anything outside this range can spell trouble for your sealcoat.
- Overnight Forecast: Look for temperatures staying above 50°F for at least 24 hours after application. This allows for proper curing time.
Pro tip: Early afternoon applications work best in spring! The pavement has warmed up nicely by then.
You’ll get maximum penetration and adhesion from your sealcoat materials. Additionally, proper sealcoating techniques can significantly extend the lifespan of your asphalt surface.
Ground Moisture Levels and Their Impact on Adhesion
Moisture trapped beneath your sealcoat can destroy even the best application!
You need to check ground moisture levels before starting your project. High moisture retention will create major adhesion challenges for your sealcoat. Don’t risk a failed application. Test the surface first!
Check out these critical moisture readings and what they mean for your project:
| Moisture Level | Surface Feel | Action Required |
|---|---|---|
| Under 8% | Dry & Firm | Safe to Apply |
| 8-12% | Slightly Damp | Wait 24 Hours |
| Over 12% | Wet & Soft | Delay Project |
Pro tip: Press a piece of plastic wrap against your driveway for 24 hours. If condensation forms underneath, there’s too much moisture present. Wait for drier conditions! Your patience now will prevent costly repairs later. Additionally, be aware that qualified contractors can help assess moisture levels accurately for optimal sealcoat application.
Spring Rain Considerations for Project Planning
When rainy weather hits your region, you’ll need a reliable backup plan! Spring humidity effects can seriously impact your sealcoating project’s success. That’s why smart planning is essential during this wet season.
Here’s what you must consider for perfect project timing:
- Monitor weather forecasts 5-7 days ahead to spot ideal application windows without rain.
- Schedule early morning starts to maximize dry conditions before potential afternoon showers.
- Have tarps and drainage solutions ready to manage unexpected rainwater runoff.
Don’t let spring showers derail your project! Keep a flexible schedule and maintain open communication with your contractor. Additionally, ensure you choose a contractor with extensive service area to accommodate any changes in your project timing.
You’ll want at least 24 hours of dry weather after application. Consider installing temporary gutters or barriers to protect fresh sealcoat from damaging water exposure.
Your patience during wet conditions will pay off with superior results!
Nighttime Temperature Fluctuations in Spring
Along with rainfall patterns, spring’s temperature swings can pose unique challenges for sealcoating projects.
You’ll need to carefully monitor nighttime temperatures in spring. The drastic drops can affect how your sealcoat cures! Temperature stability is vital during the first 24-48 hours after application.
Pay special attention to these key factors:
- Overnight lows must stay above 50°F
- Nighttime humidity levels shouldn’t exceed 85%
- Allow 2-3 extra hours of curing time on cool nights
Pro tip: Check your local weather forecast for a 3-day window of consistent temperatures. Spring evenings can be tricky! The temperature might feel perfect at 4 PM but plummet by 8 PM.
Don’t let your hard work go to waste. Schedule your project during a stretch of stable overnight temperatures for best results. Additionally, using quality materials ensures the longevity and durability of your sealcoat application.
Springtime Curing Times and Traffic Restrictions
Spring’s cooler temperatures mean your sealcoating project needs longer to fully cure! Proper curing time is essential for achieving those fantastic spring sealcoat benefits.
You’ll need to carefully plan your project scheduling to account for temperature variations.
Here’s what you need to know about springtime curing requirements:
- Allow 24-48 hours for initial drying before any foot traffic touches your newly sealed surface.
- Wait 72 hours minimum before allowing vehicle traffic back on your driveway.
- Plan for 5-7 days of total curing time in spring conditions.
Don’t rush the process! Spring’s moisture levels and cooler temps require extra patience. Additionally, consider consulting a local expert for quality sealcoat work to ensure the best results.
Mark your calendar and rope off the area to prevent accidental traffic. Your contractor will give you specific timing guidance based on local weather patterns and the sealcoat product being used.
Seasonal Pricing and Contractor Availability
Looking to score the best deal on your spring sealcoating project?
Spring brings vibrant seasonal pricing in the sealcoating industry. Many contractors offer early-season discounts to fill their schedules. You’ll often find competitive rates in March and April!
But don’t wait too long. Prices typically rise by May.
Contractor scheduling gets tricky during peak season. Most quality contractors book up 2-3 weeks in advance by mid-spring.
Your best bet? Book your project in early March. You’ll get:
- First pick of available dates
- Better negotiating power
- More flexible scheduling options
- Potential early-bird discounts
Pro tip: Request quotes from 3-4 contractors in February. Compare their spring rates and availability. Be sure to obtain fast, free quotes to make an informed decision.
Lock in your preferred contractor before their schedule fills up. Smart planning now means major savings later!
Pre-Summer Preparation Benefits
The smart choice to sealcoat in spring delivers major advantages for your pavement!
By implementing effective spring maintenance strategies now, you’ll protect your investment and enjoy fantastic benefits all summer long.
Get ready for these remarkable pre-summer sealcoating benefits:
1. Your pavement will cure perfectly in spring’s mild temperatures. Not too hot or cold!
This means ideal protection against summer’s intense UV rays and heavy rains.
2. You’ll beat the rush of summer activities and events that could interfere with your maintenance schedule.
No more juggling family gatherings around pavement work!
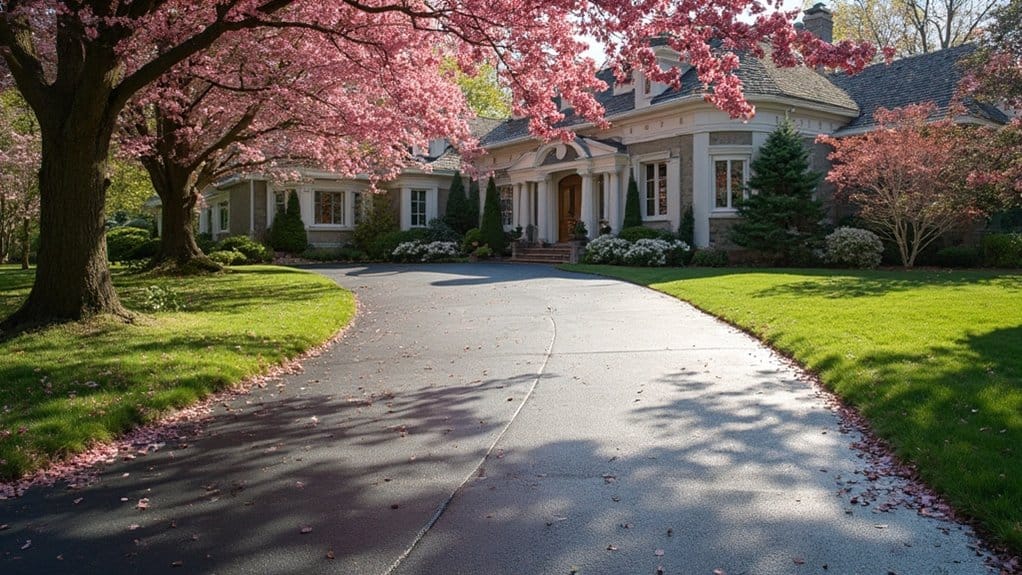
3. Early spring sealcoating means your driveway will look stunning when outdoor entertaining season kicks off.
You’ll be the neighborhood standard-setter with your beautifully maintained pavement! Additionally, regular maintenance reduces safety hazards from cracks and potholes, ensuring a smooth and safe surface for all your summer activities.
Post-Winter Damage Assessment and Repairs

After winter’s harsh assault on your pavement, it’s important to conduct a thorough damage assessment.
Your post winter inspections should focus on three vital areas:
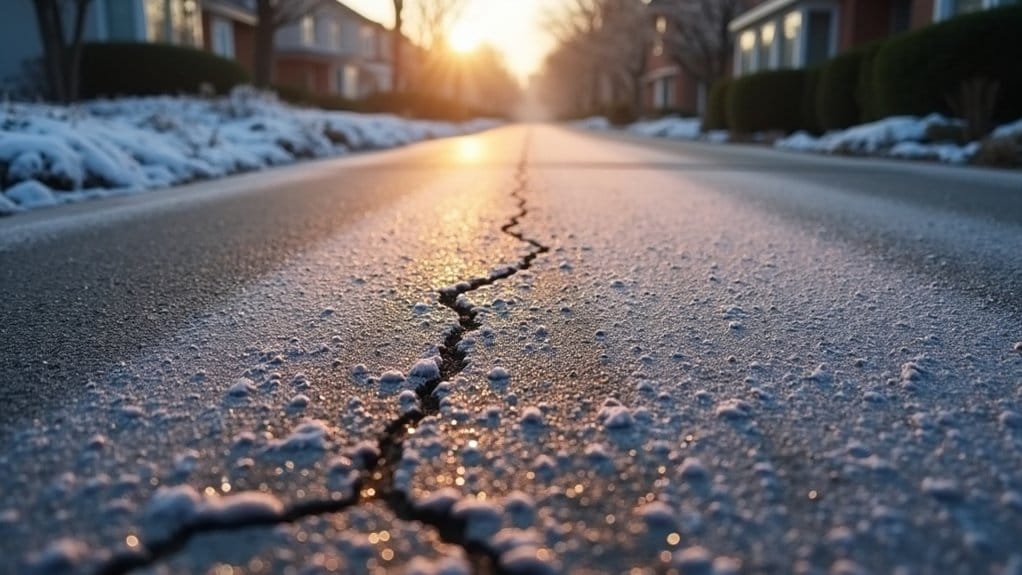
Surface Cracks
- Look for spider web patterns and linear cracks
- Mark damaged spots with bright spray chalk
- Measure cracks wider than 1/8 inch
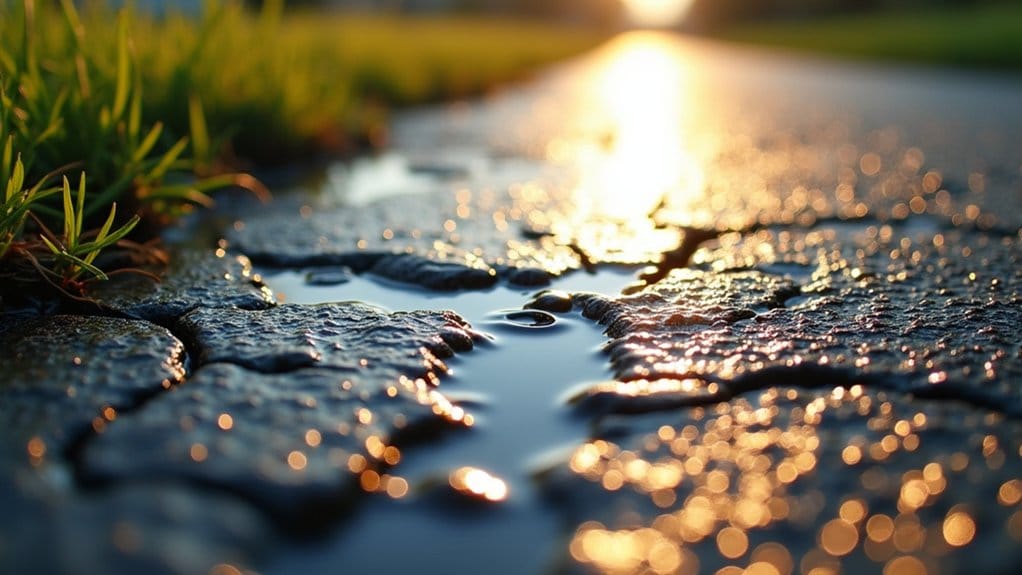
Water Damage
- Check for pooling areas and depressions
- Identify spots where water isn’t draining properly
- Document any frost heave locations
Edge Deterioration
- Inspect perimeter for crumbling
- Note areas where pavement meets landscaping
- Check for grass and weed intrusion
Don’t skip these important damage repairs!
Small issues can quickly become expensive problems.
Take photos of everything you find. They’ll help track repair progress and create a maintenance history for your property. Additionally, addressing these issues promptly can help with addressing cracks and pavement damage and save you money in the long run.
Conclusion
Spring’s your golden opportunity for sealcoating. But you’ve got to play it smart! You’re now equipped with the seasonal know-how to make an informed decision. Don’t let those April showers dampen your driveway dreams. Watch those temps, mind the moisture, and time it right. Your wallet will thank you for choosing spring’s sweet spot. Now go give that driveway the TLC it deserves!