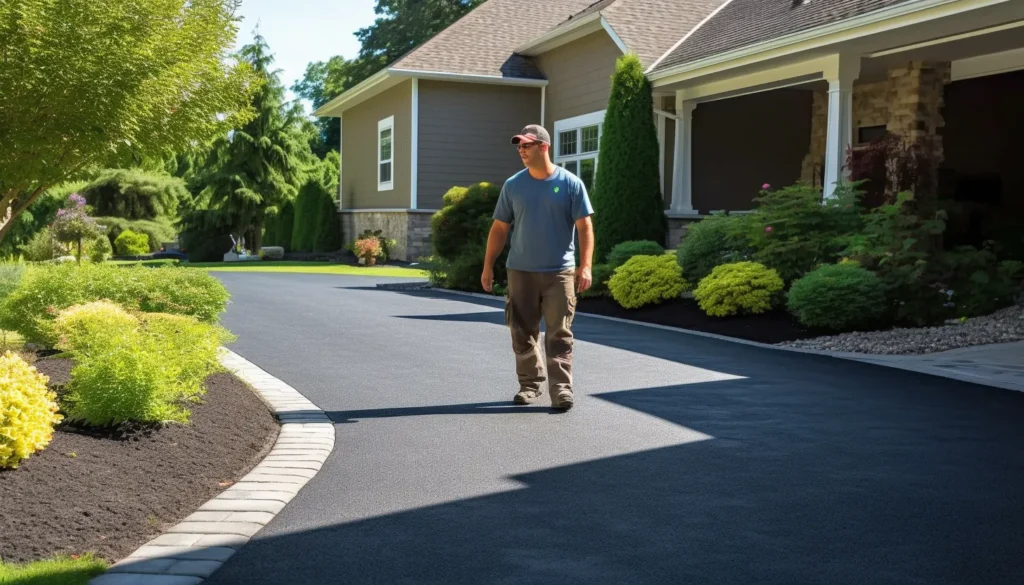
Are you thinking of installing a new paved driveway? If so, you’re in the right place. Paved driveways can be both aesthetically pleasing and highly functional. Not to mention, they can be quite durable and require very little maintenance.
In this article, we’ll go over the steps to install a new paved driveway, as well as the benefits that come with it.
We’ll discuss selecting the right materials, preparing the ground, laying the pavement, and installing the edging. We’ll also touch on the benefits of paving a driveway, so you can decide if it’s the right choice for you. So let’s get started!
Selecting the Right Materials
Choosing the right materials for your driveway is an important decision and one you should take seriously to ensure long-term satisfaction. It’s important to consider the cost difference between asphalt, gravel, and concrete, as well as installation considerations. Asphalt is the most commonly used driveway material, as it is generally the most cost-effective.
However, gravel and concrete can be used for a more aesthetically pleasing look. Installation for asphalt is a relatively simple process, especially compared to gravel or concrete, so this should also be taken into account when making your final decision.
The installation process for gravel and concrete can be more complex and expensive than asphalt. Gravel is a great choice if you’re looking for a more natural look for your driveway.
It’s important to make sure the gravel is properly installed and the surface is well-graded and compacted to ensure a long-lasting driveway. Concrete is a more expensive option, but it can be a great choice for those looking for a durable and aesthetically pleasing option. The installation process is more complex for concrete, as it requires more heavy equipment and labor.
When selecting the materials for your driveway, it’s important to consider the cost difference between materials, as well as the installation process. Taking the time to research the different materials and installation processes will ensure that your driveway is installed correctly and will last for many years to come.
Preparing the Ground
Before you can pave a driveway, you need to prepare the ground. This includes excavation and grading to ensure the area is level and free of debris, as well as preparing a strong subbase to support the pavement. Doing these steps properly is essential to building a driveway that will last, so take the time to do the job right.
Excavation and Grading
Digging and leveling the existing ground is essential for creating a smooth and sturdy driveway. Compacting the soil is key to ensuring a solid foundation for your driveway. The grading process involves determining the slope of the driveway, and then leveling accordingly.
This will ensure proper drainage and help to prevent water from pooling or eroding the driveway. When grading slopes,
it is important to ensure that the grade is gradual and consistent to prevent water from rushing down and washing away the material.
With the right excavation and grading, your driveway will be able to stand the test of time.
Subbase Preparation
You’ll need to prepare the subbase before you can lay the foundation for your driveway – compacting and leveling the soil to make sure it’s solid and secure. To ensure a solid base for your driveway, you’ll need to:
- Use sealing techniques to protect the subbase from moisture and water damage.
- Utilize drainage systems to prevent water from pooling on the foundation.
- Make sure the subbase is level and evenly compacted.
The most important step in preparing a subbase is to make sure it is solid and level. To achieve this, you must compact the soil to remove any air pockets, and make sure it is even and level. Once the subbase is prepared, you’ll need to seal it with sealant to protect it from moisture and water damage.
Additionally, you’ll want to build drainage systems in and around the sub-base to prevent water from pooling on the foundation.
It’s important to ensure these steps are taken to guarantee a strong foundation for your new driveway.
Laying the Pavement
Now you’re laying the pavement to give your driveway a smooth, finished look. Installing pavers is the first step in this process. Be sure to measure the slope of the driveway to ensure that the pavers are properly laid.
This will help prevent any water from pooling on the surface, which can cause damage to the pavement. Additionally, make sure to use a high-quality adhesive on the pavers to ensure a secure fit.
Once the pavers are laid, it’s time to spread the paving material. Be sure to use a trowel or shovel to spread the material evenly for the best results.
Make sure to leave enough room for the next layer, as it will need to be applied in the same way. Don’t forget to use a concrete screed to make sure the base layer is even and level.
Now you’re ready to install the asphalt. This layer is the most important, as it gives the driveway its strength and durability. Begin by pouring the asphalt onto the prepared surface and spread it using a rake.
Make sure the asphalt layer is level and that you’re using a compactor to create a strong bond between the asphalt and the base layer. Once the asphalt is laid, you can begin the finishing touches like edging and grading. This will help ensure the driveway has a finished, professional look.
Installing the Edging
Now that you’ve got the pavement laid, it’s time to install the edging. This is a crucial part of the driveway installation, and should not be overlooked. Edging will help keep the pavement in place and make the driveway look more finished.
Installing the edging can be quite a task, so it’s important to be aware of the cost estimation and safety measures when doing so.
The edging should be placed along the outside edges of the driveway and should be level with the pavement. You may choose to use metal, plastic, brick, or concrete edging. It’s important to pick the material that fits the look you’re trying to achieve.
Make sure the edging is securely fastened in the ground in order to ensure the safety of the driveway.
When it comes to installing the edging, make sure you have the right tools and materials to get the job done. You’ll need a level, a shovel, and a hammer or mallet. You will also need a wheelbarrow to move the edging and any other materials you may need.
Before you start, be sure to read the instructions carefully and follow them closely to ensure your edging is installed correctly.
Installing the edging is an important step in completing your new paved driveway. Make sure to take your time, be mindful of the cost estimation and safety measures, and use the right tools and materials to get the job done properly.
With a little bit of patience and effort, you’ll have a beautiful driveway that is sure to last for years to come.
Benefits of Paving a Driveway
Having a paved driveway can provide many benefits, from increasing your property value to making your home look more attractive. Here are the major advantages of paving a driveway:
- Increased durability, reducing long-term maintenance costs
- No need to add new gravel or reseal asphalt
- Low cost of repair and maintenance
- Reduced dust, mud, and weed growth
- Reduced water runoff into sewers
- Reduced noise pollution
Paving a driveway can also enhance the overall look and feel of your home, adding to its curb appeal. It can also make parking and maneuvering vehicles easier and safer, as well as providing a smooth surface for kids to play on. Therefore, paving your driveway is an investment that pays off in the long run.
Conclusion
You’ve now completed the work of paving your driveway, and it looks great! You can enjoy the benefits of a driveway that’s easier to maintain, better-looking, and more structurally sound.
Plus, you can take pride in knowing that you completed the project yourself. Installing a new paved driveway isn’t easy, but now you have the knowledge and experience to do it yourself. Congratulations on a job well done!


