Understanding Alligator Cracking in Asphalt
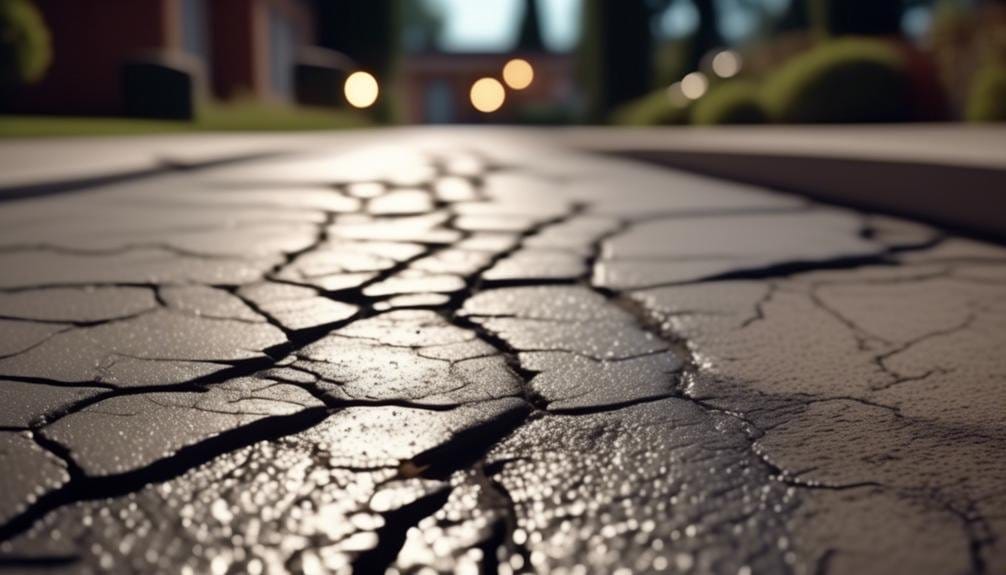
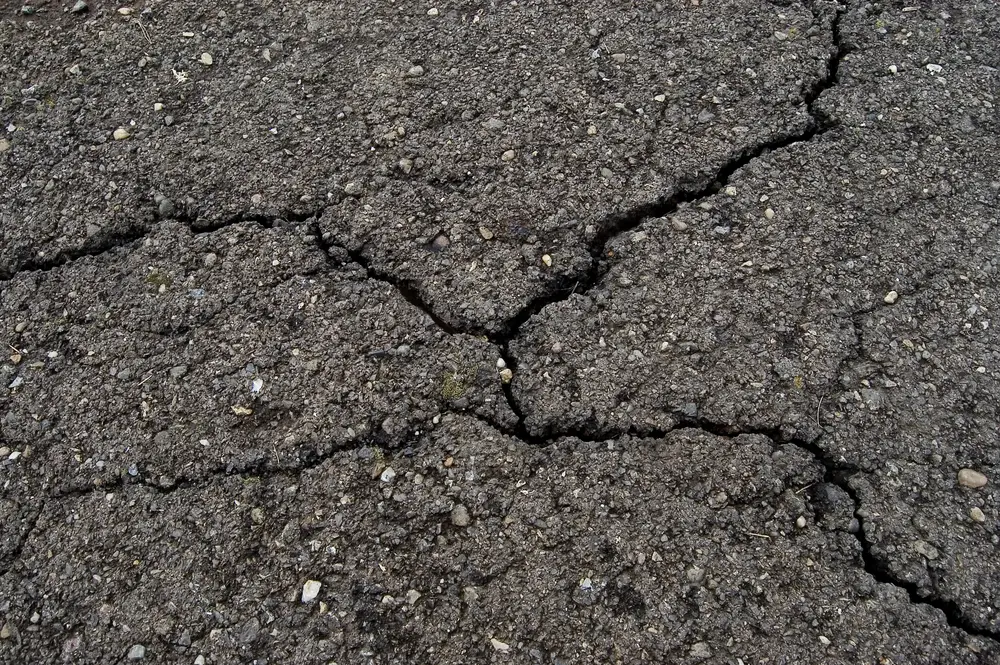
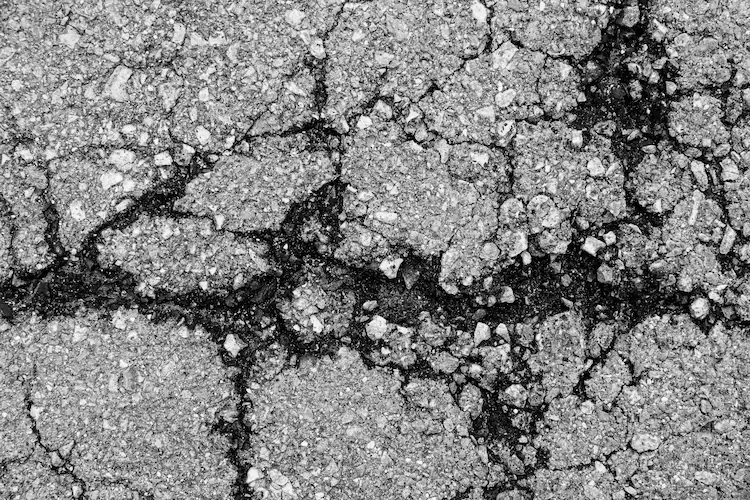
You're dealing with alligator cracking, a network of interconnected cracks resembling alligator skin. It results from excessive loads, improper pavement…
06/29/2024

You're dealing with alligator cracking, a network of interconnected cracks resembling alligator skin. It results from excessive loads, improper pavement…
Are you tired of your plain and boring asphalt driveway? Look no further! In this article, we will guide you…

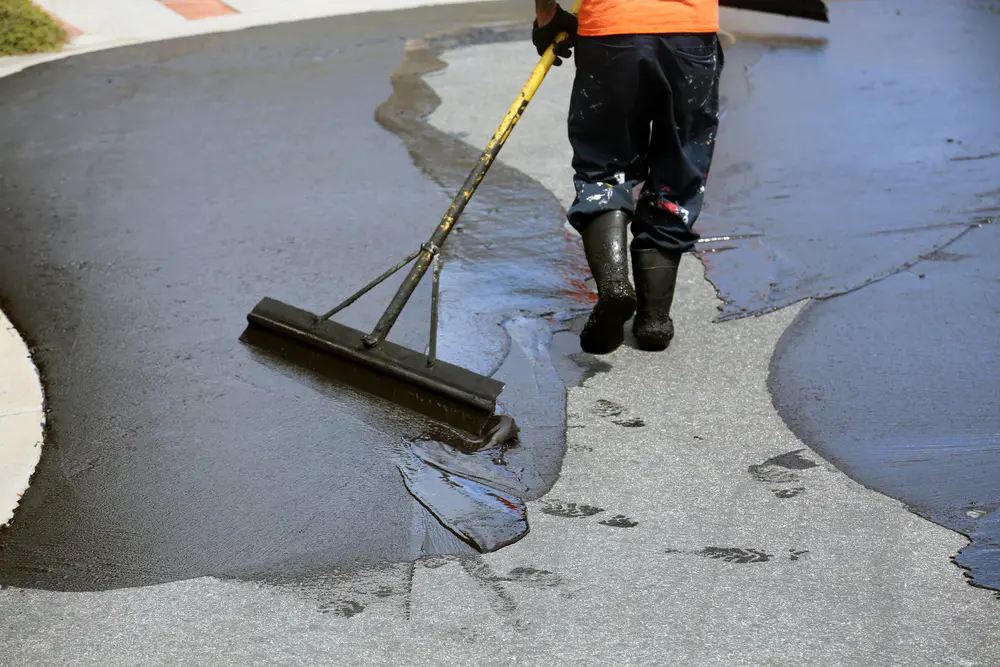
Are you tired of dealing with cracked and worn-out asphalt on your property? Look no further! This essential asphalt paving…

Are you tired of constantly repairing and maintaining your asphalt driveway? Well, look no further! In this article, we will…

Are you tired of dealing with cracked and deteriorating asphalt? Don't fret! We've got you covered with 15 essential tips…
Are you tired of seeing cracks mar the smooth surface of your asphalt pavement? Well, fret no more! In this…
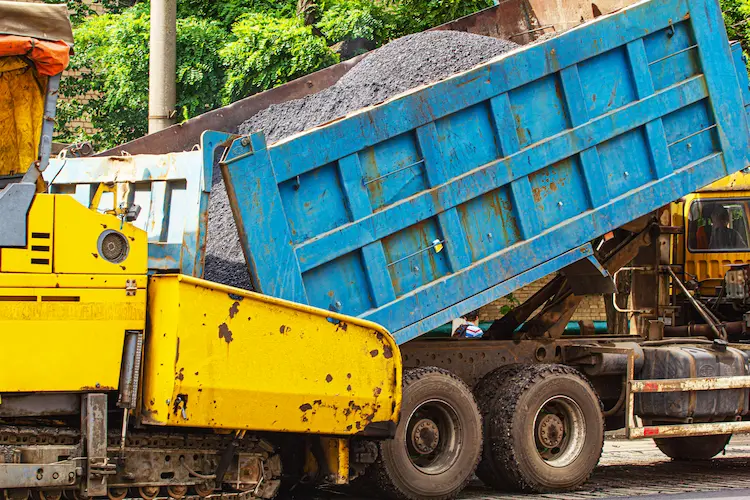
Are you ready to take your paving project to the next level? Get ready to dive into the world of…
Are you wondering how to keep your asphalt in top shape? Look no further! With a regular maintenance schedule, you…

Did you know that over time, asphalt pavements can develop cracks that need to be repaired to prevent further damage?…
If you want to keep your asphalt paving looking smooth and sturdy, then you've come to the right place. In…