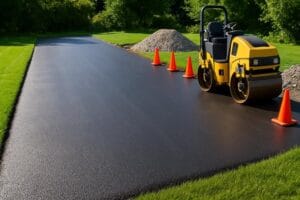
Preparing your property for paving day means tackling several critical steps before crews arrive. Call 811 at least 3-5 business days early to locate utilities. Move vehicles the morning of paving, not the night before. Confirm your driveway’s base is dry and graded 1/8 to 1/4 inch per foot toward the street. Keep kids, pets, and deliveries clear for 24-72 hours post-installation. Everything below will show you exactly how to nail each step.
Key Takeaways
- Assess your driveway’s condition before paving day, ensuring no drainage issues, frost heave, or tree root damage requiring full base removal.
- Call 811 at least 3-5 business days before paving to locate and mark all underground utilities on your property.
- Clear vehicles, bikes, planters, and all objects within 3-5 feet of the driveway edge the morning of paving.
- Confirm the base is dry, properly graded, and pitched 1/8 to 1/4 inch per foot toward the street.
- Keep children, pets, and delivery vehicles away for 24-72 hours after paving, and notify neighbors of access restrictions in advance.
Decide Whether Your Old Driveway Needs Full Removal
Key warning signs your existing driveway needs full removal:
- Over 25-30% deterioration? Full removal is necessary.
- Older than 15-20 years? Don’t overlay it.
- Multiple previous overlays? Stop adding layers!
Resurfacing over a damaged base always fails prematurely. Always.
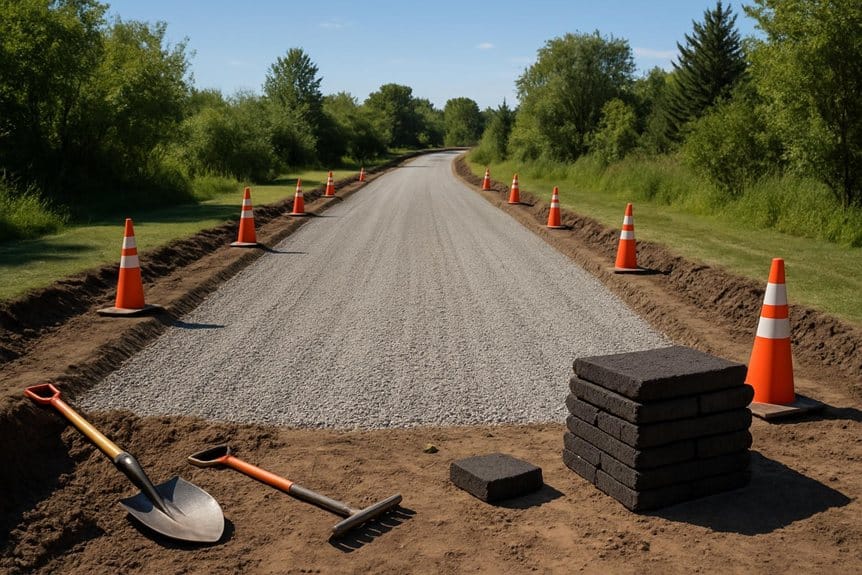
Proper base preparation means excavating and installing 4-8 inches of compacted crushed stone. That’s your foundation for durability.
Also check for drainage issues, tree roots, or frost heave, these demand full removal and base correction.
Fix it right the first time!
Consider consulting a local paving contractor with professional experience to evaluate complex issues and recommend the best course of action.
Move Vehicles and Equipment Off the Driveway Before Crews Arrive
- Move vehicles the morning of paving, not the night before
- Find temporary parking on stable hard surfaces
- Stay 20-30 ft away from the work zone
- Pull bikes, planters, and wheelbarrows from garage edges
Why does distance matter? Heavy equipment causes serious rutting on soft ground. Protect your lawn!
One more thing, keep your keys and contact info handy. Crews need quick communication during critical paving windows.
Clear site = faster finish. Simple!
Nathan’s Paving & Sealcoating has over a decade of paving experience and recommends scheduling accordingly to avoid delays; see our service area for coverage details.
Mark Underground Utilities at Least Several Days Ahead
Don’t let hidden lines blow up your paving day, literally. Underground utilities are dangerous surprises nobody wants. Call 811 several days before work starts.
Here’s your utility locating action plan:
- Call 811 at least 3-5 business days before paving begins
- Give exact boundaries and your contractor’s start date to locators
- Document everything, photograph all paint markings and flags immediately
- Replace faded markings if delays push your timeline past 21 days
Know your colors! Yellow means gas. Blue means water. Red means electric.
Unmarked utilities cause the most dangerous excavation accidents. Protect your crew and your property. A simple call 811 effort saves lives, and your project budget! For peace of mind and accurate planning, get a fast, free quote to confirm your project scope and materials.
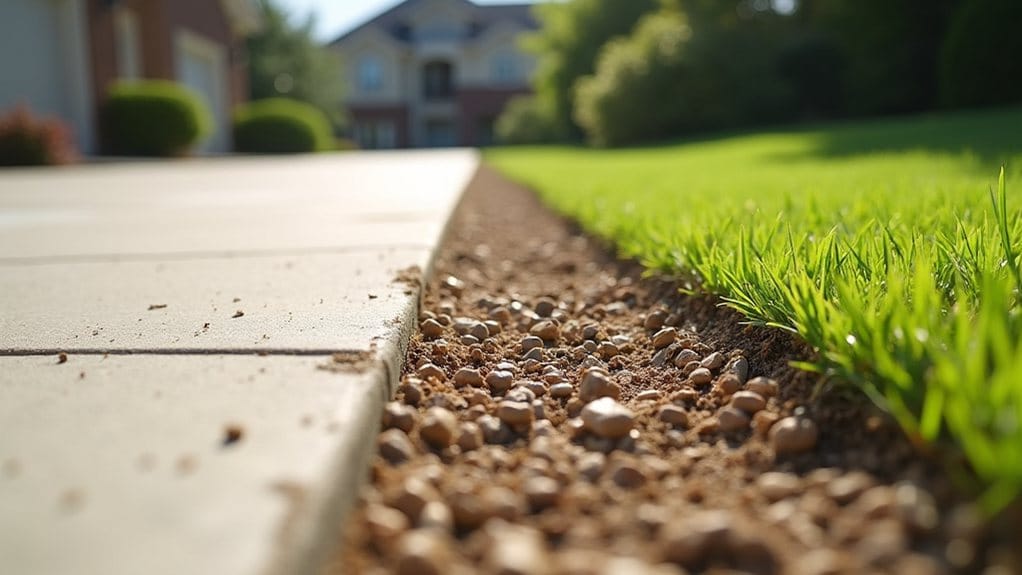
Check Drainage and Confirm Grading Before Paving Day
Before asphalt touches your driveway, drainage and grading must be right.
Why it matters: Poor proper drainage destroys driveways fast.
Your grading checklist:
- Aim for 1/8 to 1/4 inch per foot pitch toward the street
- Eliminate every depression exceeding 1/4 inch per foot
- Confirm your base and sub-base are compacted and completely dry
Protect existing drainage features:
Locate catch basins, French drains, and downspouts *before* paving day. Your contractor must tie these into the new grading plan.
Critical conditions for success:
- Ground temperature: minimum 50°F
- No heavy rain for 24-72 hours post-installation
Fix grading problems now, not after asphalt is down. That mistake is expensive!
Nathans Paving serves communities across Central PA and can inspect drainage and grading before your project.
Clear the Driveway Edges Before Crews Arrive
Once drainage and grading are locked in, it’s time to tackle your driveway edges. Cluttered edges slow crews down and risk costly damage. Clear them now!
Here’s your edge-clearing action plan:
- Remove everything, planters, hoses, basketball hoops, and decorative items 3-5 feet from the edge
- Trim low-hanging branches and prune shrubs for unobstructed equipment clearance
- Mark and protect sprinkler heads, lighting, drain grates, and utility covers
- Relocate loose mulch and topsoil to prevent base material contamination
Finally, create a 6-10 foot staging and access strip along one side. This keeps workers moving safely and equipment turning efficiently.
Clear driveway edges mean faster work and zero surprises. Get it done! Nathans Paving has over 10 years of experience serving local customers and can help coordinate preparations on paving day, including scheduling and estimates to fit your timeline.
Protect Landscaping and Your Sprinkler System Along the Driveway
Your gardening and irrigation system can take a serious hit on paving day. Don’t let one careless moment destroy your yard!
| Task | Timeline | Who Handles It |
|---|---|---|
| Mark all sprinkler heads and valves | 3-5 days before | You or irrigation tech |
| Cap or isolate the sprinkler system | Day of paving | Contractor or technician |
| Trim branches and shrubs nearby | 3-5 days before | You or landscaper |
| Install protective barriers over beds | Day before paving | You |
| Verify buried line locations | 3-5 days before | Utility locator |
Protect every inch. Cover planting beds with plywood or garden fabric. Shield exposed roots from heavy equipment. Your gardening deserves serious armor on paving day!
Nathan’s Paving also offers free estimates for Carlisle asphalt paving, call (717) 648-5030 or email nathanpaving@gmail.com for a quote.
Notify Neighbors About Driveway Work, Noise, and Access
Here’s what to communicate clearly:
- Timing details. Share the expected start time and estimated 1-3 day duration upfront.
- Access restrictions. Request neighbors avoid parking near your street during truck delivery windows.
- Temporary driveway closures. Explain when your driveway closes and recommend alternative parking spots nearby.
- Noise and odors. Warn about vibration, equipment sounds, and asphalt smells honestly.
Also provide your contractor’s contact information directly. Neighbors deserve a real person to call!
Light vehicles can return after 24-48 hours. Heavier vehicles need more time. Set clear expectations now, everyone wins!
Nathan’s Paving offers free, no-obligation quotes to help you plan and schedule the work.
Keep Pets, Kids, and Deliveries Away From Hot Asphalt and Equipment
Don’t risk it!
Keep children and pets indoors or at an off-site location during the entire 1-3 day paving window. Soft asphalt burns fast and heavy equipment moves unpredictably.
Protect your work zone with these steps:
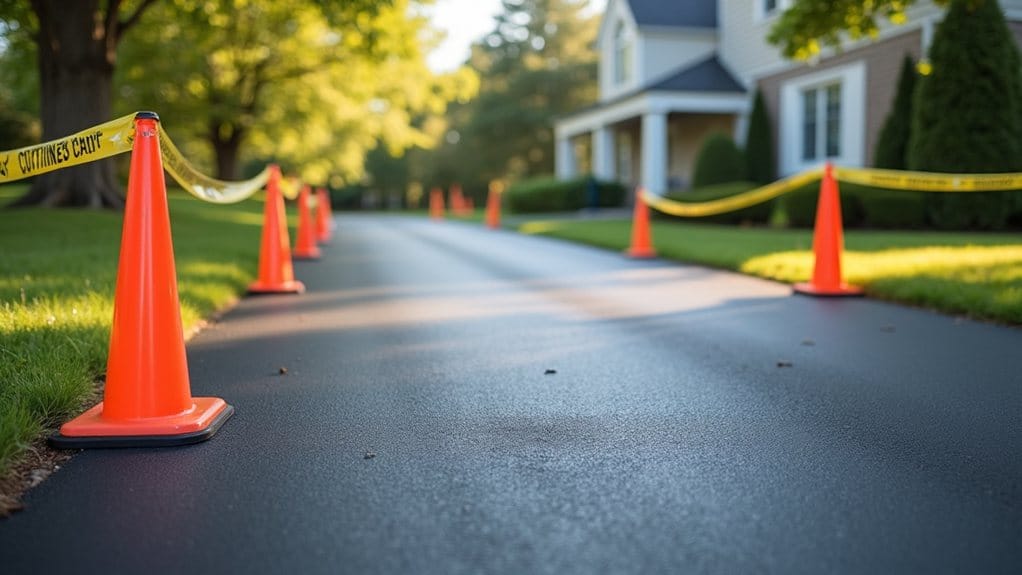
- Post clear signage and temporary barriers around the perimeter
- Reschedule all deliveries at least 48 hours after paving
- Notify regular delivery services of your exact paving date
Fresh asphalt can’t handle foot traffic or vehicle weight early on.
The bottom line? Secure everyone now. Confirm with your crew before allowing any access back onto the surface.
Nathans Paving is fully insured, providing peace of mind when scheduling and managing your paving project.
Avoid These Mistakes During the First Week After Paving
Nathan’s Paving & Seal Coating brings over a decade of experience and uses top-grade materials to ensure lasting protection and performance.
Frequently Asked Questions
How Much Does It Cost to Pave a 20X20 Driveway?
Here’s your quick material breakdown:
- Asphalt costs: $3-$10 per sq ft
- Gravel sub-base: $400-$1,200
- Removal/replacement: Add $500-$1,500
Labor estimates vary by region, get 3-5 free quotes!
Always confirm quotes include site prep and compaction.
*Smart planning saves you thousands!* 🚀
How Long Does It Take for Ground to Settle Before Paving?
Key factors:
- Soil compaction must pass stability tests first
- Drainage assessment confirms no moisture saturation
- Freeze heave requires ground temps above 50°F
After heavy rain? Wait 24-72 hours minimum.
Disturbed or backfilled soil? Expect 1-6 months.
Always verify your base is firm before scheduling paving day!
What Are Common Driveway Design Mistakes?
- Poor drainage kills pavement, plan swales or drains now
- Inadequate slope causes flooding, pitch at least 1/8-1/4 inch per foot
- Weak base means potholes, use 4-8 inches of compacted crushed stone
- Skipping edge restraints lets asphalt spread and crumble
- Asphalt under 2-3 inches thick? That’s a costly mistake!
You’ve got this, plan smart!
What to Do Before Paving?
- Clear vehicles and furniture 24 hours early
- Schedule utility marking several days ahead
- Handle vegetation removal, trim branches blocking equipment
Check the weather! Target temps above 50°F. Confirm no rain for 24-72 hours post-paving.
Notify neighbors early. Arrange temporary parking. You’ve got this!
Conclusion
Paving day doesn’t have to feel like a storm rolling in. You’ve got the roadmap now.
Clear the space. Mark the utilities. Protect the edges.
Follow these steps and your new driveway will be rock-solid for years. Skip them and you’re gambling with thousands of dollars.
Preparation is everything. Do the work upfront and let the pros handle the rest.