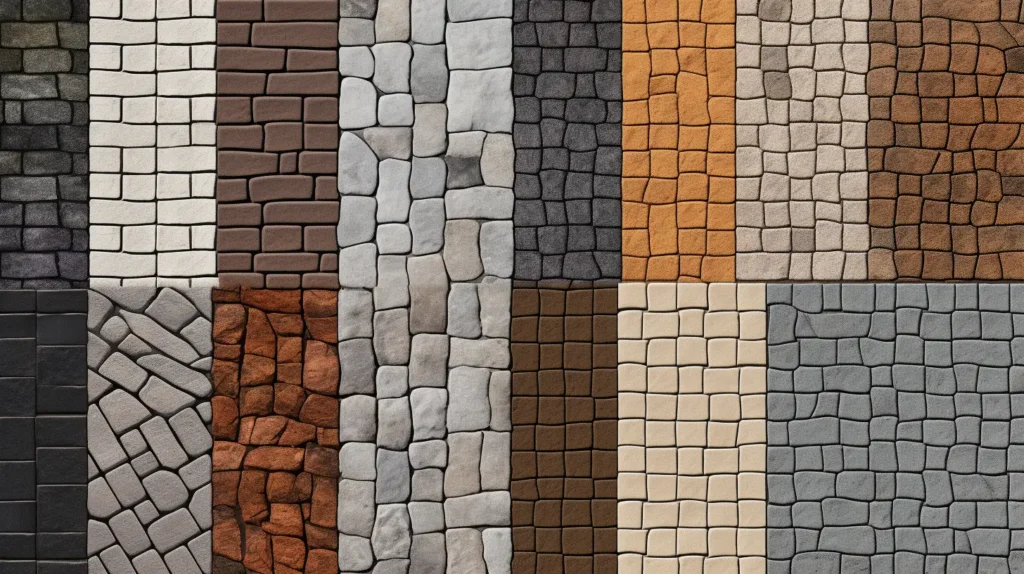
Ultimate Paving Material Handbook: From Concrete to Tile
Are you tired of navigating through muddy paths that resemble a swamp? Look no further! In this ultimate paving material…
08/26/2023

Are you tired of navigating through muddy paths that resemble a swamp? Look no further! In this ultimate paving material…
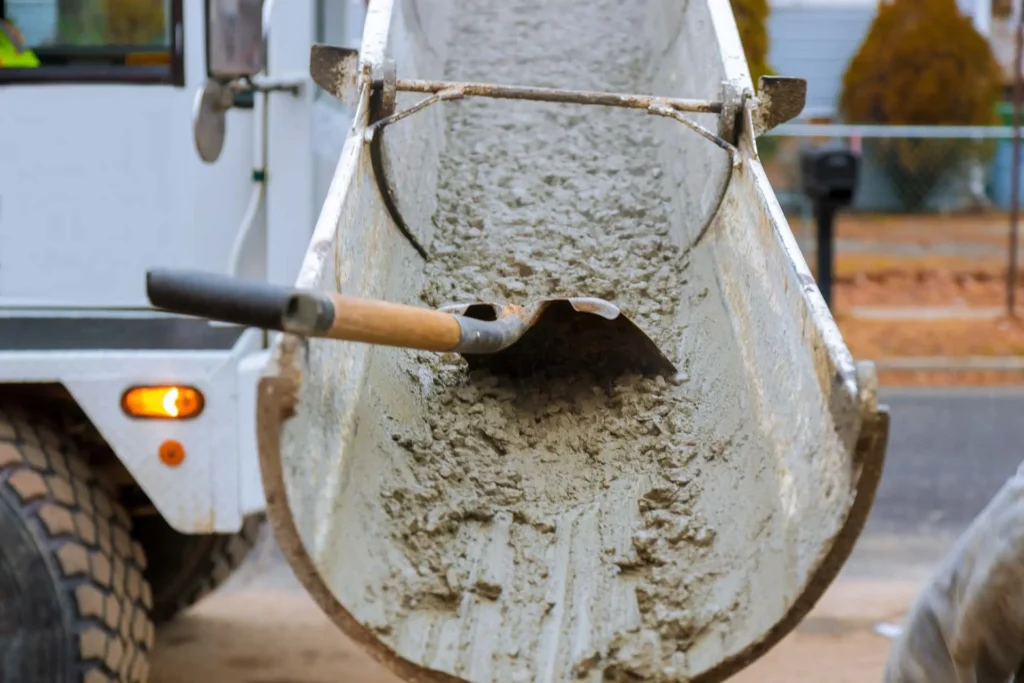
Are you thinking about upgrading your driveway and pondering the feasibility of pouring concrete over existing asphalt? This question often…
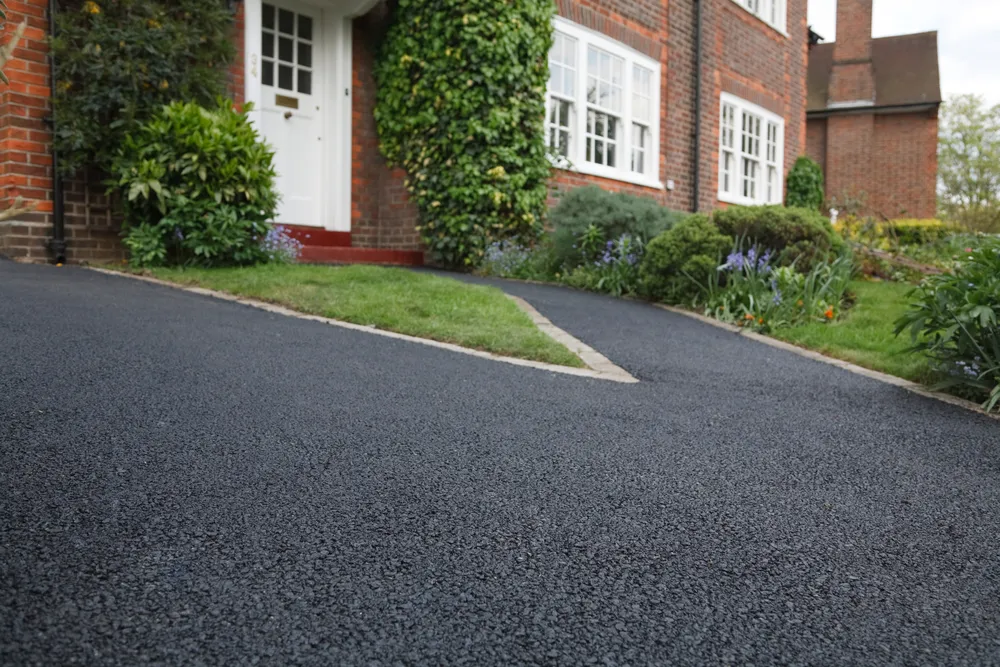
Sealing your asphalt driveway is an important part of maintaining your home. It protects the asphalt from weather damage and…
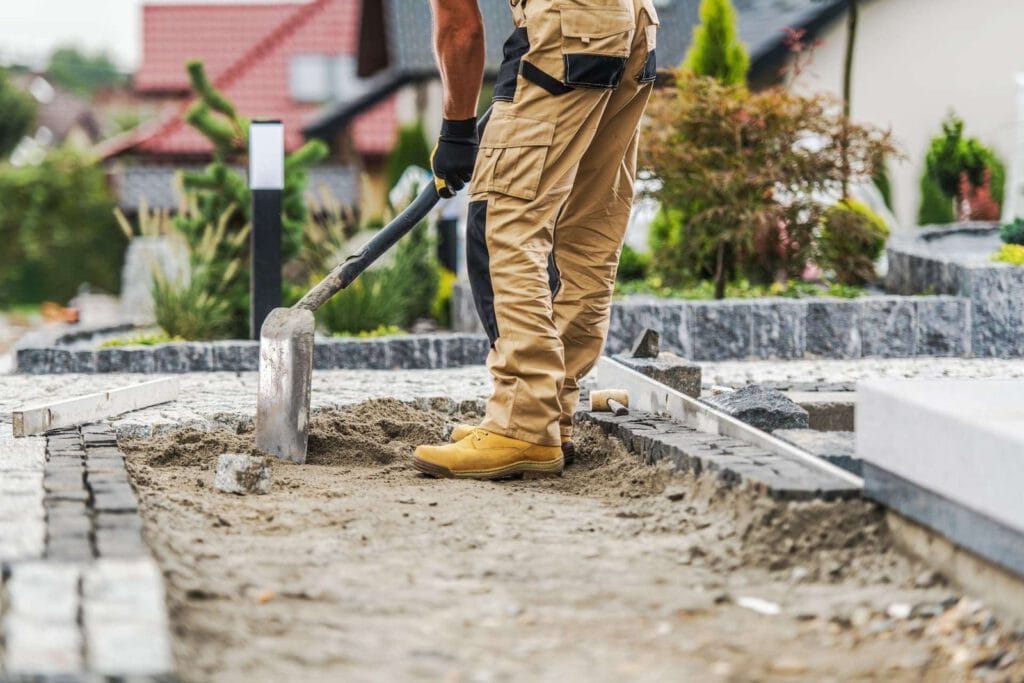
Hiring a paving contractor for your driveway, patio, or other projects can be an intimidating task. With so many companies…
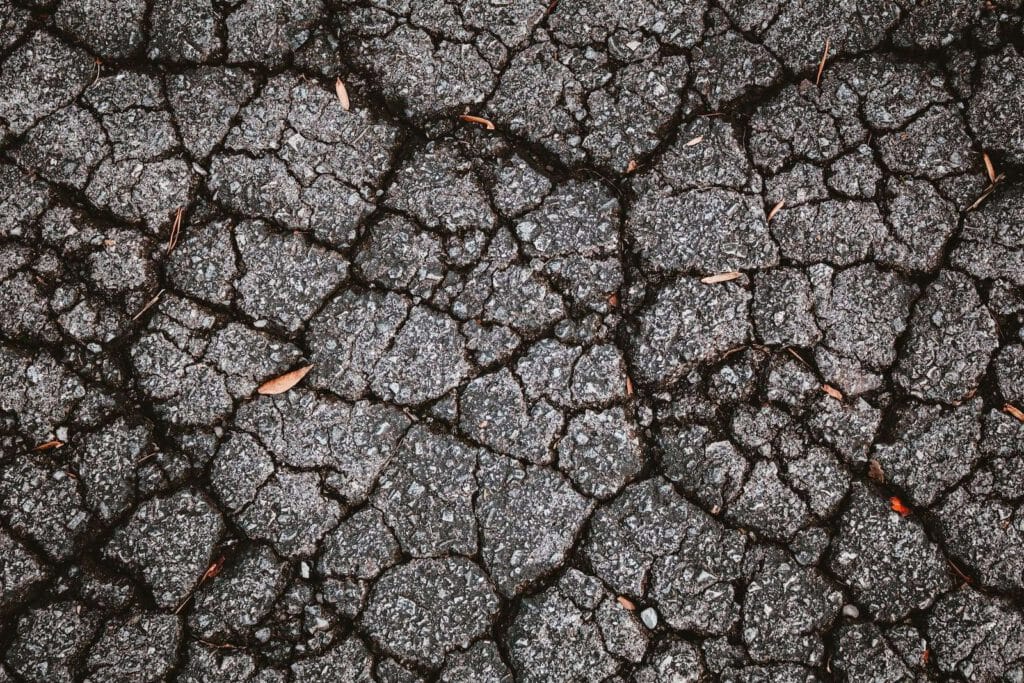
Asphalt is a popular choice for driveways and parking lots because it is durable and relatively easy to install. However,…
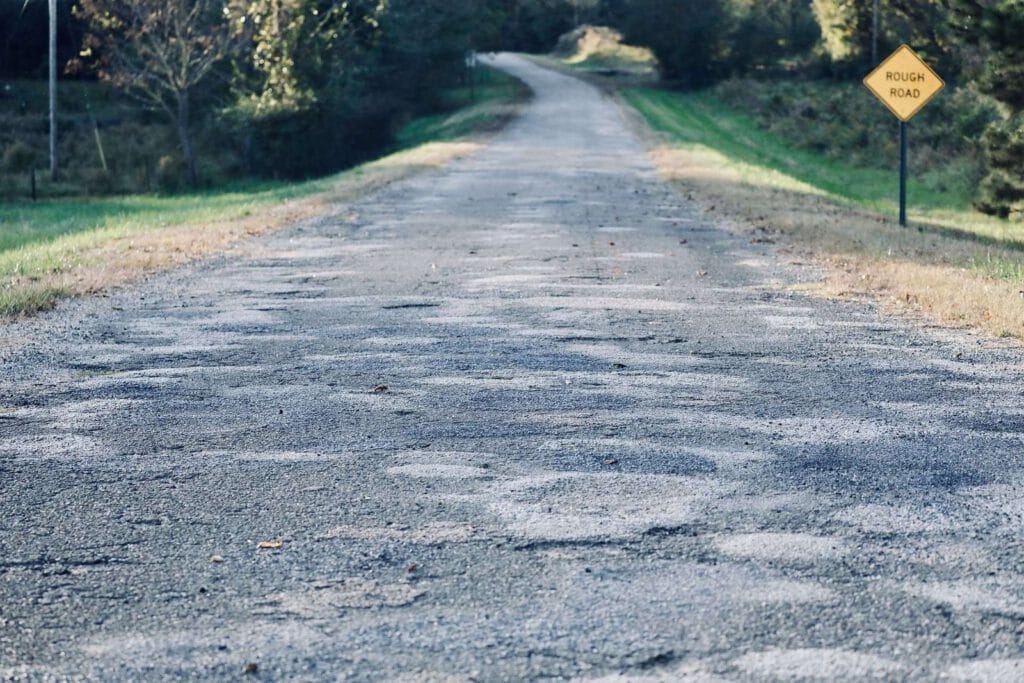
You've probably had to dodge at least a few potholes on your daily commute if you're like most people. But…
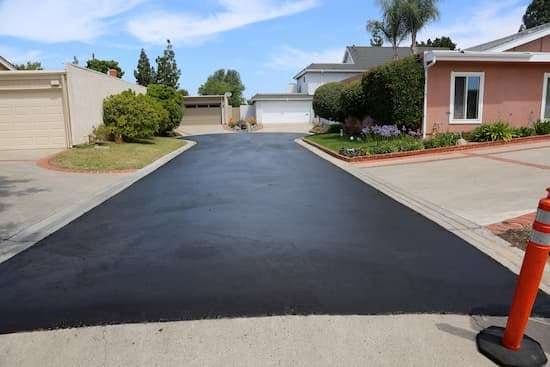
If you're considering getting a new driveway, you may wonder if asphalt is the right choice. There are many reasons…

Asphalt is one of the most popular driveway materials because it is durable and affordable. However, it is important to…

You're not alone if you just had a new asphalt driveway installed and are now noticing cracks. A lot of…
It is important to get the temperature just right when paving asphalt. If it is too hot, the asphalt will…