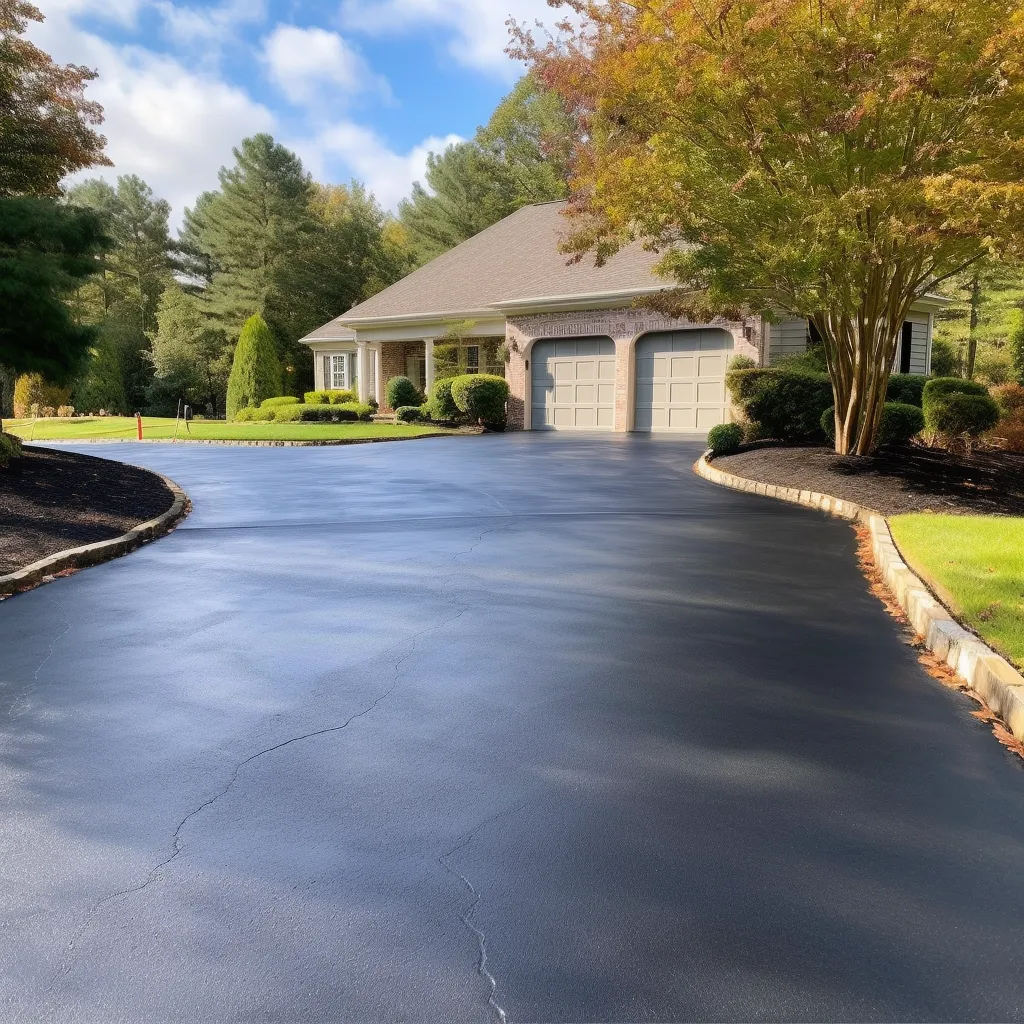
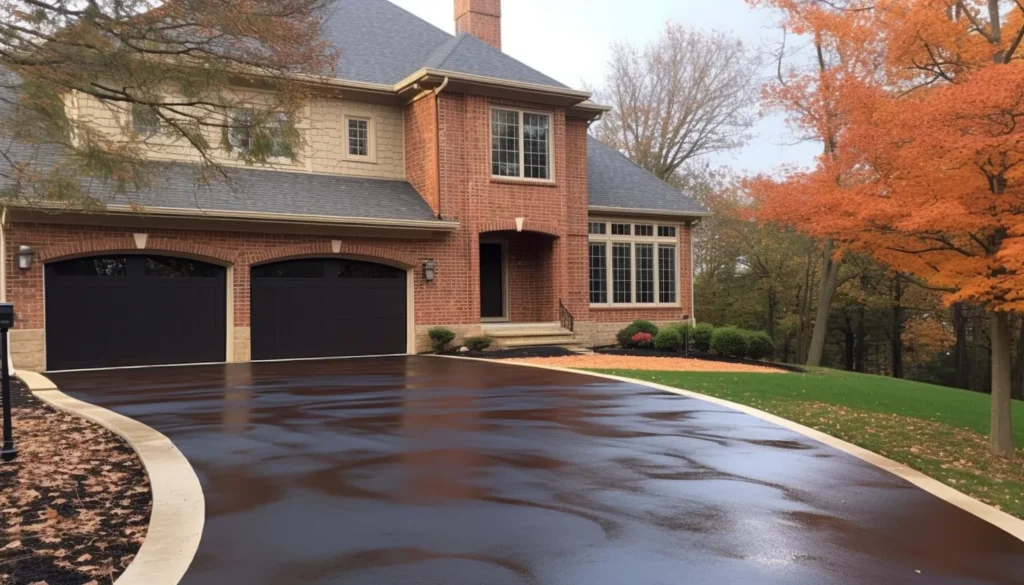
Sealcoating is a process that has been used for centuries to protect asphalt surfaces from the elements. It has been used to extend the life of parking lots, driveways, and other asphalt surfaces.
But how long does it take sealcoating to dry? It takes about 24-48 hours.
If you want to know what will affect your drying time keep reading.
This article will explore the factors that affect the drying time of sealcoating and provide an overview of the safety considerations, benefits, preparation, and maintenance that comes with it.
So, if you’re ready to get your asphalt surfaces sealed and protected, let’s dive in and get started.
Factors That Affect Drying Time
You may be wondering how long it’ll take for your sealcoat to dry – there are a few factors that can influence that!
The weather conditions at the time of application are the primary factor that affects drying time. Hot, sunny days will result in quicker drying times, whereas cold, rainy days will cause a much longer drying time.
The type of sealcoat used can also influence drying time. A sealcoat that’s made with an asphalt-based material will take longer to dry than a sealcoat that’s made with a coal-tar-based material.
The thickness of the sealcoat will also have an effect on drying time. A thicker coat of sealcoat will take longer to dry than a thinner coat.
Finally, the surface temperature of the pavement must be taken into consideration when determining how long it’ll take for a sealcoat to dry. If the pavement is already hot, the sealcoat will dry faster than if the pavement is cold.
In summary, several factors can affect the drying time of a sealcoat. Hot, sunny weather, the type of sealcoat used, the thickness of the sealcoat, and the surface temperature of the pavement all have an impact on the drying time of sealcoat. By taking all of these factors into consideration, you can get an accurate estimate of how long it’ll take for your sealcoat to dry.
Benefits of Sealcoating

Sealcoating your driveway or parking lot can provide numerous benefits, such as increased protection from the elements and improved appearance. In addition to protecting asphalt surfaces from oxidation, sealcoating also helps to reduce the rate of water absorption, which can prevent damage from freeze-thaw cycles. Many sealcoat formulas are also designed to repel fuel and oil spills, which can help to protect asphalt surfaces from staining.
| Benefit | Description | Advantages |
|---|---|---|
| Protection from Elements | Helps to protect asphalt surfaces from oxidation, water absorption, and fuel and oil spills | Increased durability and aesthetics |
| Improved Appearance | Can make asphalt surfaces look new and protect against fading, dirt, and wear | Enhances curb appeal and increases property value |
Preparation Before Sealcoating
Before you start sealcoating your driveway or parking lot, make sure to prepare the surface properly for the best results. This means cleaning the surface thoroughly to remove dirt, dust, and debris. It also means repairing any cracks, holes, or depressions that may exist since the sealer won’t stick to the surface if it is not properly prepared. Lastly, it’s important to ensure the surface is completely dry before applying the sealer.
To prepare the surface correctly, begin by power washing the driveway or parking lot to remove any dirt and debris that may have built up on the surface. Next, inspect the surface and repair any cracks, holes, or depressions that you find. Finally, wait until the surface is completely dry before applying the sealer.
Here’s a helpful checklist to keep in mind:
- Power wash the surface to remove dirt and debris
- Inspect the surface and repair any cracks, holes, or depressions
- Allow the surface to dry completely before applying the sealer
Maintenance After Sealcoating
Now that you’ve sealcoated your driveway or parking lot, keeping it looking beautiful is easy! After the sealcoat has had sufficient time to dry and cure, it is important to take certain steps in order to maintain the beauty and longevity of your sealcoat. In order to keep the sealcoat looking like new, it is important to perform regular inspections of the sealcoat, remove debris and dirt from the surface, and reseal when necessary. The following table outlines the recommended maintenance schedule for a sealcoat surface.
| Surface | Frequency |
|---|---|
| Asphalt | Every 2-3 Years |
| Concrete | Every 3-5 Years |
| Gravel | Every 6-12 Months |
It is also important to use a sealer that is specifically designed for the sealcoating surface. Different sealers may be needed for asphalt, concrete, or gravel surfaces. After the sealcoat has been applied, it is essential to avoid driving on the surface before it has had time to dry and cure. This may take up to 24 hours, depending on the weather and the type of sealer used. In order to ensure that the sealcoat looks its best, it is important to properly maintain it and avoid driving on it until it is completely dry.
Conclusion
Sealcoating can add years of life to your pavement, but it’s important to understand the process.
It can take anywhere from 24 to 48 hours for sealcoating to dry, depending on the conditions.
To ensure your sealcoating is successful, prepare your pavement, practice safety protocols, and maintain your coating after it’s dry.
With proper preparation and maintenance, you’ll enjoy the long-lasting benefits of sealcoating and your pavement will be smooth sailing for many years to come.


