You’ve got a narrow window to patch asphalt right. Start by removing all snow, ice, and debris—bone-dry surfaces are non-negotiable. Use cold patch (polymer-modified formulas work best) in 1–2 inch layers over compacted aggregate. Compact aggressively with hand tampers or plate compactors. Work when temps stay above 40°F. Expect cold patches lasting about one year, so monitor weekly for edge breakdown. Plan permanent resurfacing when repairs hit 5% of your lot annually. The specifics of timing, materials, and long-term strategy await below.
Key Takeaways
- Remove snow, ice, and debris thoroughly, then ensure repair area is completely dry before applying cold patch material.
- Use polymer-modified or water-activated cold patch formulas when hot mix asphalt is unavailable during winter conditions.
- Apply cold patch in 1–2 inch layers with compaction using hand tamper, plate compactor, or vehicle passes.
- Wait 24–48 hours for curing and avoid sealcoating until 30–90 days after repair completion.
- Expect cold patch repairs to last approximately one year; plan permanent resurfacing during spring or fall warmth.
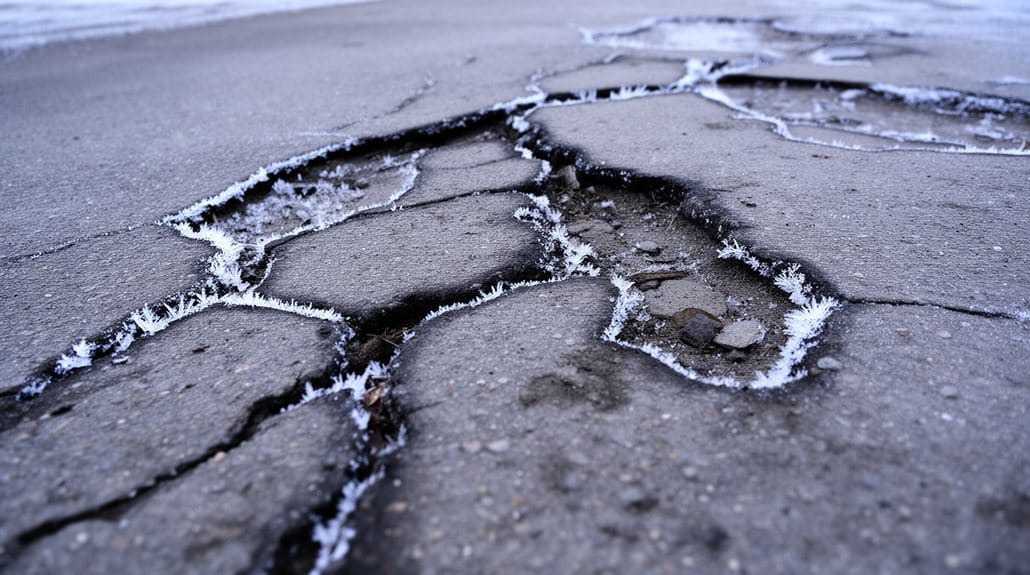
Understanding Winter Asphalt Damage

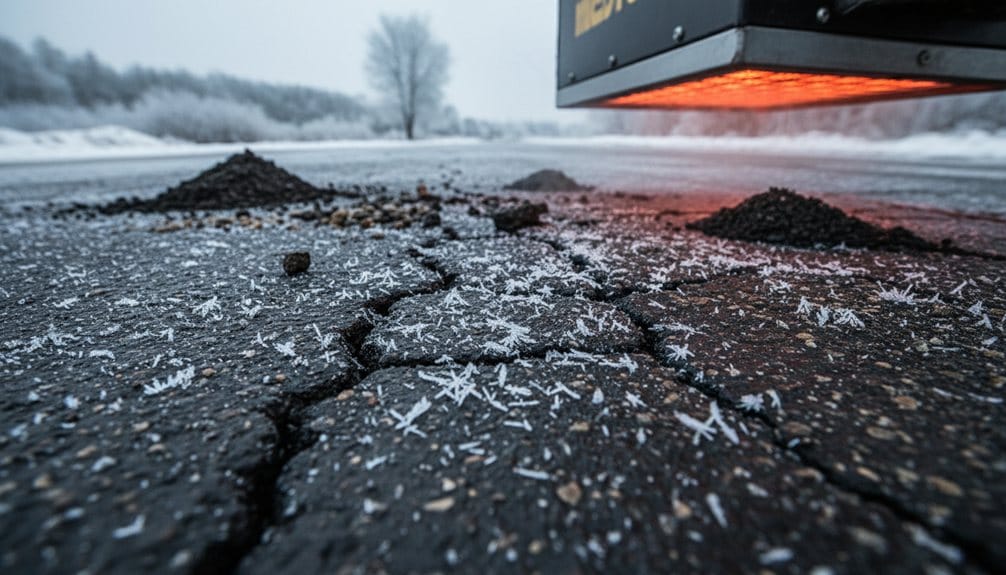
Water seeps into tiny cracks. It freezes. It expands. Your pavement cracks wider.
This cycle repeats unceasingly throughout winter, destroying your asphalt from inside out.
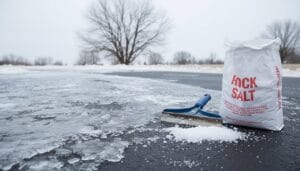
Road Salt’s Hidden Damage
Road salt doesn’t just melt ice. It attacks your asphalt’s binder directly. The salt weakens the surface layer.
Small fragments break loose. Your pavement becomes vulnerable to rapid deterioration.
The Heaving Problem
Freeze-related heaving pushes pavement upward unevenly. Edge breaks form at shifts.
Seams separate. These gaps become tomorrow’s potholes.
Traffic Accelerates Everything
Vehicles pound water-saturated pavement repeatedly. Fines wash away.
Aggregate loosens. Small cracks change into massive voids fast.
Winter damage isn’t gradual. It’s aggressive and unceasing. Furthermore, effective asphalt repair services can help mitigate these winter-related issues.
Preparing the Repair Area
You’ve identified the damage. Now comes the critical prep work!
Clean Everything
Remove loose material, gravel, and dust completely. Sweep aggressively. Use a blower or stiff brush. Your cold patch won’t bond to dirty pavement—period.
Handle Moisture
Remove standing water from potholes and deep cracks. Squeegee or pump out moisture thoroughly. Cold patch products tolerate some dampness but perform best on dry surfaces.
Create Clean Edges
Square or trim damaged area edges with a cold chisel or saw. Make vertical, well-defined sides. This gives your patch solid contact with intact pavement.
Build a Foundation
For holes deeper than 2–3 inches, fill the bottom with compacted coarse aggregate or sand. Leave 1–2 inches of space for the cold patch.
Check Temperature
Ideal ambient temperature should be above 40°F for best bonding results. Regular maintenance, including patching techniques, can extend the lifespan of your driveway.
Clearing Snow, Ice, and Debris
Before you even think about squeezing that cold patch material out, you’ve got to strip the repair area down to *bare asphalt*.
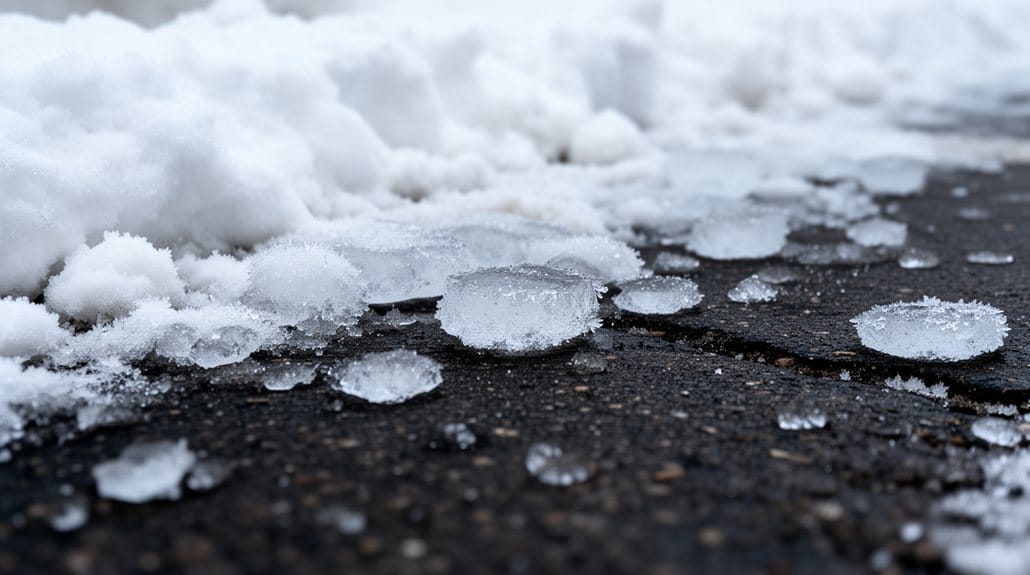
The Snow Removal Phase
Grab your shovel or snowblower. Push all that snow completely away.
Then comes the scraping—use a metal-edged ice scraper or stiff broom.
You’re hunting for solid pavement underneath. This bare surface is *everything* for cold asphalt bonding.
The Debris Elimination
Next, attack loose debris, sand, and salt.
A push broom or leaf blower works perfectly.
You need a clean, dry surface.
Seriously—this step prevents premature failure.
Water trapped underneath? Your cold patch will fail instantly unless it’s water-activated.
Standing Water Alert
See puddles? Eliminate them.
Use rags, a wet/dry vac, or dig a temporary drain.
Moisture kills adhesion.
Your repair zone stays marked off until everything’s bone-dry and debris-free. Additionally, utilizing high-quality materials ensures a durable and effective repair for your driveway.
Selecting Cold Patch Asphalt for Winter
Now that your repair zone’s bone-dry and debris-free, it’s decision time.
Why Cold Patch Matters in Winter
You can’t use hot mix asphalt when temperatures drop. Cold patch is your pivotal solution—ready to use, no heating required, traffic-ready fast.
Pick the Right Formula
Go polymer-modified or water-activated brands like EZ Street or Aquaphalt. These deliver better bonding and durability. Quality matters big-time here.
Check the Details
Verify manufacturer guidance before buying. Most work best above 40°F, though many function colder. Curing takes 24–48 hours typically. Expect cold patch lasting around one year versus many years for hot mix.
Smart Storage
Keep material cool and dry so it won’t harden early. You’re protecting your investment! Nathan’s Paving & Sealcoating offers commercial parking lot sealing services that can extend the lifespan of your asphalt in winter conditions.
Weather resistance and easy compaction? Non-negotiable. You’ve got this!
Applying Cold Patch in Layers
Layering is everything when you’re patching deep holes. You’re building a foundation for success!
Start Strong
Begin with 1–2 inches of coarse aggregate at the bottom. This creates stability. Then apply cold patch in 1–2 inch lifts.
Compact Each Layer—No Shortcuts
Use a hand tamper or drive your vehicle wheel over it. Make multiple passes until it’s rock-solid and resists deformation. Skipping this step? You’ll regret it when the patch fails.
The Overfill Strategy****
Add slightly more material (about ¼–½ inch extra) before compacting. It’ll rebound downward. Your final surface stays level with surrounding pavement.
Timing Matters
Work when temperatures above 40°F. Avoid thin applications under 1 inch—they crumble fast. Allow 24–48 hours curing before traffic returns. Regular maintenance services can help prevent future pothole formation.
Done right, your cold patch lasts!
Compacting the Patch Material
Pound it down—that’s where the magic happens! Proper compaction makes or breaks your cold patch success. You’re aiming for 90–95% maximum dry density. That’s your golden target!
Why Compaction Matters
Loose material fails fast. You need density to resist rutting and bonding issues.
| Compaction Method | Best For | Passes Needed |
|---|---|---|
| Hand tamper | Small spots | 8–12 |
| Plate compactor | Medium patches | 4–6 |
| Vehicle passes | Large areas | 3–5 |
| Combination approach | Maximum density | All three |
| Cold weather | Extra firmness | Double passes |
Your Action Plan
Compact in layers—never exceed 2–3 inches thick. Use a hand tamper or plate compactor religiously. Overfill slightly (¼–½ inch proud). Pre-warm the hole when possible. Allow 24–48 hours curing before heavy traffic. Aggressive compaction in winter beats casual effort every time! Additionally, proper maintenance can significantly prolong the life of your asphalt surfaces.
Timing Your Repair Work
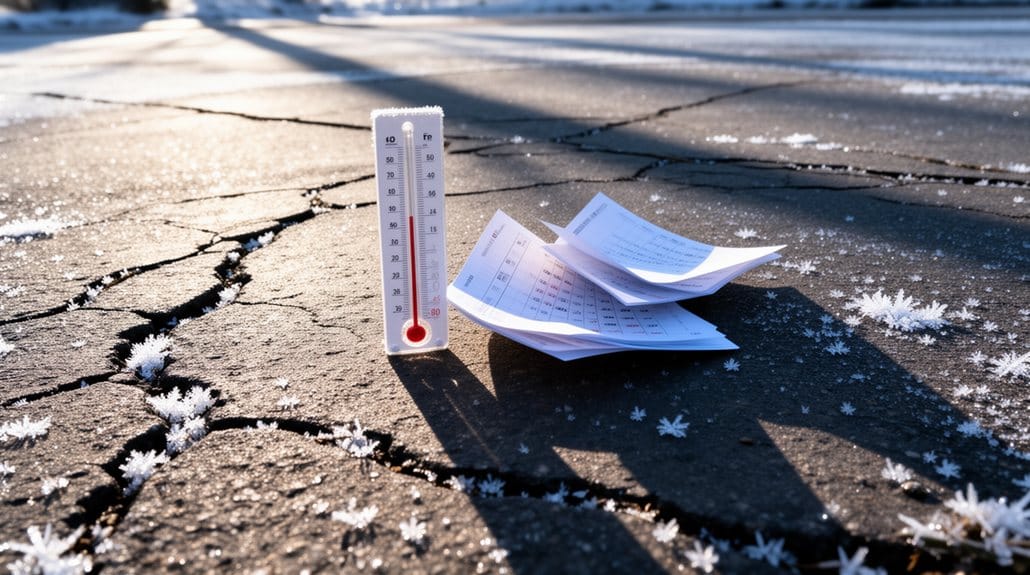
Aim for temperatures consistently above 40°F (4°C). Cold patches work best in these conditions. Your adhesion and curing improve dramatically.
Emergency vs. Permanent
Winter emergencies? Use cold patches anytime—even on frozen surfaces! Stop deterioration fast. But here’s the reality: plan permanent repairs when warmth returns.
Strategic Timing
Hit potholes and cracks before freeze–thaw cycles slam your asphalt patching efforts. Attack damage immediately after spring thaw. Standing water expands defects rapidly. Consider obtaining a fast, free quote to assess your project needs and plan effectively.
What to Avoid
Skip hot-mix repairs in freezing weather. Wait for sustained warmth. Spring through fall? Perfect timing for serious work.
Your repair timeline prevents bigger failures!
Monitoring and Maintenance After Patching
You’ll want to inspect patched areas weekly for the first month. Then switch to monthly checks through spring. Why? Early movement and settling happen fast!
Watch for these red flags:
- Edge breakdown showing crumbling, loose aggregate, or visible depressions
- Water seeping into cracks around patch borders after rain or plowing
- Poor compaction creating soft spots or depression zones
These failures commonly appear within the first winter. Don’t ignore them!
Keep a detailed repair log with dates, products used, weather conditions, and traffic levels. Cold-patch longevity varies widely—often about one year. Additionally, understanding the importance of qualified contractors can ensure the patching process is performed correctly.
Finally, re-seal patched pavement areas with sealcoat in spring after 30–90 days of curing. This extends your repair’s life markedly and delays expensive permanent fixes.
When to Schedule Full Resurfacing
Patching buys you time—but it’s not forever! You’ll eventually face the big decision: resurface or keep patching?
Know Your Breaking Point
Watch for these red flags telling you resurfacing is coming:
- Structural failure: Over 20-30% alligator cracking or large spalls mean patches won’t save you
- Repair fatigue: Annual repairs covering 5% of your lot signal trouble ahead
- Cost reality: When repair costs hit 30-40% of replacement cost, you’re throwing money away
Consider Your Climate
In freeze–thaw cycles, asphalt pavement deteriorates faster. You’ll likely need resurfacing within 10-15 years instead of 20.
Timing Matters
Spring and early fall offer ideal conditions for new asphalt. Temperatures above 50°F and dry weather guarantee proper compaction and bonding. Proper ground preparation is crucial to ensure the longevity of your new surface.
Don’t wait until foundation problems emerge—resurface before base failure occurs!
Conclusion
You’ve got this! Winter asphalt patching is like plugging holes in a dam. Act fast and stay consistent. Don’t skip steps or rush the process. Your commitment today saves you thousands tomorrow. Keep monitoring those patches through spring thaw. Schedule that full resurfacing when you’re ready. You’re protecting your investment one patch at a time!