Spring weather greatly influences your paving project’s success. You’ll need daytime temperatures above 50°F and ground temperatures over 40°F. Rain delays require 2-3 buffer days in your schedule. Wind speeds above 15 mph can disrupt asphalt installation. Monitor forecasts closely and test ground conditions at 4-inch depth before starting. Proper moisture levels and drainage are essential. Smart planning around these weather factors will make your project run smoothly. Let’s investigate the key details for achieving successful results.
Key Takeaways
- Spring temperatures must reach at least 50°F during day and ground temperature 40°F for safe paving operations.
- Rain delays require 2-3 buffer days in project timelines and 24-48 hours of drying time after precipitation.
- Soil moisture content must be properly balanced for optimal compaction before paving can begin.
- Wind speeds above 15 mph can cool asphalt too quickly and interfere with even material spreading.
- Regular monitoring of weather forecasts helps adjust schedules and prevent costly disruptions to paving projects.
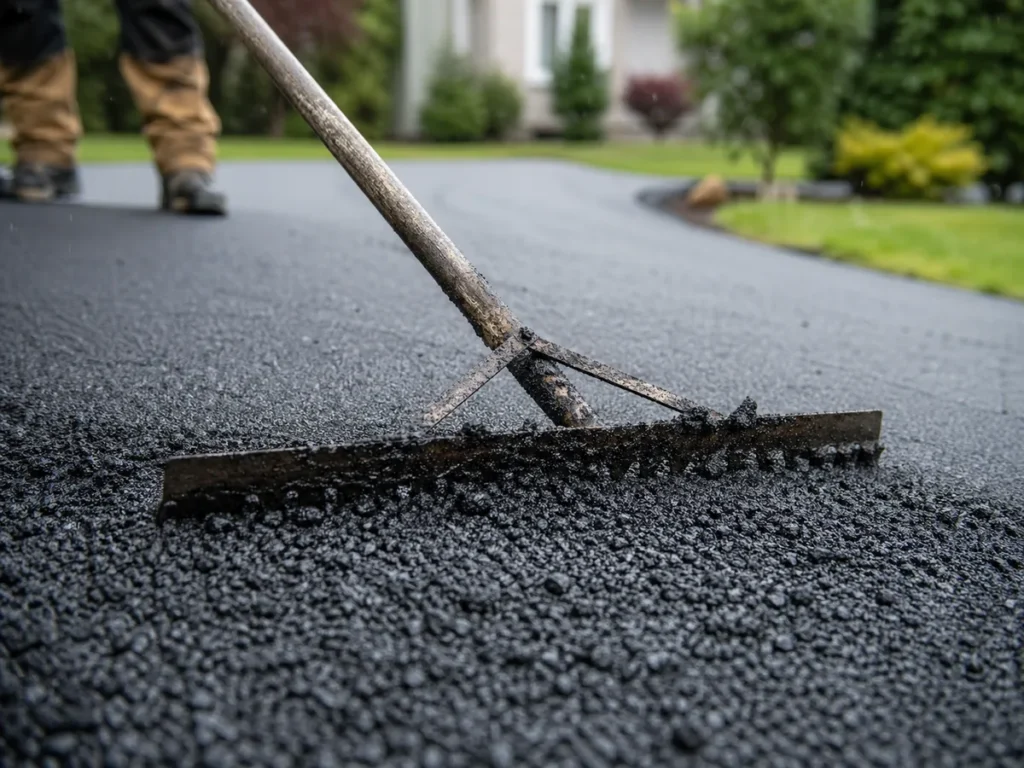
Temperature Requirements for Spring Paving
When can you safely start paving in spring? It’s all about hitting the right temperature sweet spot for successful asphalt adhesion!
You’ll need consistent daytime temperatures of at least 50°F (10°C) before starting any paving project. The ground temperature must also reach 40°F (4°C) or higher.
Don’t let temperature extremes fool you – even if afternoons are warm, overnight freezing can spell disaster.
Best practices for spring paving:
- Wait until frost has completely left the ground
- Check 5-day forecasts for temperature stability
- Schedule work between 8 AM and 6 PM
- Monitor both air and surface temperatures
- Test ground conditions at 4-inch depth
Additionally, maintaining proper temperature conditions is crucial for extending driveway lifespan and ensuring long-lasting results.
Remember: You can’t rush Mother Nature! Starting too early risks poor compaction and reduced pavement life.
Patience now means better results that’ll last for years to come.
Rainfall Impact on Project Timelines
Temperature isn’t the only weather factor that can derail your paving plans! Rain can throw your entire project schedule into chaos if you’re not prepared.
You’ll need solid rain delay strategies to keep your project on track. Start by building buffer days into your timeline – experienced contractors typically add 2-3 extra days per week during spring.
Monitor weather forecasts religiously! Plan your work in 3-4 day segments to stay flexible.
Moisture management techniques are your best friends during spring paving:
- Install proper drainage systems before starting
- Use moisture meters to test surface conditions
- Cover materials with heavy-duty tarps
- Schedule early morning starts to beat afternoon showers
Additionally, ensure you have drain installation to effectively manage water and prevent delays.
Don’t let rain wash away your productivity! Smart planning helps you dodge those springtime storms and keep your projects moving forward.
Ground Moisture and Base Preparation
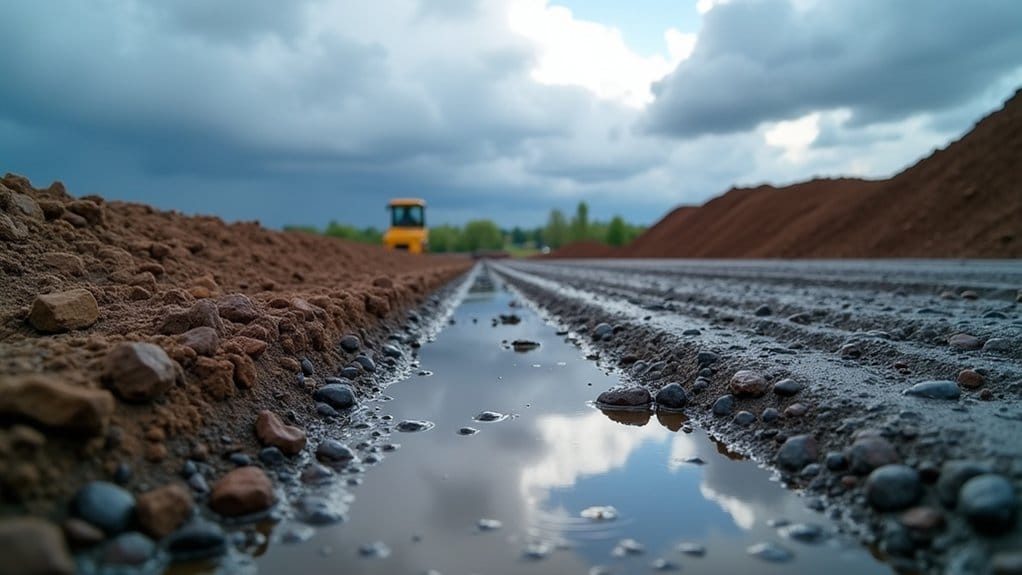
Managing ground moisture levels properly can make or break your entire paving project!
You’ll need to master soil stability fundamentals before laying a single stone. Test your soil’s moisture content early – it’s vital! Your base material should be neither too wet nor too dry for ideal compaction.
Drainage considerations will determine your project’s long-term success. You’ll want to:
- Install proper drainage systems before paving
- Plan for a 1-2% slope away from structures
- Check for low spots that could collect water
Don’t rush this step! A hurried base preparation will lead to costly repairs later. Your soil needs time to settle and achieve the right moisture balance.
Wait at least 24-48 hours after heavy rain before proceeding with base preparation. Remember: A solid foundation is worth its weight in gold! Additionally, residential asphalt repairs will ensure that your project meets the highest standards of quality and durability.
Wind Effects on Asphalt Installation
Strong winds can wreak havoc on your asphalt paving project!
You’ll face significant installation challenges when wind speeds exceed 15 mph. High winds affect everything from material temperature to surface quality. It’s essential to understand how wind impacts your paving success.
Here’s what you need to watch for during windy conditions:
- Wind speeds above 20 mph can cool your asphalt mix too quickly.
- Strong gusts will disrupt the even spreading of materials across your surface.
- Windborne debris might contaminate your fresh asphalt layer.
- Air movement can create unwanted ripples in your finished surface.
Don’t let wind compromise your paving project!
Monitor local weather forecasts carefully. You’ll want to schedule your installation when wind speeds are below 15 mph. That’s the sweet spot for ideal asphalt placement and compaction. Your contractor should help determine the best timing.
Weather Forecasting and Schedule Adjustments
Since weather patterns can shift quickly, you’ll need reliable forecasting tools for your paving projects!
Your weather accuracy directly impacts project success. Monitor multiple weather sources and always have a backup plan ready. Schedule flexibility is essential for spring paving operations!
| Weather Condition | Impact Level | Action Needed |
|---|---|---|
| Rain Forecast | High | Reschedule 24-48hrs ahead |
| Temperature Drop | Medium | Adjust mix temperature |
| Wind Warning | Low | Add wind breaks |
You’ll want to check forecasts at least three times daily. Set up weather alerts on your phone! Build buffer days into your schedule for unexpected changes. Smart contractors know when to request a free quote and plan ahead. Remember – it’s better to postpone than risk a failed installation. Stay proactive with your weather monitoring and keep your crews informed of potential schedule changes.
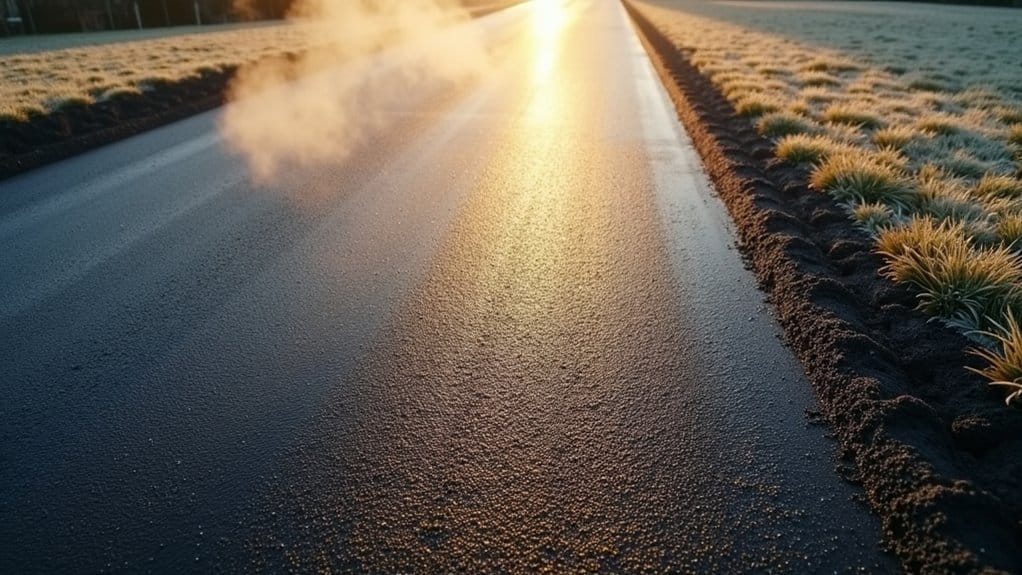
Seasonal Temperature Fluctuations
Spring temperatures can swing dramatically from one day to the next!
You’ll need to watch those temperature extremes closely when planning your paving projects. Climate variability makes scheduling tricky, but understanding seasonal patterns will help you succeed.
Here’s what you need to know about spring temperature changes:
- Morning temperatures often start below 40°F but can climb to 65°F by afternoon.
- Ground temperatures lag behind air temperatures by 5-10 degrees.
- Frost risks remain significant through mid-April in most regions.
- Temperature swings of 30+ degrees within 24 hours aren’t uncommon.
You’ll want to schedule your paving work during the warmest part of the day.
Keep checking those forecasts! Smart contractors build flexibility into their schedules to handle these seasonal temperature challenges. Parking lot installation can also help protect your paving investment from the effects of fluctuating temperatures.
Your success depends on working with nature’s rhythm.
Conclusion
Weather’s incredible impact on paving can’t be ignored! You’ll need to stay flexible with your spring paving schedule. Plan your projects carefully around temperature, rainfall, and ground moisture conditions. Keep a close eye on weather forecasts and don’t hesitate to adjust your timeline. Smart scheduling leads to successful paving projects!