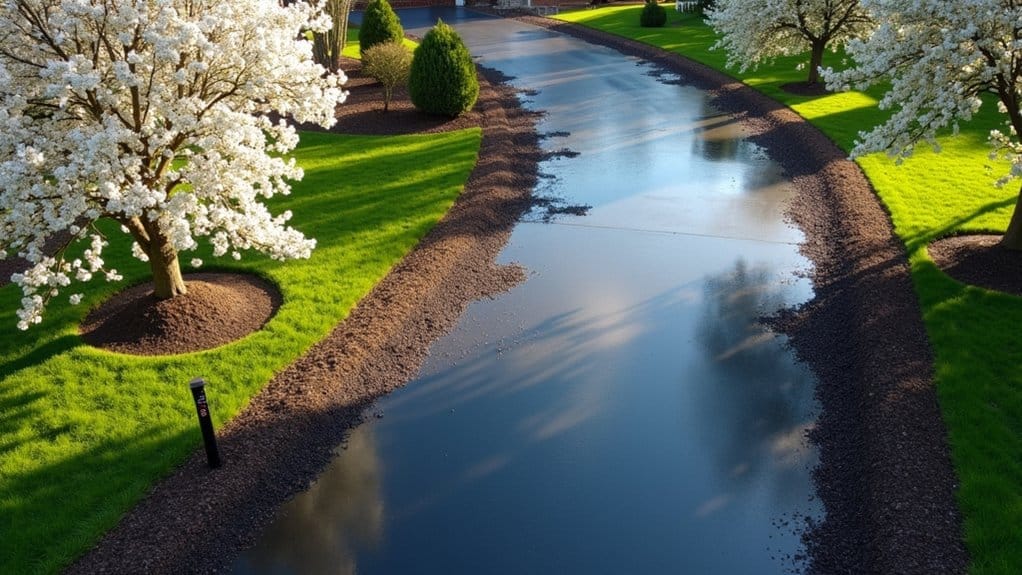
During your spring seal coating appointment, you’ll first receive a professional evaluation of your driveway’s condition and measurements. The crew will thoroughly clean and prep the surface before applying two thin layers of sealant using specialized equipment.
You’ll need to keep vehicles off the driveway for 24-48 hours while it cures. Weather plays a vital role – expect temperatures between 50-90°F with no rain forecast. Let’s investigate the complete process for maximum driveway protection.
Key Takeaways
- Professional evaluator inspects your driveway before starting, checking for cracks, damage, and drainage patterns to determine optimal treatment.
- You’ll need to clear all items from the driveway and ensure it’s thoroughly cleaned 24 hours before application.
- Work should be scheduled during 50-90°F temperatures with no rain forecast for 48 hours after application.
- Technicians apply two thin layers of sealant using specialized equipment, ensuring complete coverage including edges and cracks.
- No vehicle access is allowed for 24-48 hours, with full curing taking up to 72 hours after application.
Pre-Appointment Property Assessment
Before scheduling your seal coating service, you’ll need a thorough property assessment first! A professional evaluator will examine every inch of your driveway to determine the best approach.
What We Check:
- Surface cracks and damage levels
- Drainage patterns and slopes
- Existing sealant condition
- Oil spots and stains
- Overall pavement integrity
Choosing Your Sealant
The property condition assessment helps determine which sealant options work best for your specific situation.
We’ll evaluate whether you need:
- Standard coal tar sealer
- Premium asphalt-based sealer
- High-performance polymer-modified options
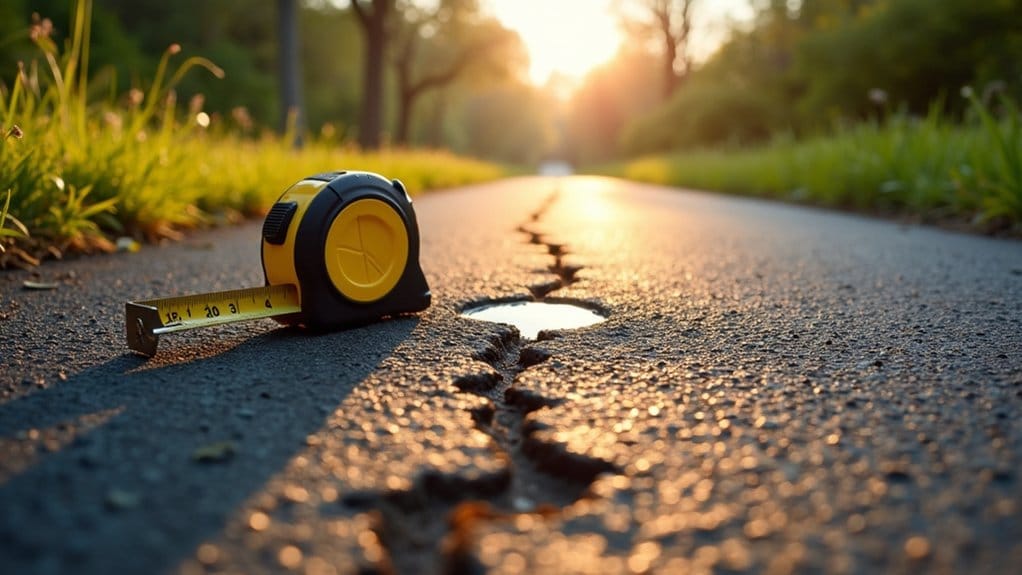
Final Measurements
Your evaluator will take precise measurements and document any special concerns.
This helps create an accurate quote and timeline for your project. You’ll receive detailed notes about your property’s current state and recommended solutions. Additionally, our commitment to using durable, top-grade materials ensures that your driveway will be well-protected for years to come.
Surface Preparation and Cleaning Requirements
Getting your driveway spotless is essential for seal coating success! Before the seal coating team arrives, you’ll need to tackle some important surface preparation steps.
First Steps:
- Remove all vehicles from the driveway
- Clear away toys, tools, and garden equipment
- Sweep away loose debris and dirt
Deep Cleaning Requirements:
You’ll want to power wash the entire surface thoroughly. This equipment usage removes:
- Stubborn oil stains
- Ground-in dirt
- Plant debris
- Chemical residue
Pro Tip: Don’t forget those pesky edges! Surface cleaning must extend to every corner and crack.
Let the driveway dry completely for 24 hours after washing.
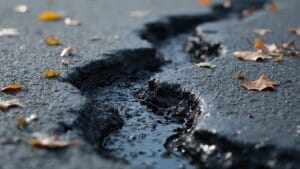
Warning Signs to Watch:
- Standing water pools
- Deep cracks needing repair
- Vegetation growing through pavement
Your preparation efforts will make the seal coating process smoother and more effective! Regular sealcoating can extend asphalt life by 30-50% compared to unsealed surfaces.
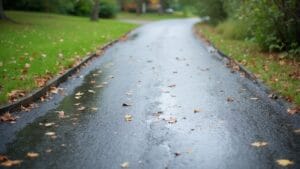
Weather Conditions and Scheduling Factors
Selecting the right weather conditions can make or break your seal coating project’s success!
Temperature and moisture levels play an essential role in proper seal coat curing. You’ll want daytime temperatures between 50-90°F with no rain in the forecast for 24-48 hours. The pavement surface must be completely dry!
Weather Impact Factors:
- Direct sunlight helps seal coat cure faster
- High humidity slows down the drying process
- Wind can affect spray patterns during application
Scheduling Flexibility Tips:
- Early morning appointments work best
- Spring scheduling books up fast – plan 2-3 weeks ahead
- We’ll monitor weather forecasts and contact you if rescheduling is needed
Pro Tip: Your contractor’s scheduling flexibility is vital! Most companies offer weather-dependent rescheduling at no extra charge. Additionally, understanding the importance of qualified contractors can help ensure your project runs smoothly.
Patience during unpredictable spring weather will guarantee your best results.
Application Process and Techniques
Professional seal coating requires precise application techniques to achieve maximum durability! Your contractor will arrive with specialized application equipment designed for ideal coverage.
They’ll first use high-powered blowers to remove all debris from your driveway surface.
Next comes the exciting part – watching the seal coating techniques in action! The crew will apply the coating in smooth, overlapping passes using either spray systems or squeegees.
You’ll notice them working methodically from one end to the other to guarantee even coverage.
The coating goes down in two thin layers rather than one thick coat. This two-layer approach creates better adhesion and longevity.
Your contractor will carefully seal the edges using detail brushes for those hard-to-reach spots. The entire process typically takes 2-4 hours for an average driveway. Additionally, proper seal coating is essential for extending pavement lifespan and maintaining the investment in commercial properties.
Drying Time and Access Restrictions
Once the seal coating application is complete, the waiting game begins! You’ll need to keep all vehicles and foot traffic off your newly sealed surface during the critical drying period.
Typical Drying Times:
- Light foot traffic: 4-6 hours
- Vehicle traffic: 24-48 hours
- Full cure: 72 hours
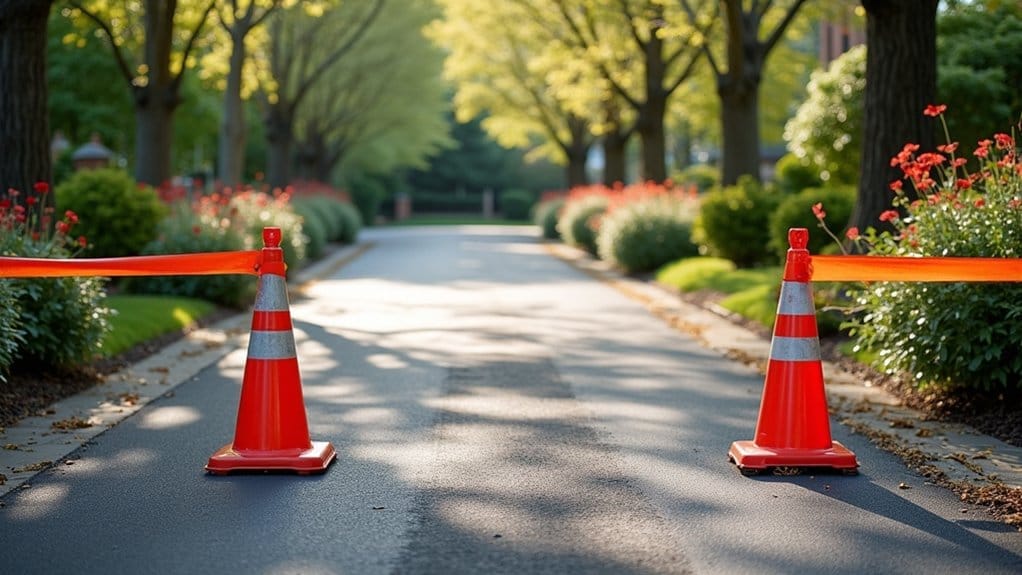
Access Restrictions:
- Block all entry points with cones or caution tape
- Post clear “No Parking” signs
- Notify family members and employees about alternate parking
- Keep pets away from the treated area
Pro Tips:
You’ll get the best results by scheduling your seal coating on a warm, sunny day. The warmer the temperature, the faster your surface will dry!
Don’t let early morning dew or unexpected rain catch you off guard – always check the weather forecast before your appointment. Additionally, maintaining your asphalt through regular seal coating services can significantly extend its lifespan and save on repair costs.
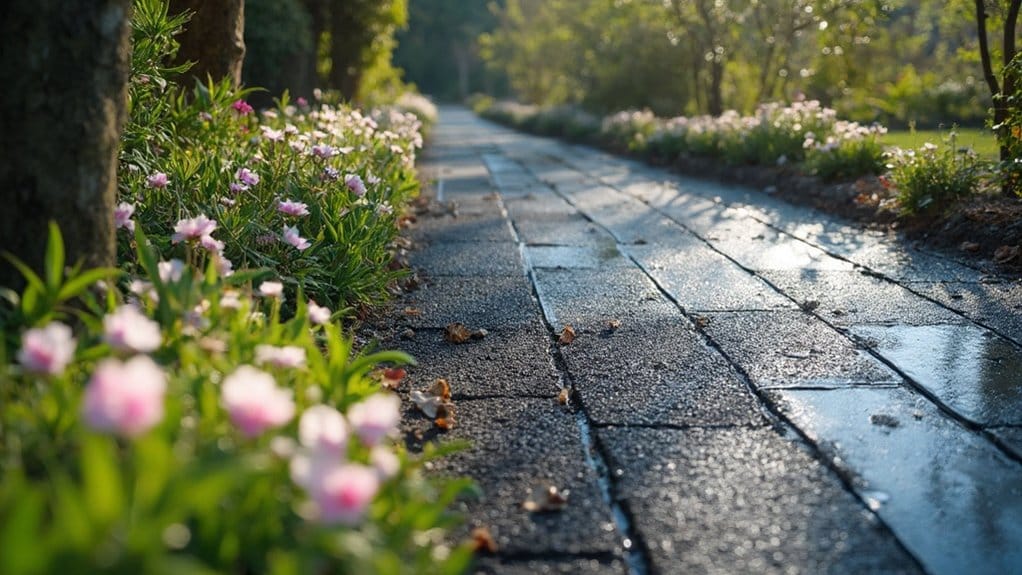
Post-Application Care Instructions
Taking proper care of your newly sealed surface will extend its life dramatically! Your investment deserves the best post-application maintenance to maximize sealant longevity.
FIRST 48 HOURS:
- Keep ALL vehicles off the surface
- Avoid sprinklers and water exposure
- Don’t drag or place heavy objects
- Redirect foot traffic when possible
ONGOING CARE:
- Sweep regularly to prevent debris buildup
- Clean oil spills immediately with soap and water
- Avoid turning wheels while vehicle is stationary
- Address any surface damage quickly
PRO TIPS:
Your sealed surface needs gentle treatment in its early days!
Think of it like a fresh manicure – it’s beautiful but needs time to fully cure. Remember, high-quality materials used during the sealing process contribute to long-lasting results.
Follow these guidelines and you’ll enjoy a protected surface that looks fantastic for years to come.
Your future self will thank you!
Quality Control and Inspection Steps
Our rigorous inspection process guarantees your seal coating meets the highest quality standards.
Comprehensive Quality Checks:
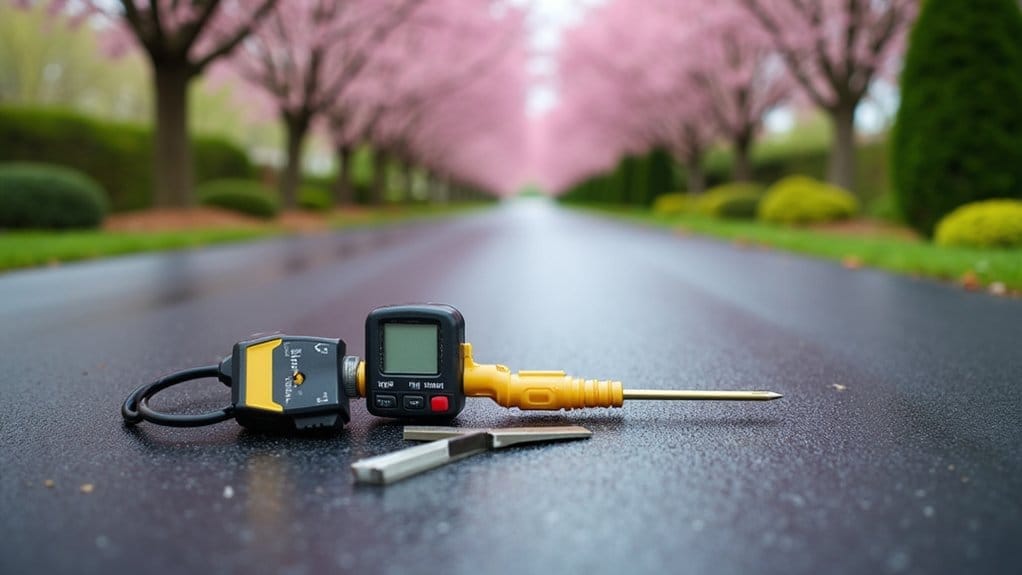
- We examine surface coverage with advanced inspection techniques
- Our team tests coating thickness in multiple locations
- Each edge and corner receives detailed attention
The Final Walk-Through:
You’ll join our quality assurance specialist for a complete property review. Together, we’ll check:
- Even application and consistent color
- Proper line striping (for parking lots)
- Clean edges along concrete borders
- No missed spots or thin areas
Documentation & Sign-Off:
We’ll document all inspection results in your project file. You’ll receive a detailed report showing every quality checkpoint we’ve completed. Additionally, our commitment to customer privacy ensures that your information remains secure throughout the process.
We won’t consider the job finished until you’re 100% satisfied with every aspect of your seal coating application.
Remember: Your satisfaction drives our quality standards!
Conclusion
You’re now fully prepared for your spring seal coating project! Studies show that a properly maintained asphalt surface can last 20-30 years with regular seal coating every 2-3 years. That’s fantastic protection for your investment! Schedule your appointment, follow these preparation steps, and you’ll have a beautiful, durable surface that’ll make your property stand out. Get ready to see remarkable results that’ll protect your pavement for years to come!