You’ve got this! Remove debris and standing water first—they’re your enemies. Apply spray-on primer to all surfaces. Pour cold patch in 1.5-inch layers, overfilling about 1 inch. Compact thoroughly with a hand tamper until level. Keep traffic off for 24–72 hours minimum. Winter temperatures slow curing dramatically, so patience pays off. Seal coat after to protect against harsh weather. Stick around to uncover the specific techniques that’ll make your repair last years, not months.
Key Takeaways
- Remove all debris and standing water from the pothole, as moisture prevents cold patch adhesion and repair durability.
- Apply spray-on tack primer to all surfaces before filling to ensure proper bonding, especially in damp conditions.
- Pour cold patch in 1.5-inch layers, overfilling 1 inch above surrounding asphalt, then compact each layer thoroughly.
- Keep traffic off repaired areas for 24–72 hours to allow adequate curing; winter temperatures extend this timeline significantly.
- Prevent future potholes by maintaining proper drainage, sealing cracks promptly, and sealcoating every 3–5 years.
Why Winter Potholes Require Immediate Attention
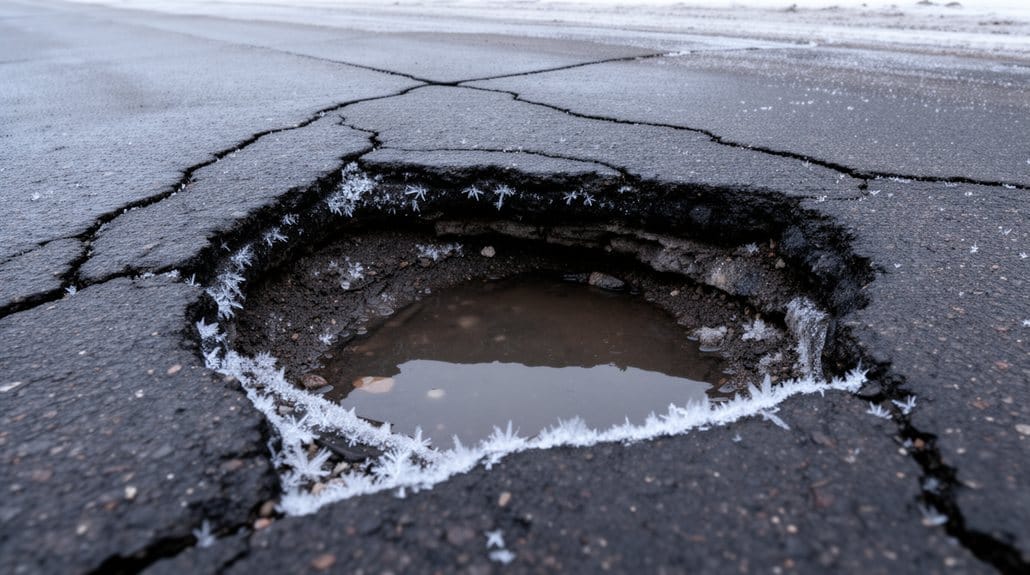
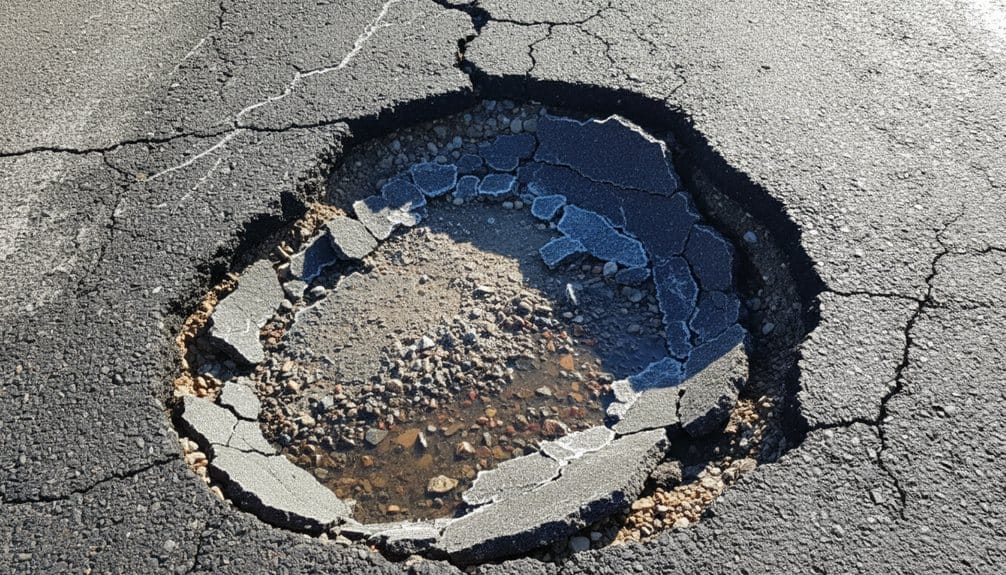
Water seeps into small asphalt cracks. Then it freezes. Ice expands up to 9% in volume. Your pavement breaks apart faster than you’d expect.
Why Waiting Costs You
Each freeze-thaw cycle removes more subgrade material underneath. A small defect explodes into a massive pothole. Standing water after rain signals serious trouble ahead.
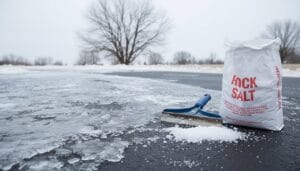
The Salt Problem
De-icers and salt attack your asphalt’s binder. Traffic pounds it further. Your repair patches won’t stick well if you delay.
Early Repair Wins
Catch defects under 2–3 inches immediately. A quick bonded cold patch stops water infiltration. You’ll prevent expensive full-removal repairs later. Regular maintenance services help prevent future pothole formation that can arise during winter.
Don’t wait. Winter potholes don’t shrink—they grow.
Clearing Debris and Standing Water
You’ll remove loose debris with a stiff broom and shovel. Sweep aggressively! This step absolutely matters because patch material needs clean surfaces to bond properly. Get every bit of vegetation and broken asphalt out.
Eliminate Standing Water
Next, tackle standing water using a wet/dry shop vac or bucket. Water destroys cold patch adhesion on saturated soil. Here’s your priority ranking:
| Priority | Method | Result |
|---|---|---|
| First | Wet/dry shop vac | Fastest removal |
| Second | Bucket bailing | Budget-friendly |
| Third | Absorbent material | Last resort |
Pro tip: Can’t remove all water? Use water-tolerant products or apply spray-on bitumen primer. This tack coat seals damp surfaces beautifully. In addition, proper asphalt repair techniques can significantly enhance the durability and longevity of your repairs.
Success depends on dryness. Don’t skip this!
Applying Cold Patch Material
You’ve prepped the surface beautifully—now you’re ready for the good stuff.
Prime First—This Matters!
Apply spray-on tack/primer to all surfaces. This bitumen-based layer converts everything. It’s your secret weapon for success, especially when conditions are damp. Skipping primer? That’s a guaranteed failure waiting to happen.
Layer It Right
Pour cold patch in 1.5-inch layers. Overfill about 1 inch above the surrounding asphalt. This accounts for compaction settling.
Compact Each Layer
Use your hand tamper aggressively. Compact thoroughly until each layer sits level with surrounding pavement. Don’t rush this step—proper compaction determines everything.
The Waiting Game
Keep traffic away for 24–72 hours. Your cold patch needs time to cure properly. Patience now prevents expensive repairs later. Additionally, consider seal coating your driveway to protect against harsh weather conditions and extend the lifespan of your asphalt surfaces.
Compacting and Leveling the Repair
The primer’s down. Now comes the essential compacting phase!
Build It Right
You’ll compact each 1.5–2 inch lift using a hand tamper or plate compactor. Keep going until that layer stops compressing. Match the density of surrounding pavement—this matters big time.
Overfill Strategy
Here’s the smart move: overfill the hole by about 1 inch before final compaction. Why? Settlement happens naturally. Then tamp until your patched surface sits flush with adjacent asphalt.
Layer on Top Method
For deeper potholes, build multiple compacted lifts beneath the asphalt. Use crushed stone or paver base. This creates a rock-solid foundation.
Final Touches
Use a steel tamper over plywood for smooth, uniform finishing. Avoid over-compacting—you’ll wreck everything!
Wait It Out
Keep traffic off for 24–72 hours minimum. Patience wins here! Regular maintenance extends driveway lifespan and can prevent future pothole formations.
Curing and Traffic Restrictions
A cold patch needs 24–72 hours without vehicle traffic. Hot mix demands 3–7 days minimum.
Here’s what you must do:
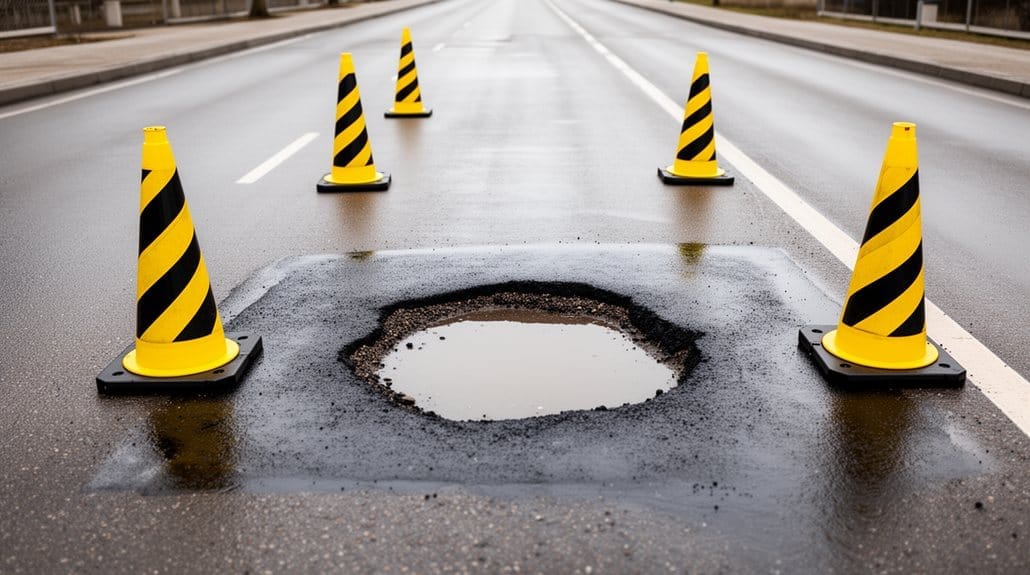
- Mark the repair area with cones or barriers immediately
- Keep all vehicles completely off the patched section
- Avoid any turning or braking on the fresh asphalt
- Monitor for water, frost, or ice during curing
- Re-tamp water-activated cold patches if settlement appears
Winter temperatures slow everything down dramatically. Expect curing to take 1.5–3× longer below 40°F. It’s important to remember that proper asphalt sealcoating can help protect your investment in the long run.
Full strength takes 3–4 weeks total. Patience now prevents expensive failures later!
Long-Term Prevention Strategies
You’ll prevent permanent potholes by establishing a solid base. Add 2–4 inches of crushed stone. Compact it properly.
Settling causes future damage.
Drain Water Away
Grade your driveway 1–2% away from structures. Keep gutters and downspouts clear.
Pooling water destroys asphalt maintenance efforts.
Seal and Repair Early
Sealcoat every 3–5 years with quality sealer. This blocks UV damage and water penetration.
Fill cracks ½–1 inch wide immediately. Small repairs stop big problems. Regular maintenance can significantly prolong the life of your asphalt surfaces.
Protect During Winter
Use non-corrosive de-icers instead of rock salt. Grab plastic shovels—not metal blades.
Avoid aggressive scraping that chips edges.
These strategies keep your driveway strong for years!
Conclusion
You’ve now got the skills to tackle winter potholes like a pro! Think of proper pothole repair like maintaining your car—you can’t ignore it or things get worse fast. You’re investing in safer roads and saving money long-term. Stay consistent with prevention strategies. Keep inspecting regularly. Your commitment to quick repairs protects drivers and extends your pavement’s life. You’re doing fantastic work out there!