You can stop salt from destroying your driveway. Apply penetrating sealers like Saltguard WB before winter hits—they block chloride intrusion deep inside concrete. Use gentler de-icers: calcium chloride or magnesium chloride instead of rock salt. Spread de-icer sparingly at 1–2 oz per square foot. Rinse surfaces aggressively each spring with fresh water to remove salt residue. Fix drainage slopes to prevent pooling. Repair hairline cracks immediately with polymer-modified cement filler before they widen. These smart moves protect your investment for years. Stick around to learn exactly how each step works.
Key Takeaways
- Apply penetrating sealers (silane/siloxane) before winter to block chloride intrusion into concrete.
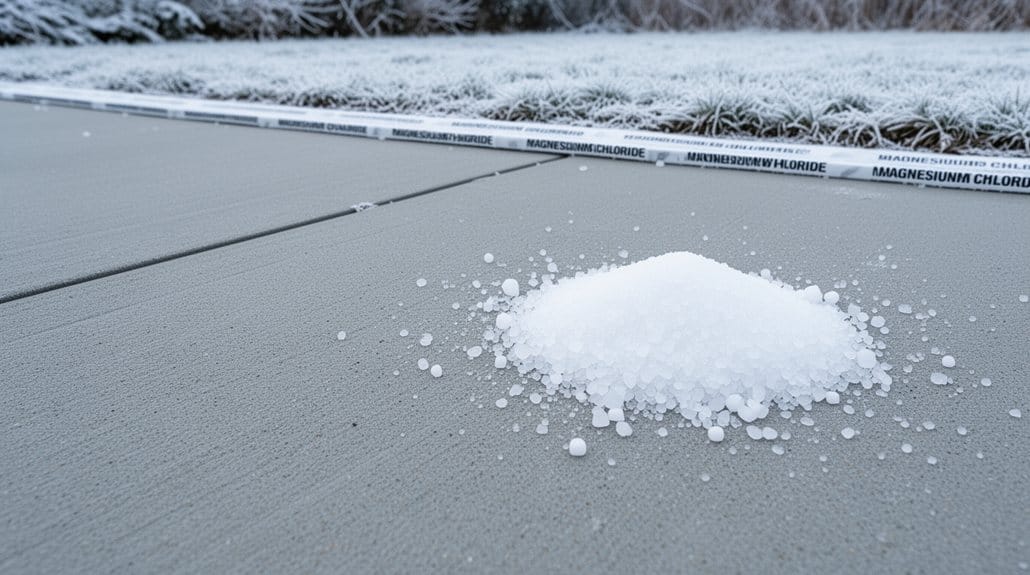
- Use calcium chloride or magnesium chloride instead of rock salt; apply sparingly at manufacturer rates.
- Maintain 2–3% cross-slope drainage and install channel drains to prevent standing water and freeze–thaw damage.
- Rinse driveways thoroughly each spring with fresh water to remove residual salt buildup.
- Repair hairline cracks promptly with polymer-modified cement filler before freeze–thaw cycles worsen damage.
Does Salt Damage Concrete?
Your concrete driveway isn’t solid like it looks. It’s actually porous and absorbs everything around it—including salt-laden water. That’s the problem.
How Salt Destroys Your Driveway
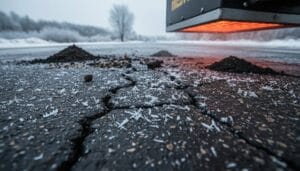
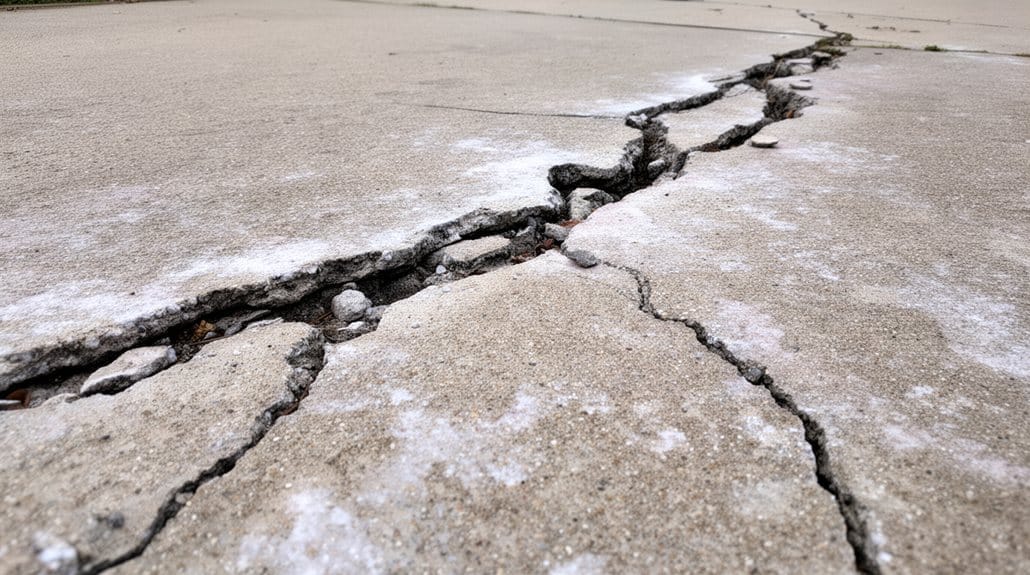
De-icers containing chloride penetrate deep into concrete. They react with calcium compounds inside, creating expansive materials. These force internal cracking and crumbling from the inside out.
The Freeze-Thaw Killer
Salt lowers water’s freezing point. Your driveway experiences more freeze-thaw cycles each winter. Hydraulic pressure builds inside tiny pores. Result? Scaling and spalling devastate the surface.
The Rebar Connection
Chlorides also attack embedded steel reinforcement. Rebar corrodes faster. Delamination follows. Your driveway weakens structurally.
Warning Signs You’re Seeing Damage
Watch for pitting and hairline cracks. Discoloration and surface flaking appear progressively. Without treatment, damage worsens yearly. Regular asphalt paving repair can help maintain the integrity of your driveway and prevent long-term damage.
How Salt Damages Your Driveway
Salt doesn’t just sit on your concrete—it actively works against you. It penetrates deep into porous concrete and triggers destructive freeze-thaw cycles that widen microcracks persistently.
| Damage Type | What Happens |
|---|---|
| Surface Scaling | Repeated freezing breaks concrete layers |
| Chloride Reaction | Salt forms expanding calcium oxychloride crystals |
| Rebar Corrosion | Chlorides reach embedded steel and cause rust |
| Hydraulic Pressure | Refrozen saltwater creates internal cracking |
The Real Problem:
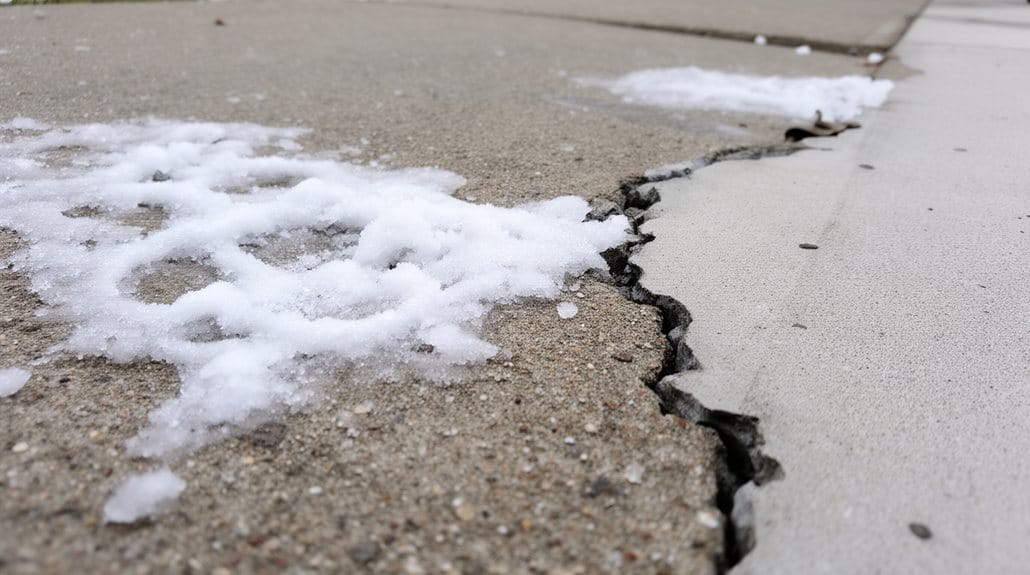
Chloride salts chemically react with your concrete’s calcium hydroxide. This creates calcium oxychloride—an expanding crystalline compound that induces internal cracking and crumbling from within.
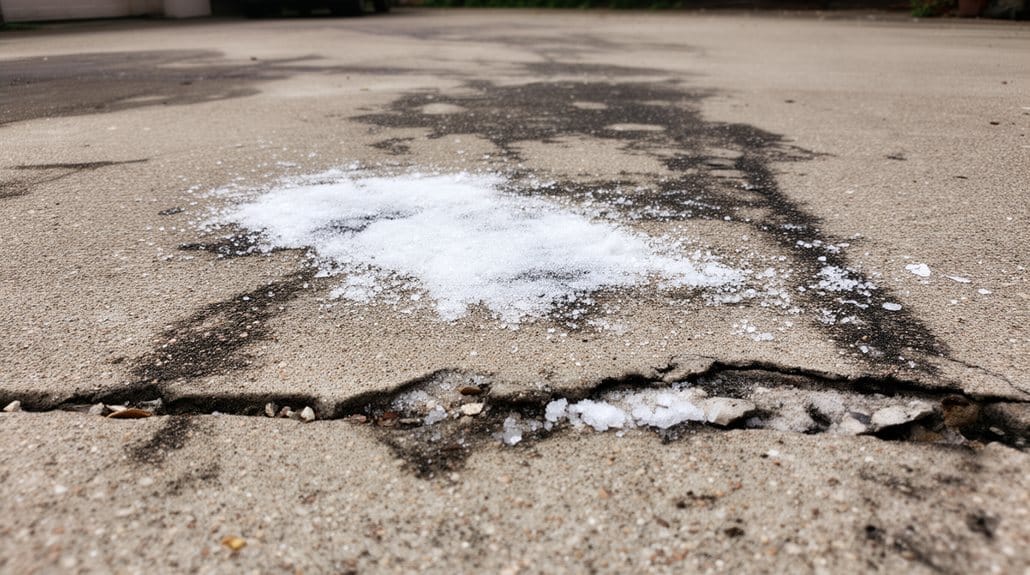
Concentrated piles accelerate deterioration dramatically. Heavy salt buildup causes localized pitting and discoloration far worse than even applications.
Your rebar corrodes faster too. As embedded steel rusts, it expands and causes delamination—structurally weakening your entire driveway. Additionally, regular maintenance extends driveway lifespan and can help mitigate some of the damage caused by salt.
Recognizing Signs of Salt Damage
You’ve got to catch salt damage early! Here’s what to watch for:
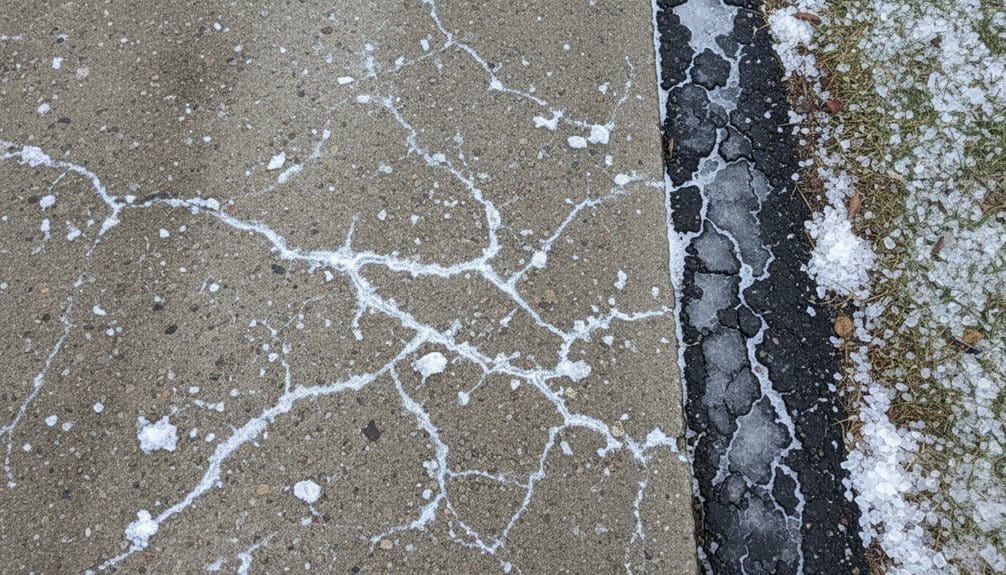
- Surface breakdown: Look for spalling and scaling on high-traffic areas. Small concrete pieces flake away, creating rough, pitted textures near edges and joints.
- Cracks and discoloration: Spot hairline cracks widening over time from freeze-thaw cycles. White residue (efflorescence) signals salt penetration deep inside.
- Corrosion red flags: Rust stains or exposed rebar mean chlorides reached your reinforcement. That’s serious business.
Don’t ignore these warning signs! Early detection saves thousands in repair costs. Check your driveway monthly during winter months. Additionally, consider seal coating your driveway to protect against future damage and extend its lifespan. Your wallet will thank you for staying vigilant about salt damage prevention.
Applying Protective Sealers and Coatings
Applying the right sealer is genuinely your best defense!
Start Strong Before Winter
You’ll want a penetrating sealer like Saltguard WB before cold months hit. This chemical bond blocks chloride intrusion and water damage effectively.
Prep Work Matters Most
Clean surfaces before sealing—seriously! Remove dirt, oil, and existing sealers.
Let concrete driveways dry completely. Damp surfaces won’t accept penetration properly.
Application Tips
Apply in shaded conditions using low pressure. Test a small patch first. Overapplication actually reduces performance.
Stay Consistent
Reapply every 2–3 years on concrete driveways. UV exposure and traffic wear down protection fast.
Build Better From Start
For new slabs, specify air-entrained concrete plus penetrating sealer. This combo maximizes freeze-thaw resistance dramatically. Additionally, using top-grade materials ensures durability and long-lasting protection for your driveway.
Your proactive approach saves thousands in repairs!
Choosing Concrete-Safe De-Icers
Even the best sealer won’t save your driveway if you’re using the wrong de-icer!
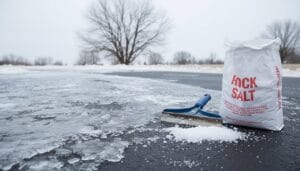
Your de-icer choice dramatically impacts concrete longevity. Rock salt? Terrible for concrete durability. Instead, reach for these champions:
- Calcium chloride — Works down to -25°F and causes way less damage than rock salt
- Magnesium chloride — Another solid option that’s gentler on your concrete investment
- Calcium magnesium acetate (CMA) — The safest choice, though pricier and less effective in extreme cold
Apply chlorides sparingly at manufacturer rates (1–2 oz/ft²). Concentrated piles create calcium oxychloride formation—that’s concrete destruction accelerated.
Spread evenly. Never dump piles anywhere.
Rinse paved surfaces each spring with fresh water. This removes residual chlorides and prevents freeze-thaw damage.
Additionally, using durable, top-grade materials for your driveway can help enhance its resistance to de-icing agents.
Your wallet and driveway will thank you!
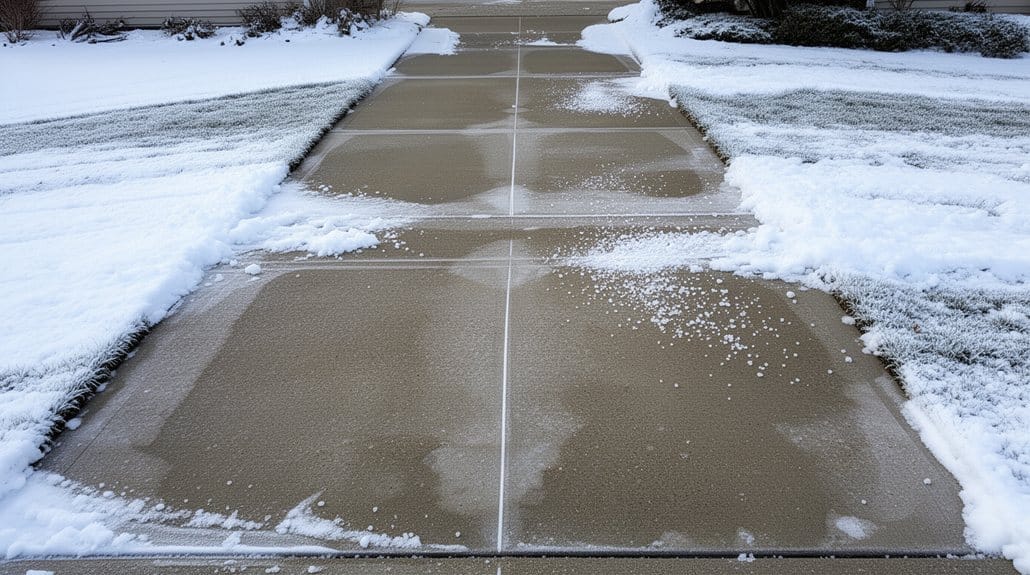
Optimizing Drainage and Surface Grading
Because water pools on flat surfaces, proper grading is your driveway’s best friend!
Slope Your Driveway Smart
You need a 2–3% cross-slope toward gutters or drains. That’s roughly 1/4 inch per foot.
This angle makes meltwater *rush away* instead of sitting around.
Stop Water Where It Starts
Install channel drains at low points and roof runoff zones.
Your downspouts should discharge 5–10 feet away from the slab.
Underground drains work great too!
Prevent Standing Water
Clean joints and edges stay clear.
Standing water accelerates freeze–thaw damage cycles.
Permeable edging and swales redirect runoff effectively.
The result? Less salt penetration. Less concrete damage.
You’re protecting your investment by keeping moisture moving! Additionally, ensuring a strong foundation through proper groundwork will significantly enhance the longevity of your driveway.
Implementing Smart Snow Removal Practices
Here’s your winning game plan:
- Use the right tools — Grab a plastic snow shovel or snowblower with rubber-tipped blades. Never scrape concrete or asphalt aggressively!
- Apply de-icers sparingly — Less is more! Use calcium chloride or magnesium chloride instead of rock salt. Target only walkways and wheel paths.
- Finish strong — Rinse or pressure-wash surfaces after thawing to remove residual salt damage. Reapply penetrating sealers every few years for maximum protection. Regular sealcoating can extend asphalt life by 30-50% compared to unsealed surfaces.
Smart snow removal prevents standing water and slashes your de-icer costs dramatically.
You’re protecting your investment one storm at a time!
Repairing Minor Salt Damage
| Damage Type | Your Action Plan |
|---|---|
| Hairline cracks (<1/8 inch) | Clean debris. Force in polymer-modified cement crack filler. Seal surface. |
| Spalled areas | Remove loose concrete. Apply bonding agent. Trowel cementitious patch. |
| Chloride buildup | Wash with concrete-neutralizing cleaner. Pressure rinse thoroughly. |
Here’s your winning strategy:
First, neutralize residual chlorides attacking from within. Wash the damaged spot with E-Etch diluted solution and Neutra Clean. Rinse aggressively with a pressure washer.
Next, repair hairline cracks by forcing polymer-modified cement crack filler deep inside. For spalled areas, remove all loose concrete to sound edges. Apply bonding agent. Trowel your cementitious patching compound.
Finally, seal everything! Apply penetrating silane/siloxane sealer. This blocks future chloride penetration and prevents freeze-thaw cycling.
Additionally, ensure that you have a strong foundation to support the longevity of your repairs.
Monitor seasonal damage. If patches re-spall, consider resurfacing.
Addressing Severe Deterioration
When your driveway’s damage spreads wide and deep, minor patching won’t cut it anymore.
You’re facing serious salt-induced freeze–thaw damage. Here’s what you need to know:
- Inspect for major issues: Look for widespread spalling, deep pitting, or rebar exposure
- Get professional assessment: Structural engineers evaluate load-bearing capacity and create repair plans
- Execute proper repairs: Remove damaged sections completely or apply cementitious resurfacer overlays
The action plan matters hugely. Corroded rebar gets exposed, cleaned, and treated with corrosion inhibitors before patching. This prevents future failures!
After repairs finish, install chloride-blocking sealers immediately. Reapply per manufacturer schedules.
Reality check: Full-depth replacement costs more upfront but saves thousands later. Early intervention beats emergency repairs every single time. Additionally, consider consulting with trusted asphalt paving services to ensure high-quality workmanship in your repairs.
Spring Cleanup and Long-Term Maintenance
Once you’ve fixed the major damage, you’ve won half the battle. Now comes the real work: spring cleanup and long-term maintenance that’ll save you thousands!
Your Spring Cleanup Checklist
Start by removing salt residue with a pressure wash or garden hose. Those leftover salts? They’re sneaky troublemakers drawing moisture into your concrete. Next, inspect and repair cracks before they explode into bigger problems. Small fixes now prevent expensive disasters later!
| Task | Timing |
|---|---|
| Remove salt residue | Early spring |
| Inspect and repair cracks | Spring inspection |
| Clean oil and debris | Before sealing |
| Sealer reapplication | Every 1–3 years |
| Drainage maintenance | Quarterly check |
Critical Next Steps
Clean oil and debris with proper cleaner before sealing. Contaminants block sealer penetration, killing effectiveness! Fix drainage slopes to prevent freeze-thaw damage. Your driveway stays protected when water flows away, not pools! Additionally, consider premium sealant options for maximum protection against the elements.
Conclusion
Your driveway’s your home’s first handshake with the world. Salt’s like a silent thief stealing its strength every winter. You’ve got the tools now. Seal it. Choose smart de-icers. Remove snow wisely. Act fast on damage. Your concrete will thank you with years of reliable service. Don’t let salt win this battle. Your driveway deserves better.