Before winter hits, you’ve got work to do. Sweep debris and clear gutters now—standing water destroys pavement fast. Seal cracks wider than 1/4 inch when temps stay above 41°F. Inspect edges for gaps and root intrusion. Repair potholes before freezing. Apply sealcoat for UV protection. Document everything with timestamped photos showing measurements. Plan snow storage 10–15 feet from edges to prevent meltwater pooling. Schedule your contractor assessment today while repair windows still open. The details below show exactly how to protect your investment.
Key Takeaways
- Sweep debris and clear gutters before the first freeze to ensure proper drainage and prevent water damage.
- Seal cracks wider than 1/4 inch and repair potholes when temperatures exceed 41°F before winter arrives.
- Apply sealcoat above 50°F to protect asphalt from UV damage and freeze-thaw cycle deterioration.
- Mark pooling areas and clear drainage inlets to prevent ice formation and structural freeze-thaw damage.
- Document all damage with timestamped photos, measurements, and records before scheduling professional repairs for liability protection.
Clear Debris and Sweep Your Asphalt Surface
Use a stiff broom or leaf blower at least once before the first freeze. Don’t skip this step! Clear debris from gutters and curbs too. Proper drainage prevents pooling water that’ll freeze solid.
Inspect While You Clean
Look for exposed cracks and potholes. Document what you find. Early detection stops freeze-thaw cycles from destroying your pavement faster. Schedule professional repairs immediately with a trusted provider like Nathan’s Paving & Seal Coating to ensure quality results.
The Result
You’ve protected your investment. Your asphalt stays stronger longer. That’s the power of prevention!
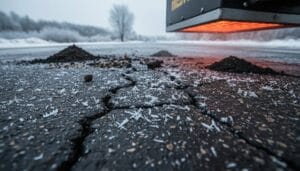
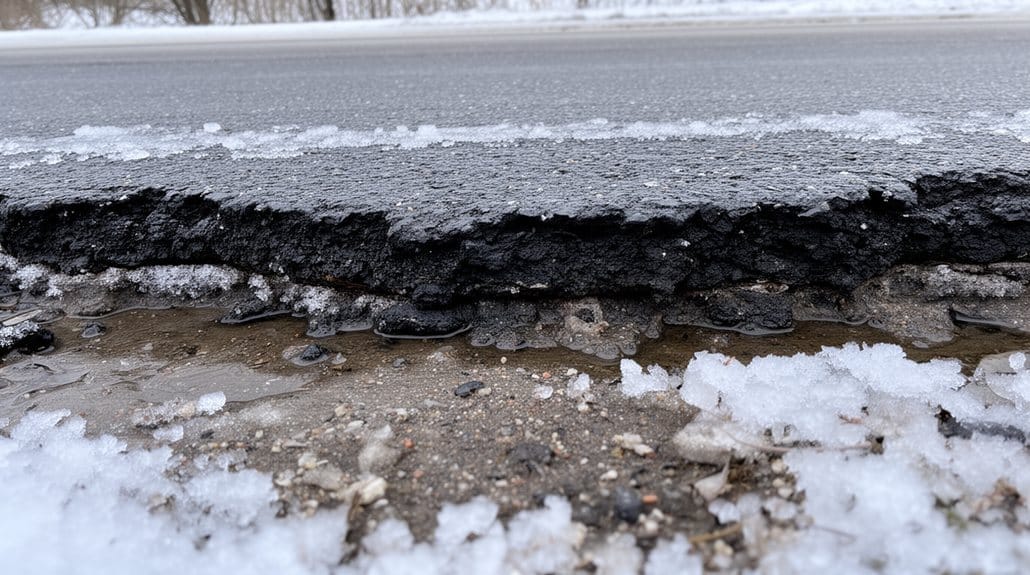
Inspect and Repair Potholes Before Freezing Temperatures
Potholes don’t just sit there—they grow! Winter’s freeze–thaw cycles convert tiny cracks into massive hazards. Meltwater seeps into holes, then freezes and expands, creating bigger damage. You’ve got to act fast!
Why timing matters:
- Repair potholes before temperatures drop below 41°F consistently
- Professional hot-applied asphalt or infrared patches work best in milder weather
- Cold patch materials won’t set properly in freezing conditions
- Schedule permanent full-depth patching for spring if winter temperatures prevent proper repair
Your action plan:
Clear debris and standing water first.
Document the hole’s size and depth.
Small potholes become expensive disasters without preventative maintenance.
Use temporary cold patch now to reduce liability risks.
Plan permanent full-depth patching for spring when conditions allow proper compaction. This strategy protects your asphalt’s structural integrity long-term! Additionally, regular maintenance services help prevent future pothole formation, ensuring your pavement remains in top condition.
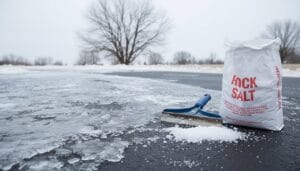
Seal Cracks to Prevent Water Infiltration
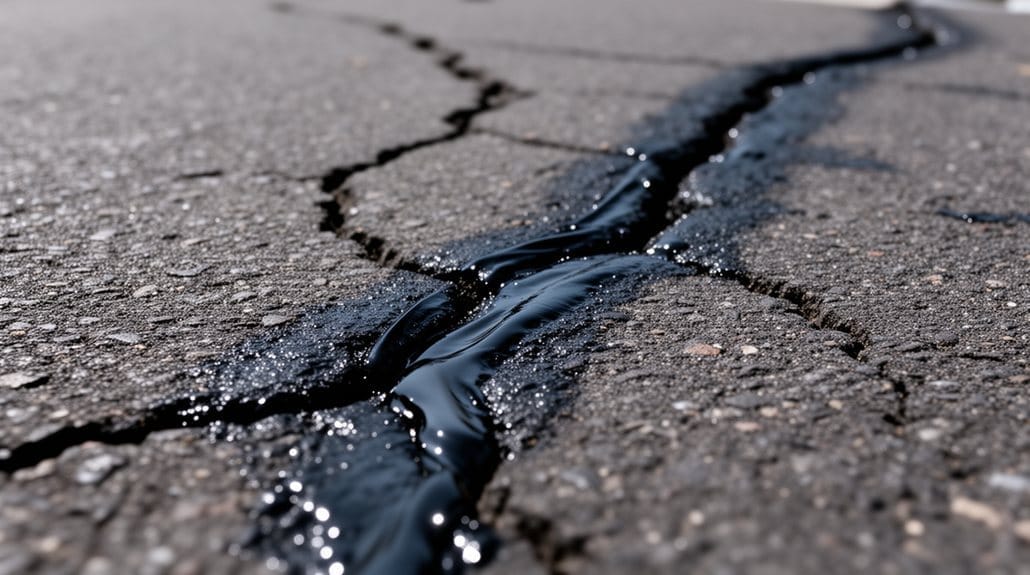
While potholes grab all the attention, cracks are the real troublemakers!
Water sneaks into tiny cracks and destroys your asphalt from underneath. You’ve got to seal cracks wider than 1/4 inch before freeze–thaw cycles arrive. This prevents water infiltration that leads to expensive damage.
| Crack Sealing Basics | Why It Matters |
|---|---|
| Clean debris first | Sealant bonds better |
| Use hot-pour rubberized sealant | Lasts longer |
| Daytime temps above 41°F | Proper curing happens |
Prioritize these cracks:
- Longitudinal cracks run lengthwise
- Alligator-pattern cracks allow rapid water entry
- Both create potholes fast
Clean cracks with a wire brush or air blower. Skip power washing—you need dry, dust-free edges.
Inspect every 1–3 years. UV and vehicle wear degrade sealant over time. Stay ahead of damage! Additionally, routine maintenance is essential to prolonging the life of your asphalt surfaces.
Apply Sealcoat to Protect Your Pavement
After you’ve sealed those cracks, it’s time for the next defense layer—sealcoat!
Sealcoat restores your asphalt’s surface oils and blocks UV damage. It’s your pavement’s best friend against freeze-thaw cycles and water intrusion. Here’s what you need to do:
- Wait the right time. Apply sealcoat 6–12 months after new installation. Then reapply every 2–3 years for maximum protection.
- Check the temperature. You need conditions above 50°F. Cold weather prevents proper curing and adhesion—so timing matters!
- Prep thoroughly. Sweep, blow, and wire-brush away loose debris. Skip power washing; moisture damages adhesion.
- Know its limits. Sealcoat handles small voids but can’t fix large cracks or structural damage. Finish crack filling first!
Missing scheduled sealcoats? You’re risking expensive repairs later. Stay ahead of the game! Additionally, regular maintenance services ensure longevity of installations and protect your investment in asphalt.
Address Standing Water and Drainage Issues
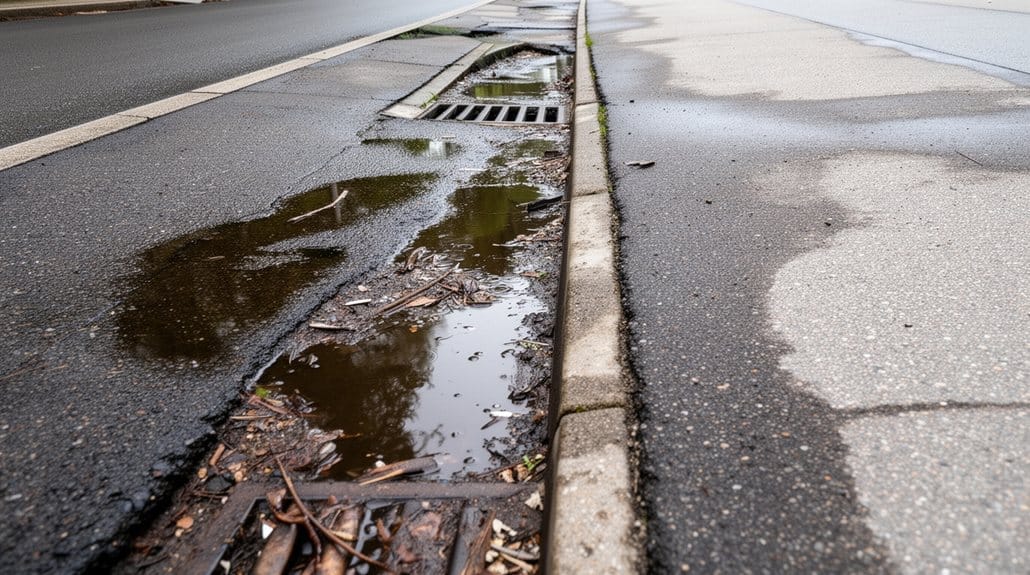
Standing water is your asphalt’s silent killer. Even small puddles seep into cracks. They undercut your sub-base fast.
Spot the Problem
Mark all pooling areas before freeze-up hits. Look for depressions over 1/4 inch deep. Water pooling anywhere spells trouble ahead.
Take Action Now
- Clear drains and catch basins immediately
- Remove debris clogging storm sewer inlets
- Schedule resurfacing for low spots
- Inspect for grade depressions
Fix Drainage Issues
Poor drainage requires more than surface fixes. Install new drains or regrade soil. Redirect meltwater away from pavement completely.
Document Everything
Track pooling frequency after rain or snowmelt. Share locations with your contractor. They’ll recommend targeted patching or drainage upgrades. Addressing freeze-thaw damage early saves thousands later! Additionally, regular inspections can help identify early signs of damage that may need immediate attention.
Identify and Remove Loose Gravel or Raveling
Loose rocks and gravel scattered across your asphalt? That’s raveling—and it’s serious trouble ahead.
This surface disintegration exposes underlying layers to damage.
Winter makes it worse! Snowplows and meltwater push abrasive debris into cracks, accelerating deterioration fast.
Your action plan:
- Sweep or blow loose aggregate before snow arrives
- Prioritize high-traffic zones—entrances, ramps, and parking areas first
- Document everything you remove and report quantities to your contractor
- Schedule professional resurfacing if raveling covers large areas
Don’t ignore this! Accumulated loose aggregate reduces skid resistance and creates ice formation risks.
That’s a safety hazard.
Temporary sweeping won’t fix widespread raveling—you’ll need real repairs. Regular maintenance can extend driveway lifespan and help prevent larger expenses down the line.
Contact your contractor now to patch, sealcoat, or resurface before freeze–thaw cycles strike.
Check Asphalt Edges and Perimeter Conditions
Inspect carefully for:
- Cracks wider than 1/4 inch along edges
- Weed growth or root intrusion pushing pavement up
- Washed-out sub-base near curb lines
- Standing water pooling at the perimeter
Critical Drainage Check
Poor drainage causes persistent pooling—your biggest edge enemy.
Water seeps underneath and expands when frozen, shattering pavement from below.
Junction Zones Matter
Damaged concrete curbs and gutters concentrate stress.
Gaps between asphalt and junctions accelerate edge deterioration dramatically.
Mark problem areas now.
Additionally, ensure you consider the importance of a strong foundation for your asphalt driveway, which can significantly reduce future maintenance issues.
Winter won’t wait!
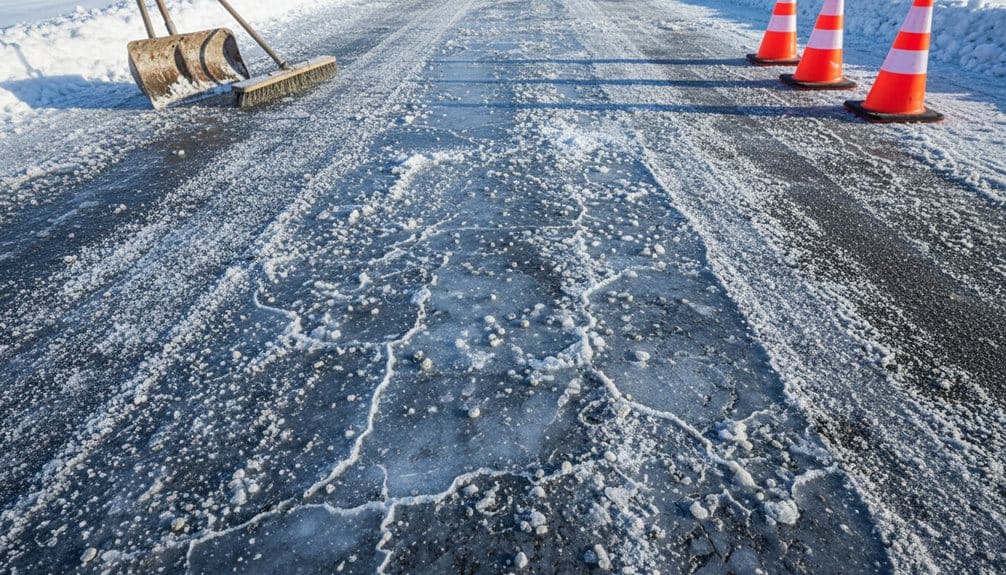
Plan Snow Removal and Storage Strategies
You’ve spotted the edge problems. Now tackle snow removal strategically!
Smart snow storage prevents serious pavement damage. Here’s your action plan:
- Designate storage areas 10–15 feet from asphalt edges to stop meltwater pooling against pavement.
- Avoid drainage inlets when piling snow. Blocked catch basins trap melt, causing freeze–thaw damage that cracks everything.
- Clear drains before storms hit hard. Direct meltwater away from surfaces instead of letting it pool dangerously.
- Rotate snow stacking locations across parking areas. Repeated stacking in one spot creates rutting and concentrated meltwater exposure.
The real win? Haul excess snow off-site whenever possible. This dramatically reduces on-pavement storage near cracks or deteriorating sections. Additionally, regular parking lot sealing is essential for protecting your investment against winter damage.
Your parking lot will thank you!
Schedule Professional Assessment and Repairs
Contact contractors in fall before freeze-up hits. They’ll spot cracks larger than 1/4 inch, potholes, and alligatored areas you might miss. Pooling water? They’ll catch that too.
Book Your Repairs While Weather Permits
Crack sealing, patching and pothole repair, and edge work need temperatures above 41°F to set properly. Don’t wait—materials won’t cure in winter cold.
Request a Written Estimate
Ask for a free custom estimate outlining sealcoating and waterproofing options plus drainage corrections. Get a proposed schedule that respects Michigan’s short paving season.
Priority: Waterproofing First
Prioritize sealcoating and sealing vulnerable edges. This blocks meltwater from seeping into your sub-base and causing freeze-thaw damage.
Additionally, you may want to consider getting a fast, free quote to ensure you receive the best service tailored to your needs.
Document Pavement Conditions With Photos for Liability Protection
Create a powerful documentation system:
- Photograph the pavement with wide-angle shots and close-ups of every crack, pothole, and damaged edge using timestamped images.
- Include timestamps and measurements by placing rulers next to defects, noting sizes like “crack >1/4 inch” directly in filenames.
- Capture drainage and pooling water after rain or thaw to prove recurring standing water causes freeze–thaw damage.
- Maintain a documented photo log linking each image to location, problem type, and actions taken for defensible record-keeping.
Store everything in dated folders with cloud backups. You’re creating evidence that speaks volumes in court! Additionally, consider reaching out to trusted asphalt paving services in your area for professional assessments and repairs to ensure long-lasting pavement integrity.
Conclusion
You’ve cleared your debris. You’ve sealed your cracks. You’ve planned your snow removal. You’ve documented everything with photos. You’ve scheduled professional help. Your asphalt is fortified! Winter won’t stand a chance against your prepared pavement. You’re protecting your investment. You’re preventing costly damage. You’re staying ahead of the game. That’s smart property management right there!