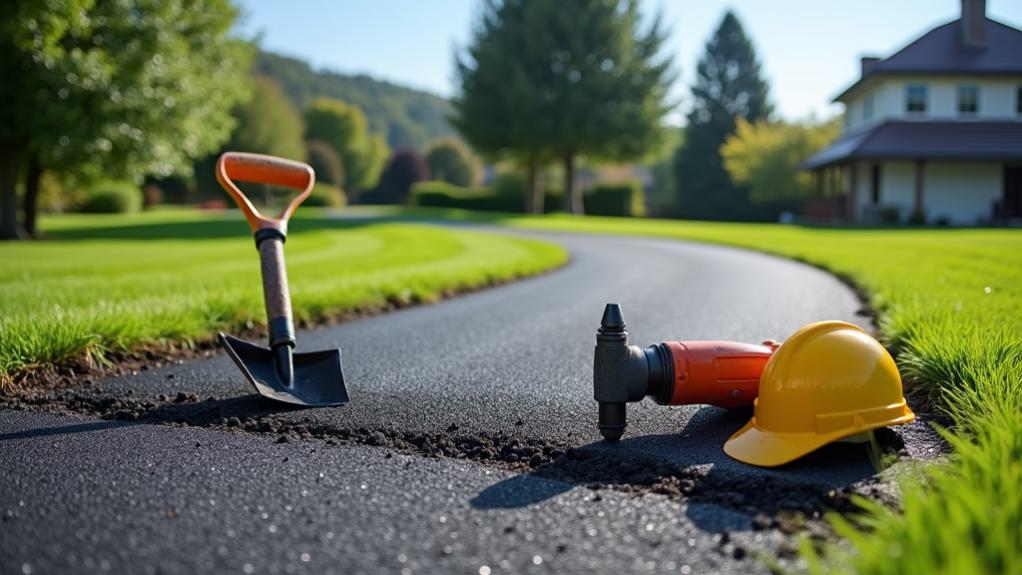
To get rid of an asphalt driveway, start by evaluating the project size to determine the necessary tools, like a circular saw and jackhammer.
Cut the asphalt into manageable pieces and use heavy equipment, like an excavator, for larger areas. Make sure you wear safety gear and check for underground utilities before beginning. Plan for disposal by researching local recycling centers or renting a dumpster.
If you consider hiring a professional, keep in mind that it can save you time and mitigate risks. For a thorough guide on this process, more insights await you to help streamline your project.
Key Takeaways
- Assess the project size to determine the necessary tools, such as a jackhammer or excavator for larger areas.
- Use proper removal techniques, ensuring safety gear is worn and checking for underground utility lines.
- Research local recycling centers for eco-friendly asphalt disposal options or rent a dumpster for efficient waste management.
- Consider hiring professionals for faster, more efficient removal while reducing the risk of damage to surrounding property.
- Inspect the sub-base and address drainage issues before planning a new surface installation to ensure long-term stability.
Equipment Assessment for Removal
When you’re evaluating equipment for asphalt driveway removal, it’s vital to take into account both the size of the project and the tools needed for effective execution. For small areas, hand tools may suffice, but for moderate to larger projects, you’ll need more robust equipment.
A circular saw is excellent for cutting asphalt into manageable pieces, while a jackhammer or excavator is ideal for breaking up larger sections. Utilizing comprehensive asphalt paving services can provide insights into the best methods and equipment for your specific needs.
Before starting the removal process, make sure all personnel wear appropriate safety gear, including gloves, goggles, and hard hats. Familiarity with the equipment you plan to use is important; proper handling can greatly enhance both efficiency and safety during the removal process.
If purchasing equipment is beyond your budget, think about renting from a local hardware store or rental service. This option provides access to the necessary tools without incurring high costs.
Breaking Up the Asphalt
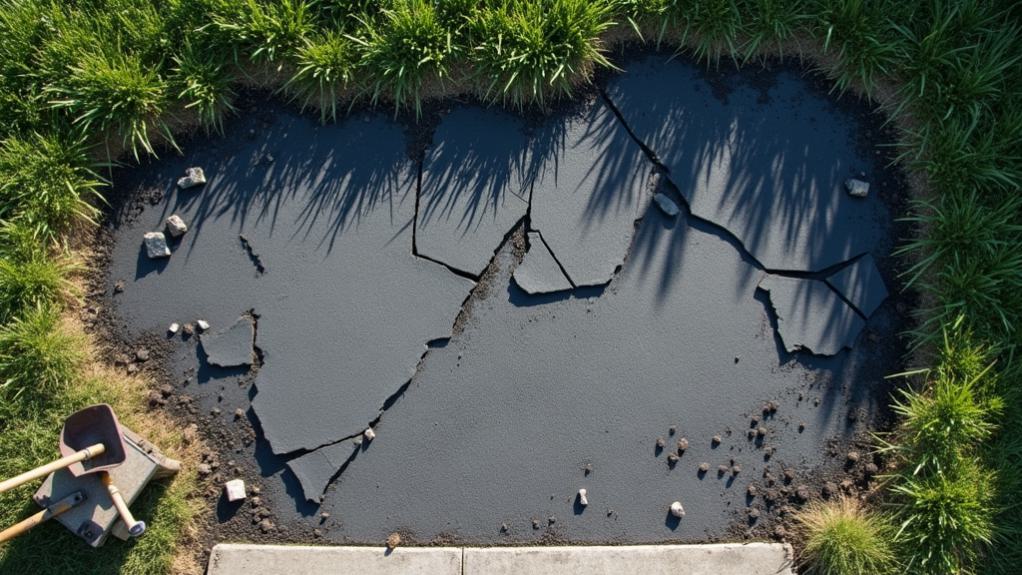
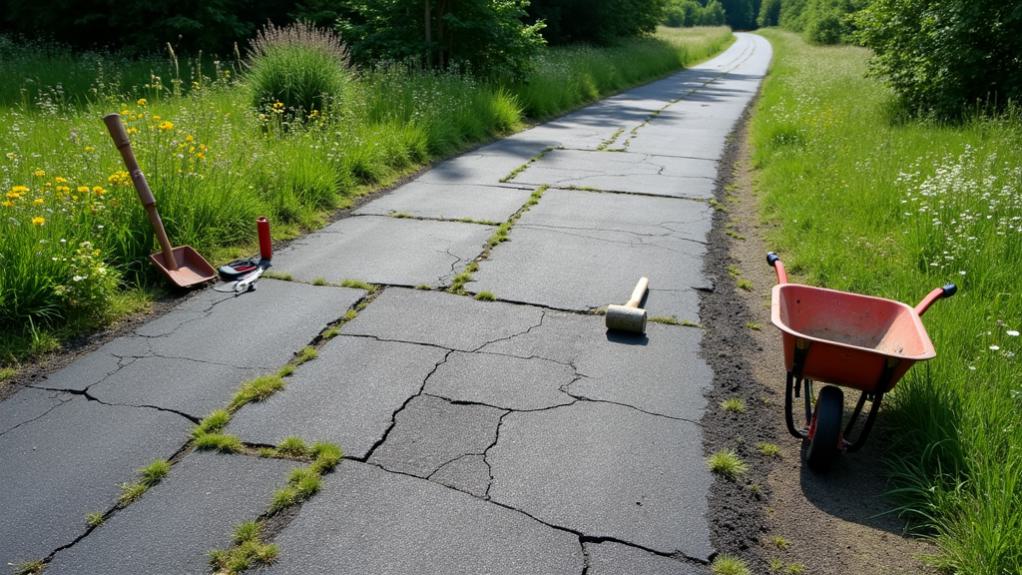
With the right equipment in place, you can begin breaking up the asphalt effectively. Start by using a jackhammer or circular saw to create clean edges around the compromised areas of your driveway. These sections are generally easier to break and allow for better access to the underlying layers.
If you’re considering a complete driveway overhaul, it may be beneficial to consult with a professional paving service, such as Nathans Paving & Seal Coating, known for their excellent workmanship and competitive pricing.
When tackling larger areas, consider deploying heavy equipment like an excavator equipped with ground-engaging tools. This machinery can greatly expedite your removal project.
As you break up the asphalt, utilize a sweeping motion with the excavator to lift and transport the broken pieces. Be mindful of your surroundings, especially if there are utility lines buried beneath the surface.
Always wear appropriate safety gear, including gloves and goggles, to protect yourself from flying debris and potential injuries during the breaking process.
Understanding the cost to remove an asphalt driveway can also play a role in your planning, as it may influence your choice of equipment and techniques.
Safe Removal Techniques

To guarantee a safe and efficient asphalt removal process, you should prioritize proper techniques and precautions. Start by using a jackhammer or circular saw to cut the asphalt, focusing on compromised areas first for easier breaking.
For larger projects, heavy equipment like excavators can be invaluable, as they effectively dig and lift asphalt. Always verify that operators are trained and wearing safety gear during operations. Additionally, consider hiring a trusted service like trusted asphalt paving services to assist with removal, assuring a professional approach and quality results.
Before beginning your driveway removal, it’s essential to check for underground utility lines to avoid damaging them, which could lead to costly repairs and safety hazards.
Maintain awareness of your surroundings, especially when using machinery or during manual lifting, to prevent accidents.
As you remove asphalt, plan for proper disposal. Research local recycling centers, as many may not accept construction debris, and consider renting a dumpster for convenience.
Following these safe removal techniques not only protects you but also guarantees a more efficient process, ultimately leading to a successful driveway removal. By adhering to these guidelines, you can effectively and safely remove asphalt, paving the way for your next project.
Proper Disposal Methods
Once you’ve safely removed the asphalt, proper disposal methods are vital to completing the project responsibly. Local waste services often don’t accept construction debris, so it’s important to research nearby asphalt recycling centers for eco-friendly options. These centers can repurpose the material for new construction projects, greatly reducing landfill waste.
Renting a dumpster specifically for asphalt removal can streamline the disposal process. A 12-yard roll-off container is typically suitable for larger volumes of debris. When using a dumpster, make sure you follow the provider guidelines for waste placement to avoid overfilling and to maintain compliance with local disposal regulations.
Before you proceed, consult with local disposal services to confirm which materials are acceptable. Some items, like contaminated oils or electronics, may have specific disposal requirements that differ from standard asphalt.
Cost Considerations

When considering the cost of removing an asphalt driveway, it’s essential to evaluate various factors that influence the overall expense. Typically, the average cost ranges from $1 to $3 per square foot, which means that for a standard 600 sq. ft. driveway, you might estimate total removal costs between $2,300 and $4,200.
Keep in mind that rough conditions could increase costs by about 15%.
The size of your driveway greatly impacts the cost; larger areas will incur higher overall expenses due to increased resource and labor requirements. Additionally, accessibility issues can lead to added charges. If your driveway is in a cramped space or on challenging terrain, the removal process may require more time and specialized equipment, which can elevate your project cost.
While you might consider a DIY approach to save money, hiring a contractor can mitigate risks and guarantee quality workmanship, albeit at a higher overall project cost.
Ultimately, understanding these cost considerations will help you budget effectively for the removal of your asphalt driveway.
Factors Affecting Removal Costs
Several factors influence the removal costs of an asphalt driveway beyond just the square footage. Understanding these variables can help you anticipate expenses when hiring a contractor for asphalt removal.
| Factor | Description |
|---|---|
| Size of Driveway | Larger areas increase costs, averaging $1 to $3 per square foot. |
| Existing Condition of Asphalt | Severely damaged asphalt requires more labor, raising overall costs. |
| Limited Access | Difficult site access can lead to higher labor and time costs. |
| Underlying Structural Issues | Complications like utility lines can incur additional fees. |
The average cost of removing an asphalt driveway typically hinges on these factors. If your driveway has underlying structural issues, it might take longer to remove, resulting in extra charges. Similarly, if limited access requires specialized equipment or additional labor, you can expect the final bill to rise. Being aware of these elements will help you make informed decisions and budget accordingly for your asphalt removal project.
Ideal Conditions for Removal

For successful asphalt driveway removal, timing and weather conditions are essential. The best months for asphalt removal typically fall during dry periods, as moisture can compromise the material’s integrity and complicate handling.
Avoid scheduling your project on rainy or extremely hot days; these conditions not only affect tool performance but also hinder the overall ease of the removal process.
Seasonal considerations play a vital role in your project planning. Favorable weather directly impacts both efficiency and safety, ensuring a smoother operation.
DIY Vs. Professional Services
Deciding between DIY asphalt driveway removal and hiring professional services involves weighing various factors, including cost, time, and skill requirements.
One primary advantage of a DIY approach is considerable cost savings, as you could save approximately $2,300 to $3,000 compared to the $1 to $3 per square foot that contractors typically charge.
However, DIY projects demand essential tools like a jackhammer and circular saw, along with safety gear, which can add to your upfront costs.
The time investment for DIY removal can be substantial, often requiring more hours of physical labor than anticipated.
In contrast, professional services leverage their experience and specialized equipment to complete the job more quickly and efficiently.
Your skill level also plays a vital role; lacking certain skills may increase the risk of damaging underlying utilities or surrounding property.
Professionals are trained to handle these complexities, greatly reducing the risk of damage during the process.
Ultimately, while DIY may appeal to your budget, professional services offer a streamlined approach that minimizes time, risk, and potential headaches associated with asphalt removal.
Post-Removal Site Planning

After successfully removing your asphalt driveway, the next step is to carefully plan the site for future use.
Begin by inspecting the sub-base to guarantee it’s stable and free from damage. This foundational assessment is essential before you proceed with any new surface installation. If you identify drainage issues during your inspection, address them promptly to prevent water pooling, which could compromise your new surface.
Next, consider your options for the new surface installation. Whether you choose concrete, asphalt, or pavers, research materials and compare costs to stay within your budget. Each option has its benefits and drawbacks, so weigh them accordingly.
Additionally, think about landscaping enhancements that can improve the aesthetic appeal of the area. Planting flowers or shrubs can provide a welcoming touch and enhance your property’s value.
Conclusion
In the journey of reclaiming your space, think of asphalt as a stubborn vine that’s choked the beauty of your landscape. By carefully evaluating your tools and employing safe removal techniques, you can free your property from this grip. Weigh the costs and consider whether to go solo or enlist skilled hands. Once the asphalt’s gone, envision your canvas anew, planting seeds for future possibilities. With thoughtful planning, you’ll cultivate a space that truly reflects your vision.


